Deze versie kan foutieve bewerkingen bevatten. Schakel over naar de recentste gecontroleerde momentopname.
Wat je nodig hebt
-
Deze stap is niet vertaald. Help het te vertalen
-
Remove the cover by lifting the notch towards the bottom of the phone. Use your fingernail to lift it up.
-
-
Deze stap is niet vertaald. Help het te vertalen
-
Remove these nine screws with a small phillips screwdriver. They are all the same size.
-
There is a small screw hidden under the warranty sticker. You may either remove or poke through it .
-
-
Deze stap is niet vertaald. Help het te vertalen
-
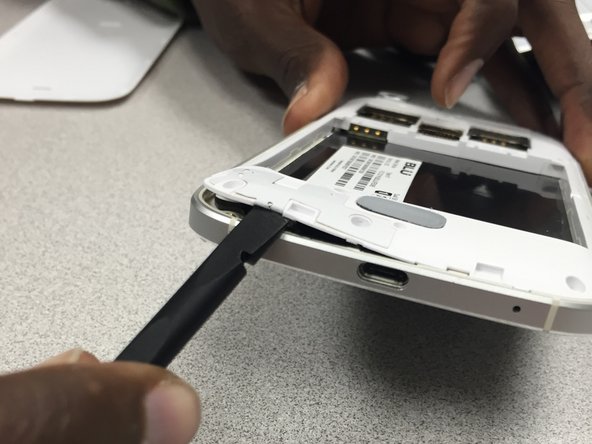
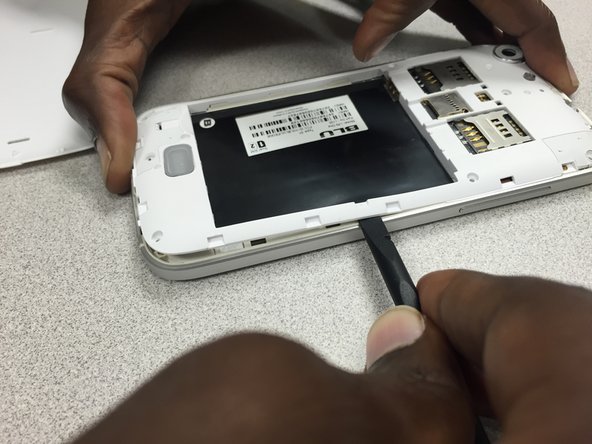
Use the pry tool to gently separate the panel from the frame, starting from the bottom left corner and continue along the edge of the phone.
-
*WARNING* by doing this, you will void the manufacturers warranty.
-
-
Deze stap is niet vertaald. Help het te vertalen
-
Continue using the pry tool around the back panel of the phone to separate both pieces.
-
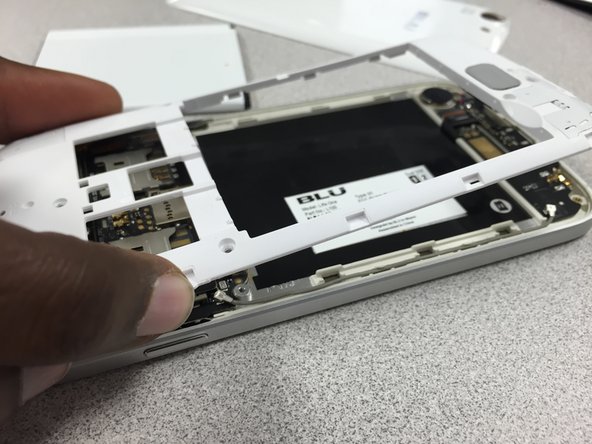
Once you have gone around the entire frame, use both hands to pull it apart.
-
-
-
Deze stap is niet vertaald. Help het te vertalen
-
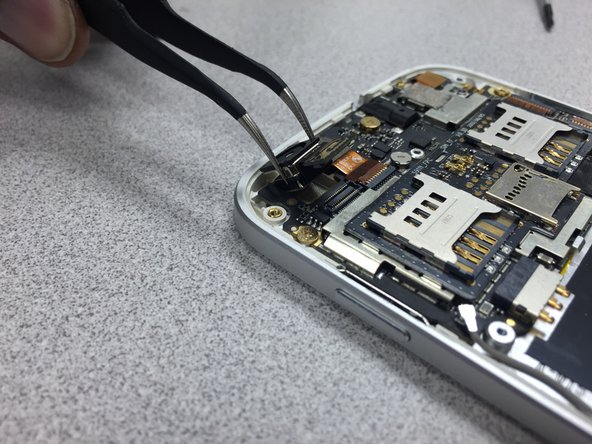
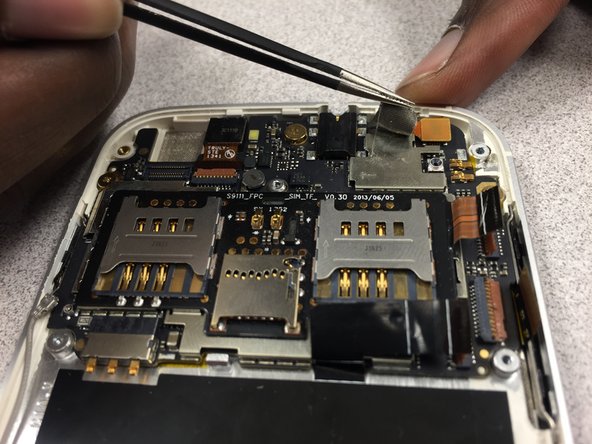
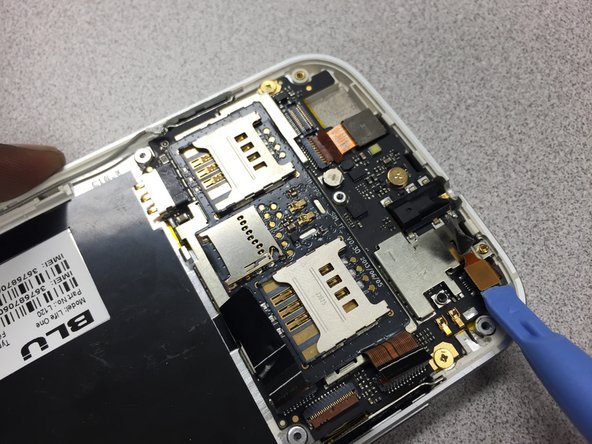
Use the pry tool to disconnect the camera from the device.
-
Gently lift the camera up and use the tweezers to remove it from the phone.
-
Reinstall the camera. Then follow the guide in reverse to put the phone back together.
-
-
Deze stap is niet vertaald. Help het te vertalen
-
Remove these three screws using 00 Philips screwdriver. Note the smaller screw circled in orange.
-
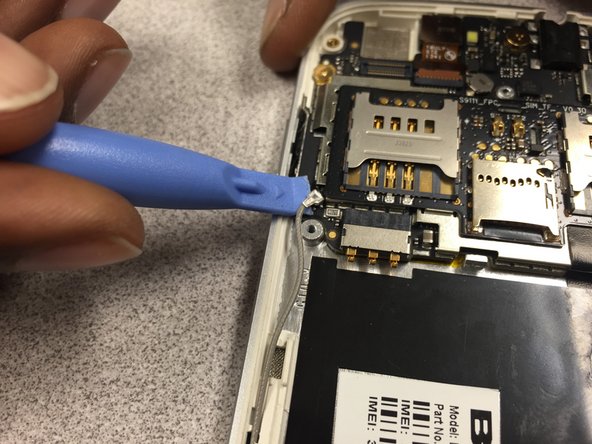
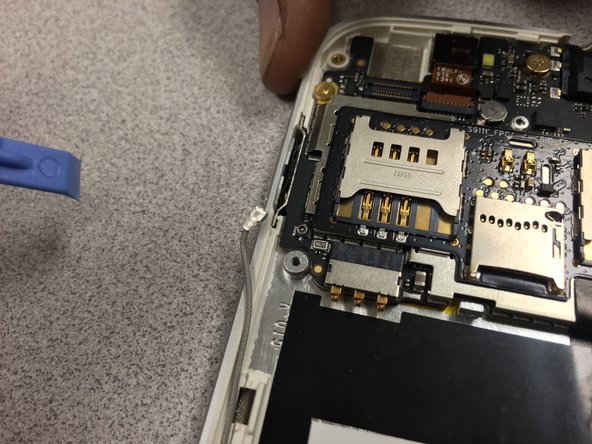
Then gently pry up on the metal antenna connector at the end of the grey wire. Move the wire out of the way.
-
-
Deze stap is niet vertaald. Help het te vertalen
-
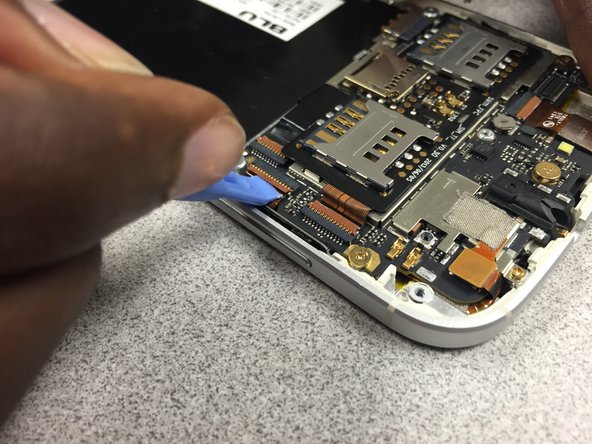
Next you must disconnect these three cables.
-
Use your pry tool to lift up on the brown tab to release the ribbon cable.
-
-
Deze stap is niet vertaald. Help het te vertalen
-
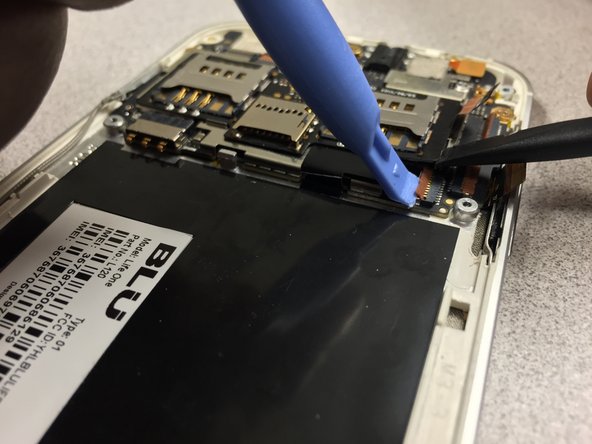
For the last ribbon cable, use a spudger to gently pry up on the board under the right sim card slot.
-
Next, take your pry tool to lift up on the brown tab holding down the ribbon cable.
-
The cable is now free to be pulled back out of its' slot.
-
-
Deze stap is niet vertaald. Help het te vertalen
-
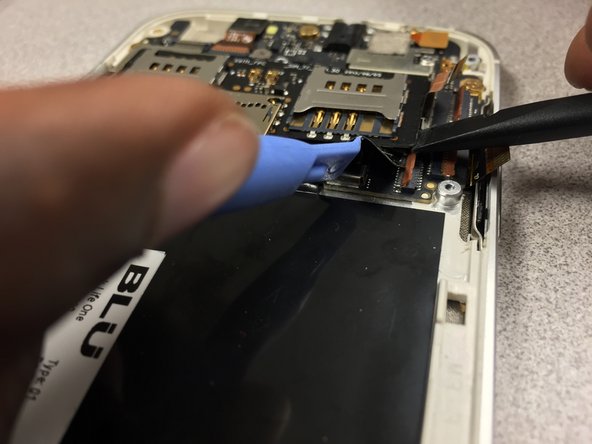
Using a spudger, peel up on the mesh tape then use your tweezers to peel the rest of it up.
-
-
Deze stap is niet vertaald. Help het te vertalen
-
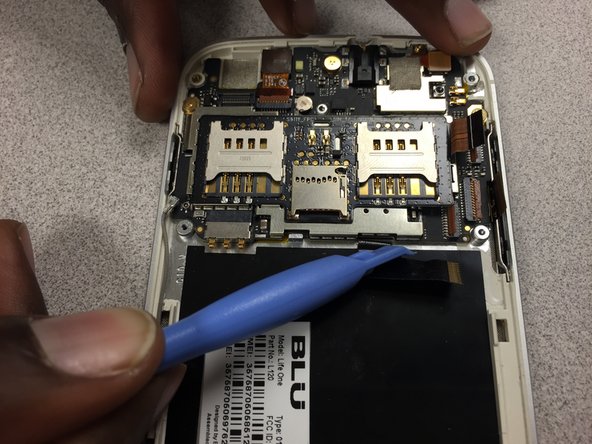
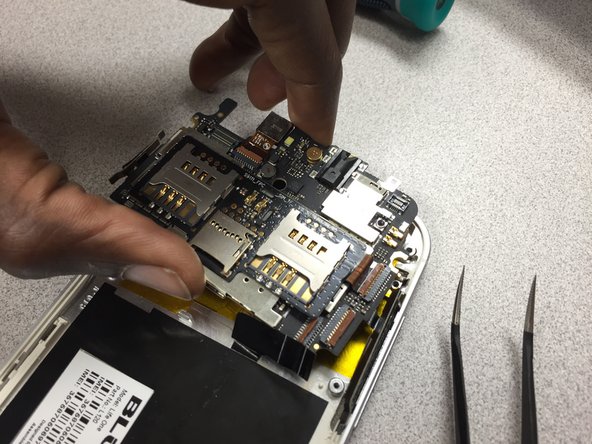
Now that the motherboard is free to be pried up, be sure that no cables are in the way or can be snagged when removing the motherboard.
-
Just lift up and away.
-
Follow the instructions in reverse to put the phone back together.
-


