Ga door naar hoofdinhoud

BlackBerry Z30 Battery Replacement

Wat je nodig hebt

  1. BlackBerry Z30 Battery Replacement, Battery cover: stap 1, afbeelding 1 van 1
    • Remove the battery cover by grabbing the notch under the bottom speakers and lifting.

  2. BlackBerry Z30 Battery Replacement, Remove SIM and Media Card: stap 2, afbeelding 1 van 1
    • Remove the SIM card and the Media SD card by pushing on them.

  3. BlackBerry Z30 Battery Replacement, Unscrewing the LCD panel: stap 3, afbeelding 1 van 3 BlackBerry Z30 Battery Replacement, Unscrewing the LCD panel: stap 3, afbeelding 2 van 3 BlackBerry Z30 Battery Replacement, Unscrewing the LCD panel: stap 3, afbeelding 3 van 3
    • Locate and unscrew all 10 T5 screws around the back cover

  4. BlackBerry Z30 Battery Replacement, Separate the LCD from the Frame: stap 4, afbeelding 1 van 2 BlackBerry Z30 Battery Replacement, Separate the LCD from the Frame: stap 4, afbeelding 2 van 2
    • Use Plastic opening tools to separate the LCD from the Main body

    • Do NOT remove the screen yet, it is attached with a very fragile ribbon to the main board.

    • Start on the same side of the Audio Jack

  5. BlackBerry Z30 Battery Replacement, Remove the LCD: stap 5, afbeelding 1 van 2 BlackBerry Z30 Battery Replacement, Remove the LCD: stap 5, afbeelding 2 van 2
    • Use a plastic tool to carefully switch up the LCD ribbon holder

    • Detach the LCD from the main board

    • When installing the new LCD, make sure the ribbon is inserted to the white line.

  6. BlackBerry Z30 Battery Replacement, LCD Panel removal: stap 6, afbeelding 1 van 1
    • You can now detach the LCD Panel from the main frame.

  7. BlackBerry Z30 Battery Replacement, Untie the System board: stap 7, afbeelding 1 van 1
    • With a plastic tool, untie the system board by detaching the ribbons attached to it

    • The battery ribbon is on the bottom right

    • Be gentle when detaching these Ribbons as they are very easy to tear and damage.

  8. BlackBerry Z30 Battery Replacement, Untie the System board Part 2: stap 8, afbeelding 1 van 1
    • Be gentle as any other system board ribbons, they are very easy to damage

  9. BlackBerry Z30 Battery Replacement, Untie the system board Part 3: stap 9, afbeelding 1 van 1
    • Power Button /Audio Jack

    • Flash

    • Rear Facing Camera

  10. BlackBerry Z30 Battery Replacement, System board removal: stap 10, afbeelding 1 van 1
    • Once all Ribbons untied, gently wiggle the system board out of the frame

    • Do not pull hard as there might be a ribbon on the way

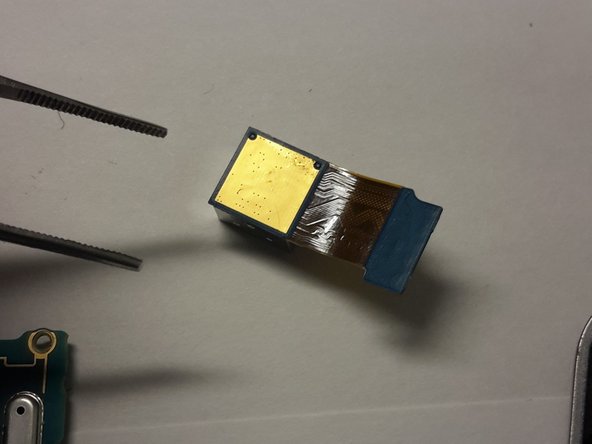
  11. BlackBerry Z30 Battery Replacement, Remove the Rear Camera: stap 11, afbeelding 1 van 2 BlackBerry Z30 Battery Replacement, Remove the Rear Camera: stap 11, afbeelding 2 van 2
    • Use a pair of pliers to remove the rear facing camera

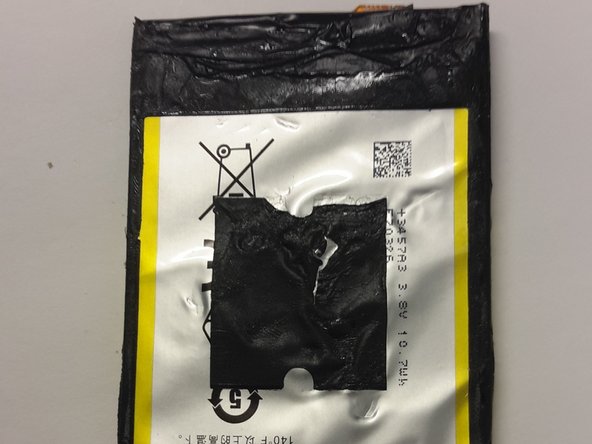
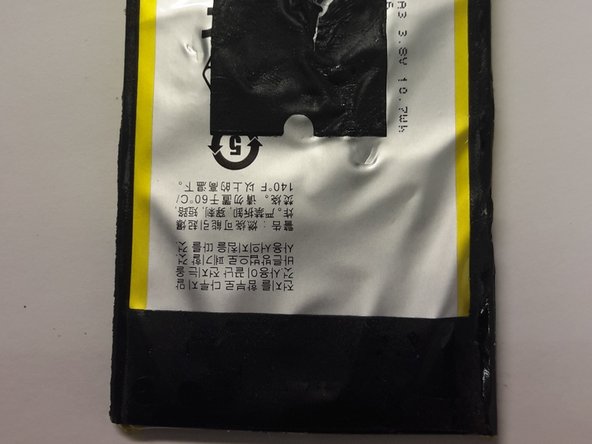
  12. BlackBerry Z30 Battery Replacement, Remove the Battery: stap 12, afbeelding 1 van 3 BlackBerry Z30 Battery Replacement, Remove the Battery: stap 12, afbeelding 2 van 3 BlackBerry Z30 Battery Replacement, Remove the Battery: stap 12, afbeelding 3 van 3
    • If this is the original battery, it might be hold down by VERY strong adhesive on the top, middle and bottom part. Be careful not to damage the battery

    • As pointed in the comments, be careful about the NFC membrane when removing the battery. Use heat to loosen the glue.

Conclusie

To reassemble your device, follow these instructions in reverse order.

10 andere personen hebben deze handleiding voltooid.

Hans

Lid sinds: 10/20/14

1.920 Reputatie

6 handleidingen geschreven

Team

Mero IT Services Lid van Mero IT Services

Business

1 Lid

6 handleidingen geschreven

10 opmerkingen

Good guide, but one caveat - when removing the battery, the adhesive is pretty much directly attached to the NFC "plate" (a flexible square membrane with a pair of contacts on the bottom left side of the battery). If you try to extract the battery, you will have difficulty not destroying this membrane. Do not use a wedge - you must slowly remove the battery, preferably using a heat gun to loosen the glue.

Or get a battery already glued into a back plate.

wfines - Antwoord

Thank you for the detail. I will add a notice about that on the last step.

Hans -

How to change the USB port

Yass Tra - Antwoord

Thank you !!!

Yass Tra - Antwoord

OMG! The procedure looks horrible !!

mwlacey - Antwoord

Voeg opmerking toe

Weergavestatistieken:

Afgelopen 24 uren: 1

Afgelopen 7 dagen: 3

Afgelopen 30 dagen: 12

Altijd: 23,339