Deze versie kan foutieve bewerkingen bevatten. Schakel over naar de recentste gecontroleerde momentopname.
Wat je nodig hebt
-
Deze stap is niet vertaald. Help het te vertalen
-
Use a plastic opening tool to pry the back panel off by inserting it in between the front and back panel.
-
-
Deze stap is niet vertaald. Help het te vertalen
-
Remove 1.55x.33mm Phillips screw from the metal frame.
-
Remove 1.5x4.25mm Phillips screw from speaker bar.
-
-
-
Deze stap is niet vertaald. Help het te vertalen
-
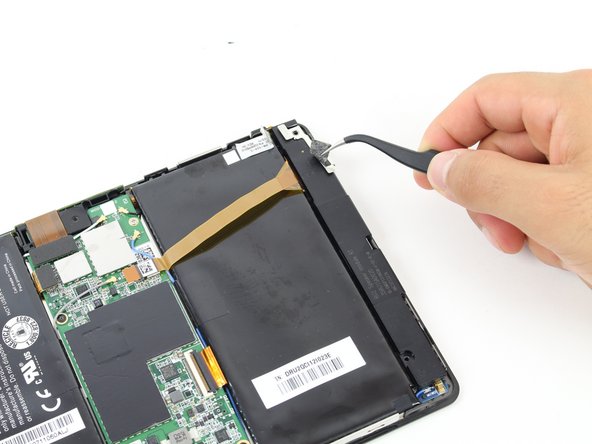
Peel off the stickers holding the left speaker in place with a tweezer or by using your fingers
-
-
Deze stap is niet vertaald. Help het te vertalen
-
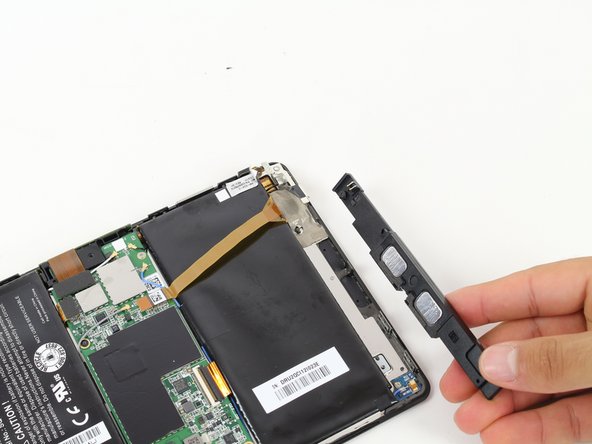
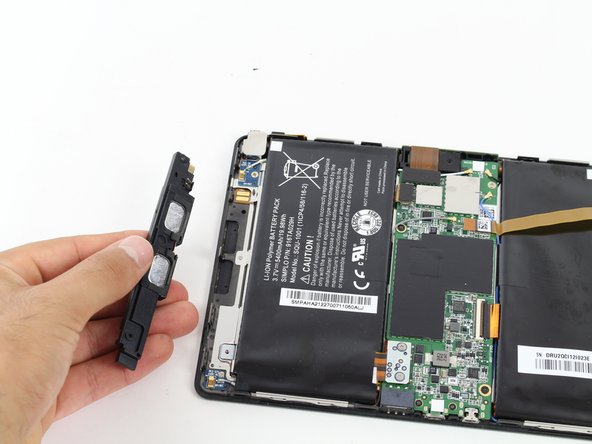
Slide the left speaker bar out from its metal bracket.
-
-
Deze stap is niet vertaald. Help het te vertalen
-
Remove both 1.5x4.25mm Phillips screws from the right speaker bar by using the Phillips Screwdriver.
-


Annuleren: ik heb deze handleiding niet afgemaakt.
Één andere persoon heeft deze handleiding voltooid.
Team

Cal Poly, Team 14-27, Maness Fall 2014 Lid van Cal Poly, Team 14-27, Maness Fall 2014
CPSU-MANESS-F14S14G27
4 Leden
12 handleidingen geschreven