Deze versie kan foutieve bewerkingen bevatten. Schakel over naar de recentste gecontroleerde momentopname.
Wat je nodig hebt
-
Deze stap is niet vertaald. Help het te vertalen
-
There are 6 screws holding the entire fan together, which need to be removed to access the internals of the fan.
-
-
Deze stap is niet vertaald. Help het te vertalen
-
Once the screws are all off, the fan can be pulled apart with a little bit of force. However, not too much force is required.
-
-
Deze stap is niet vertaald. Help het te vertalen
-
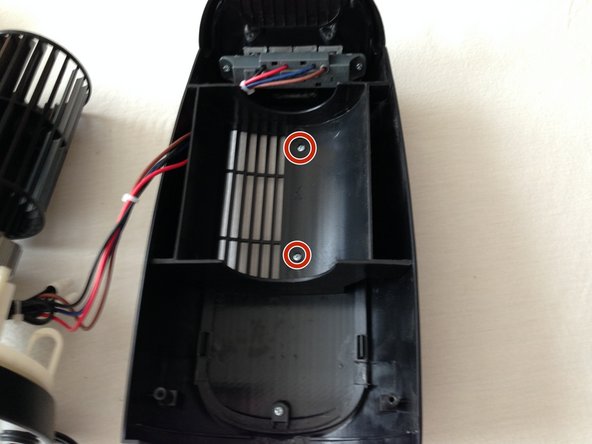
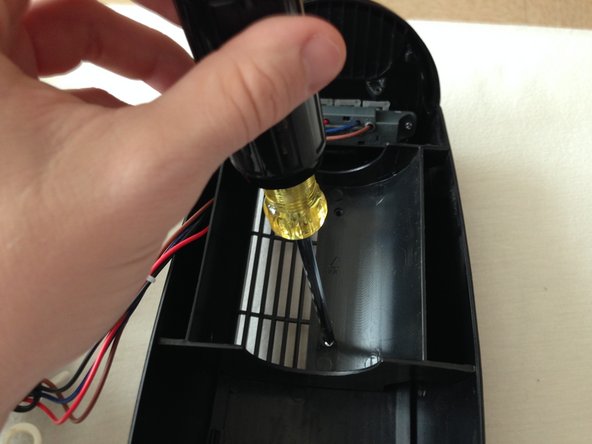
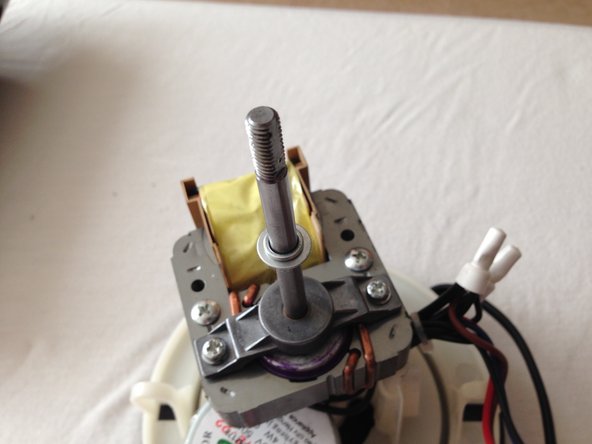
Once you have the fan apart, in order to get more maneuverability, the wire attached to the motor needs to be loosened. This can be done by removing the two screws highlighted in red.
-
-
-
Deze stap is niet vertaald. Help het te vertalen
-
To get more maneuverability, remove the button panel. This can be done by removing the 2 screws on either side of the panel in order to fully remove it.
-
-
Deze stap is niet vertaald. Help het te vertalen
-
Carefully remove the panel by pulling on it. It should fall out easily and separate completely from its housing.
-
-
Deze stap is niet vertaald. Help het te vertalen
-
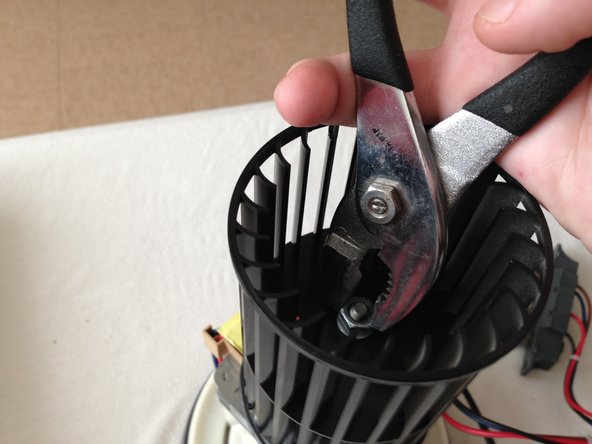
The bolt that you need to remove is inside of the pre-installed fan blades. With your pliers, grab a hold of the nut and twist to the RIGHT. This will allow you to remove the fan blades.
-
-
Deze stap is niet vertaald. Help het te vertalen
-
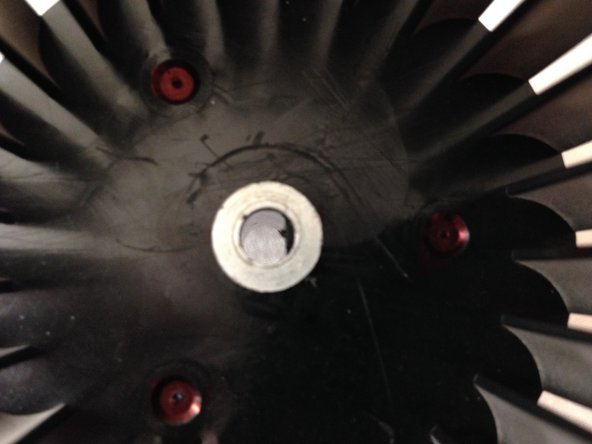
In order to install the new blades, there are two pieces that you have to match up. The blades and pole both have a flat side that you have to match up in order for the blades to stay on.
-
-
Deze stap is niet vertaald. Help het te vertalen
-
Tighten the bolt to the left and you have successfully installed your new fan blades.
-


Annuleren: ik heb deze handleiding niet afgemaakt.
3 andere personen hebben deze handleiding voltooid.
Team

Cal Poly, Team 14-4, Green Fall 2015 Lid van Cal Poly, Team 14-4, Green Fall 2015
CPSU-GREEN-F15S14G4
5 Leden
16 handleidingen geschreven