Inleiding
This is a prerequisite-only guide! This guide is part of another procedure and is not meant to be used alone.
Wat je nodig hebt
-
-
Take note of the two seams on the edge of the phone:
-
Screen seam: This seam separates the screen from the rest of the phone. This is where you should pry.
-
Frame seam: This is where the plastic frame meets the back cover. It is held in place by screws. Do not pry at this seam.
-
Before you begin, note the following areas on the screen:
-
Screen flex cable: Do not insert the opening pick deeper than instructed or you risk damaging this cable.
-
Adhesive perimeter: Prying beyond this narrow perimeter without angling the pick will damage the OLED panel.
-
-
-
Apply a heated iOpener to the right edge of the display for one minute to soften the adhesive.
-
-
-
Place a suction cup as close to the right edge of the screen as possible.
-
Lift the suction cup with a strong steady force.
-
Insert the tip of an opening pick into the screen seam no more than 1 mm.
-
-
-
With the pick 1 mm into the gap, pivot the pick upwards to a steep angle.
-
At a steep angle, carefully push the pick into the gap about 1/4 inch (6 mm). The pick should slide in below the OLED panel.
-
-
-
Slide the pick along the right edge of the screen to cut the adhesive.
-
Leave the pick in the top right corner to prevent the adhesive from re-sealing.
-
-
-
Insert another opening pick into the right edge of the phone at an angle where a gap has already formed to prevent damage to the OLED panel.
-
Slide the opening pick around the bottom of the phone to cut the adhesive.
-
Leave the pick inserted along the bottom edge to prevent the adhesive from resealing.
-
-
-
Insert another opening pick into the bottom edge of the phone at an angle where a gap has already formed to prevent damage to the OLED panel.
-
Use the pick to slice through the left edge of the phone.
-
Leave the pick inserted along the left edge of the phone to prevent the adhesive from re-sealing.
-
-
-
-
Lift from the top edge and swing the screen over the bottom edge until you can rest it glass-side down.
-
-
-
Use a pair of tweezers to carefully peel up the black tape covering the screen connector bracket.
-
-
-
Remove the screen.
-
Check if your replacement screen has speaker mesh and top edge adhesive pre-installed.
-
If it does, you won't need the top edge adhesive.
-
If it doesn't, remove the larger clear liner from the top edge adhesive and apply it to the screen (not the frame). Make sure the larger cutout lines up with the speaker mesh.
-
Follow this guide to apply the custom-cut adhesive.
-
-
-
Use a T3 Torx driver to remove the eight 4.3 mm screws securing the back cover to the midframe.
-
-
-
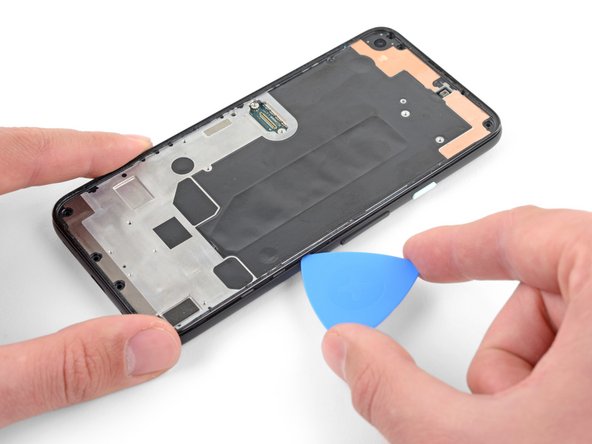
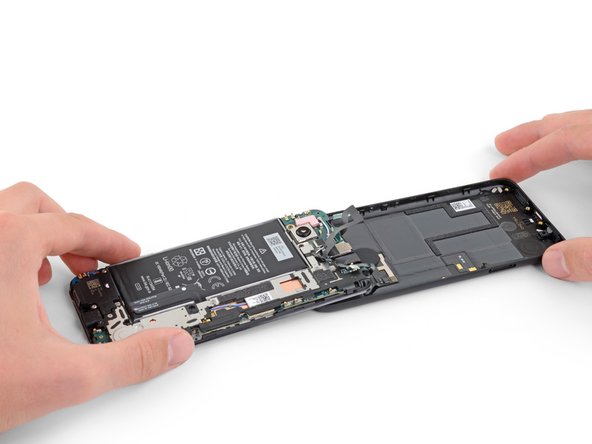
Insert an opening pick into the seam between the midframe and the back cover.
-
Slide the opening pick along the bottom edge of the phone to release the plastic clips securing the back cover to the midframe.
-
-
-
Use a T3 Torx driver to remove the seven screws securing the motherboard bracket:
-
Three 2.9 mm-long black screws
-
Three 2 mm-long screws
-
One 4.1 mm-long screw
-
-
-
Use the flat end of a spudger to pry up and disconnect the battery cable.
-
To reassemble your device, follow these instructions in reverse order.
To reassemble your device, follow these instructions in reverse order.


