Ga door naar hoofdinhoud

Backbone One Direction Pad Replacement

Wat je nodig hebt

  1. Backbone One Direction Pad Replacement, Unfasten the screws: stap 1, afbeelding 1 van 1
    • Use a Phillips screwdriver to remove the four 5.9 mm-long screws.

  2. Backbone One Direction Pad Replacement, Rotate the upper cover: stap 2, afbeelding 1 van 3 Backbone One Direction Pad Replacement, Rotate the upper cover: stap 2, afbeelding 2 van 3 Backbone One Direction Pad Replacement, Rotate the upper cover: stap 2, afbeelding 3 van 3
    • Lift up the upper part of the controller.

    • Swing over the upper cover and place it on the controller case.

    • Take care that the interconnecting cable has no tension.

  3. Backbone One Direction Pad Replacement, Remove the protective tape: stap 3, afbeelding 1 van 3 Backbone One Direction Pad Replacement, Remove the protective tape: stap 3, afbeelding 2 van 3 Backbone One Direction Pad Replacement, Remove the protective tape: stap 3, afbeelding 3 van 3
    Gereedschap gebruikt in deze stap:
    Tweezers
    $4.99
    Koop
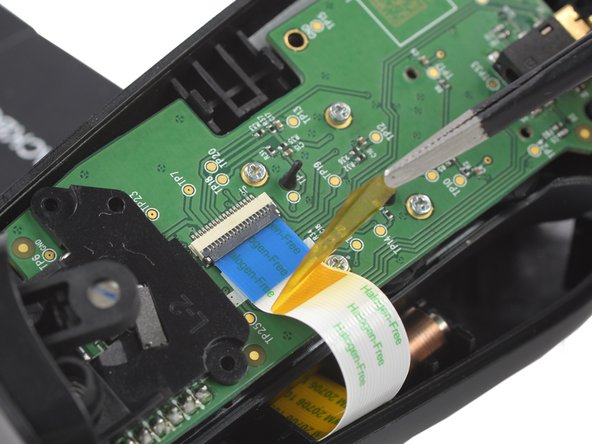
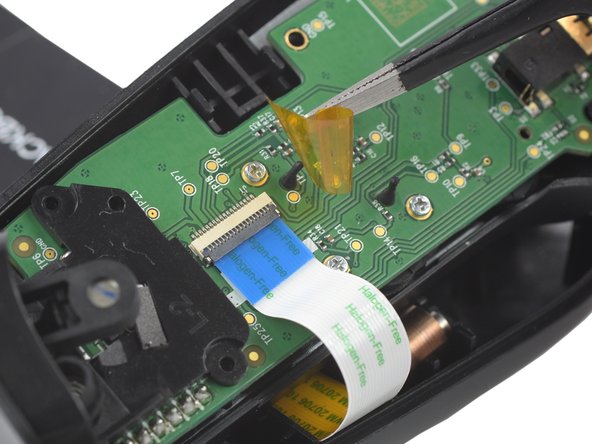
    • Use a pair of tweezers to remove the yellow protective tape which is placed over the interconnect cable connector.

  4. Backbone One Direction Pad Replacement, Open the ZIF connector: stap 4, afbeelding 1 van 2 Backbone One Direction Pad Replacement, Open the ZIF connector: stap 4, afbeelding 2 van 2
    • Use the tip of an opening pick to open the gray flap of the ZIF connector by pushing it upwards.

  5. Backbone One Direction Pad Replacement, Disconnect the interconnect cable: stap 5, afbeelding 1 van 2 Backbone One Direction Pad Replacement, Disconnect the interconnect cable: stap 5, afbeelding 2 van 2
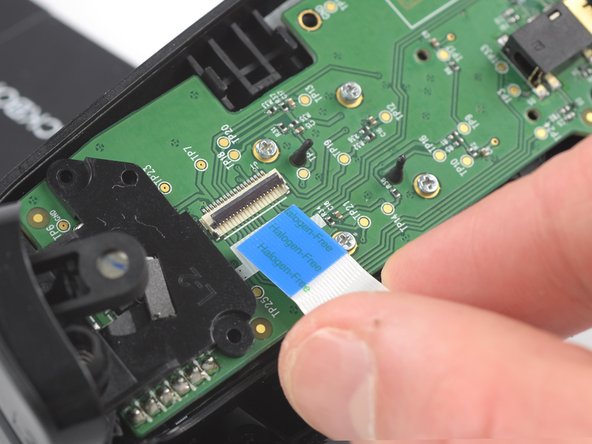
    • Use your fingers to disconnect the interconnect cable from its connector.

  6. Backbone One Direction Pad Replacement: stap 6, afbeelding 1 van 2 Backbone One Direction Pad Replacement: stap 6, afbeelding 2 van 2
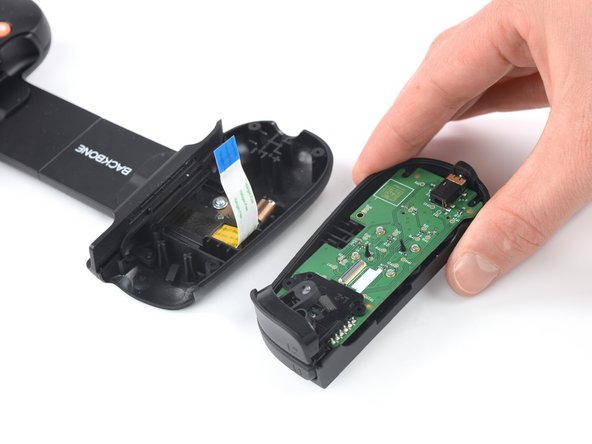
    • Remove the upper half of the left controller assembly.

  7. Backbone One Direction Pad Replacement, Remove the screw: stap 7, afbeelding 1 van 2 Backbone One Direction Pad Replacement, Remove the screw: stap 7, afbeelding 2 van 2
    • Use a Phillips screwdriver to remove the 5.9 mm-long screw which is securing the trigger.

    • The screw is difficult to reach. Insert the screwdriver at an angle of 45 degrees.

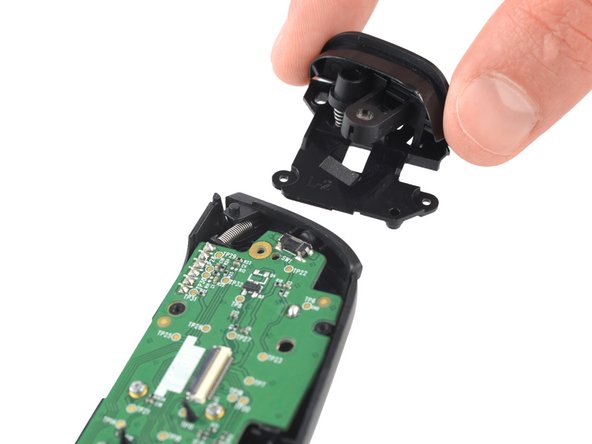
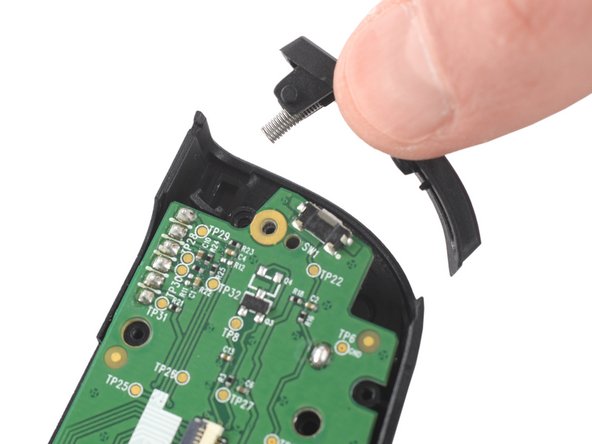
  8. Backbone One Direction Pad Replacement, Remove the trigger: stap 8, afbeelding 1 van 2 Backbone One Direction Pad Replacement, Remove the trigger: stap 8, afbeelding 2 van 2
    • Remove the left trigger.

  9. Backbone One Direction Pad Replacement, Remove the bumper: stap 9, afbeelding 1 van 2 Backbone One Direction Pad Replacement, Remove the bumper: stap 9, afbeelding 2 van 2
    • Use your fingers to remove the left bumper.

  10. Backbone One Direction Pad Replacement, Remove the screws: stap 10, afbeelding 1 van 1
    • Use a Phillips screwdriver to remove the four 3.9 mm-long screws.

  11. Backbone One Direction Pad Replacement, Remove the mainboard: stap 11, afbeelding 1 van 2 Backbone One Direction Pad Replacement, Remove the mainboard: stap 11, afbeelding 2 van 2
    • Remove the mainboard.

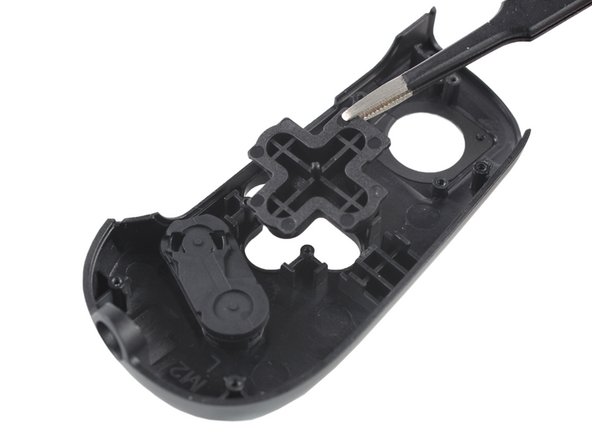
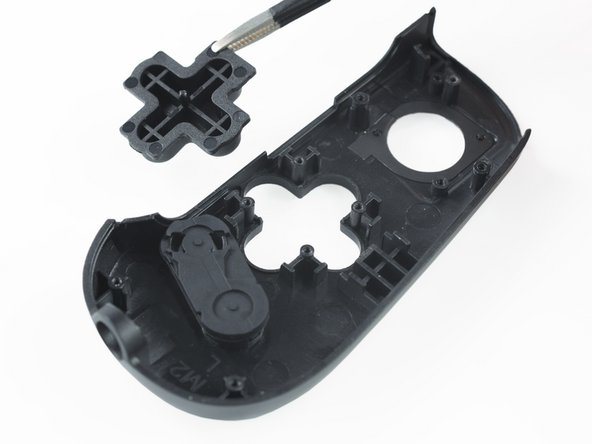
  12. Backbone One Direction Pad Replacement, Remove the direction pad: stap 12, afbeelding 1 van 3 Backbone One Direction Pad Replacement, Remove the direction pad: stap 12, afbeelding 2 van 3 Backbone One Direction Pad Replacement, Remove the direction pad: stap 12, afbeelding 3 van 3
    Gereedschap gebruikt in deze stap:
    Tweezers
    $4.99
    Koop
    • Use a pair of blunt nose tweezers to remove the direction pad.

Conclusie

To reassemble your device, follow these instructions in reverse order.

Repair didn’t go as planned? Ask our Answers community for help.

Adriana Zwink

Lid sinds: 12/18/19

50.416 Reputatie

167 handleidingen geschreven

Team

iFixit Lid van iFixit

Staff

141 Leden

17.895 handleidingen geschreven

0 opmerkingen

Voeg opmerking toe

Weergavestatistieken:

Afgelopen 24 uren: 1

Afgelopen 7 dagen: 8

Afgelopen 30 dagen: 50

Altijd: 1,663