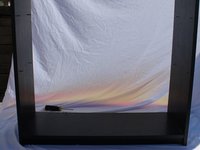
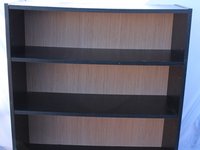
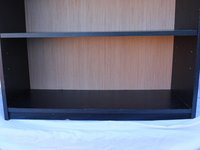
Ga door naar hoofdinhoud

Back of Bookshelf Replacement

Wat je nodig hebt

  1. Back of Bookshelf Replacement, Back of Bookshelf: stap 1, afbeelding 1 van 1
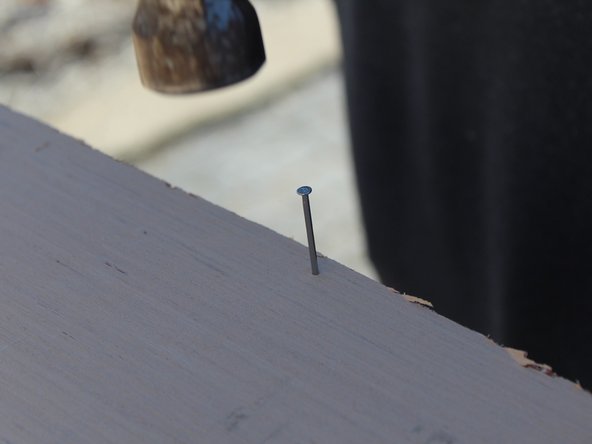
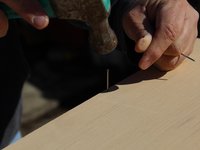
    • Gather all pieces of the bookshelf if it fell apart or the shelf itself is still together.

    • You will need two people to complete this project.

  2. Back of Bookshelf Replacement: stap 2, afbeelding 1 van 3 Back of Bookshelf Replacement: stap 2, afbeelding 2 van 3 Back of Bookshelf Replacement: stap 2, afbeelding 3 van 3
    • You will need to put the bookshelf back together by holding the sides together.

    • Drill new holes to insert new screws to reinforce the shelf. Use a 1/8 inch drill bit.

    • Put screws into the freshly made holes with 1/8 by 1 inch wood screws to bring it together.

  3. Back of Bookshelf Replacement: stap 3, afbeelding 1 van 3 Back of Bookshelf Replacement: stap 3, afbeelding 2 van 3 Back of Bookshelf Replacement: stap 3, afbeelding 3 van 3
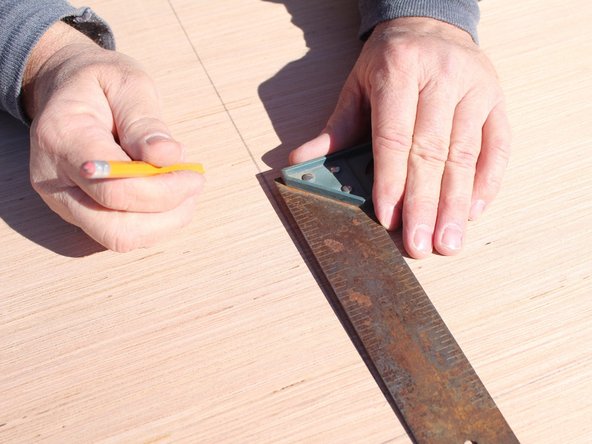
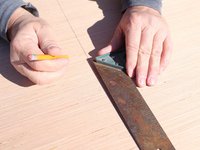
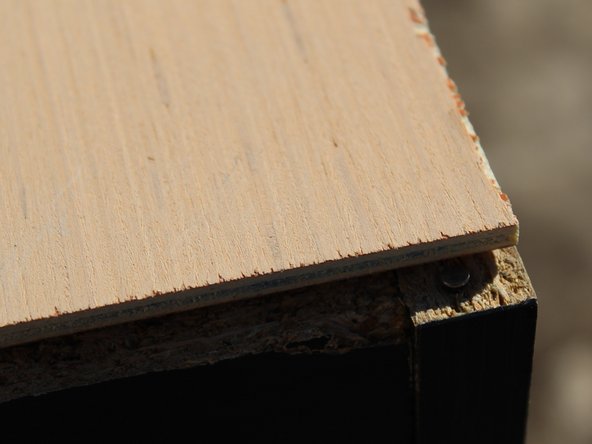
    • Now that the base of the bookshelf is back together, we will need to measure out the size of board needed for the new backing.

    • Use the measuring tape and the square ruler to measure out the specific size you need. Use a pencil to draw the lines out so you can saw the piece out with precision.

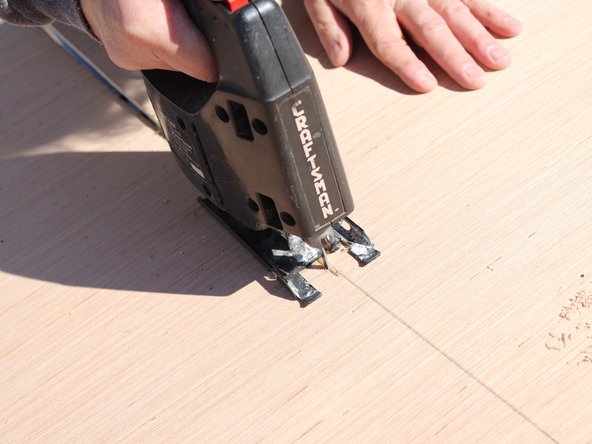
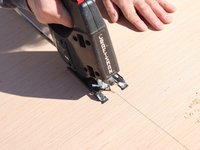
    • Use the jig saw to cut the piece of plywood out following the lines you just drew.

  4. Back of Bookshelf Replacement: stap 4, afbeelding 1 van 3 Back of Bookshelf Replacement: stap 4, afbeelding 2 van 3 Back of Bookshelf Replacement: stap 4, afbeelding 3 van 3
    • Line your new piece of plywood that you just cut, up with the back of the bookshelf.

    • Make sure that the corners are lined up so that as you hammer in the nails it stays lined up and even.

  5. Back of Bookshelf Replacement: stap 5, afbeelding 1 van 2 Back of Bookshelf Replacement: stap 5, afbeelding 2 van 2
    • Start from the top and work your way down each side when putting the nails in so the board doesn't bow.

    • Use 2d penny nails and hammer them in along all four sides.

    • Five nails on each of the four sides is all you will need.

  6. Back of Bookshelf Replacement: stap 6, afbeelding 1 van 2 Back of Bookshelf Replacement: stap 6, afbeelding 2 van 2
    • The shelf has its new plywood backing, so you can stand it up and you will feel the immediate difference in the sturdiness of your new shelf.

    • Place the shelf in the room of your choosing and place your books on it, knowing that it will not fall apart.

Eindstreep

2 andere personen hebben deze handleiding voltooid.

Melissa Miller

Lid sinds: 03/07/19

187 Reputatie

1 Handleiding geschreven

0 opmerkingen

Voeg opmerking toe

Weergavestatistieken:

Afgelopen 24 uren: 11

Afgelopen 7 dagen: 45

Afgelopen 30 dagen: 150

Altijd: 9,515