Deze versie kan foutieve bewerkingen bevatten. Schakel over naar de recentste gecontroleerde momentopname.
Wat je nodig hebt
-
Deze stap is niet vertaald. Help het te vertalen
-
Lay the tablet down on a flat surface with the screen facing up, and the external camera facing upwards and closest to you.
-
-
Deze stap is niet vertaald. Help het te vertalen
-
Insert the plastic opening tool in the space between the screen and the back cover above the volume buttons.
-
Slide the plastic opening tool gently along the sides.
-
-
Deze stap is niet vertaald. Help het te vertalen
-
Place the spudger in an open space to keep the back case from shutting while you continue to slide the opening tool.
-
-
-
Deze stap is niet vertaald. Help het te vertalen
-
Remove the back cover with your hands once all points have been unlatched. It should separate completely from the screen that contains the battery and chip components.
-
-
Deze stap is niet vertaald. Help het te vertalen
-
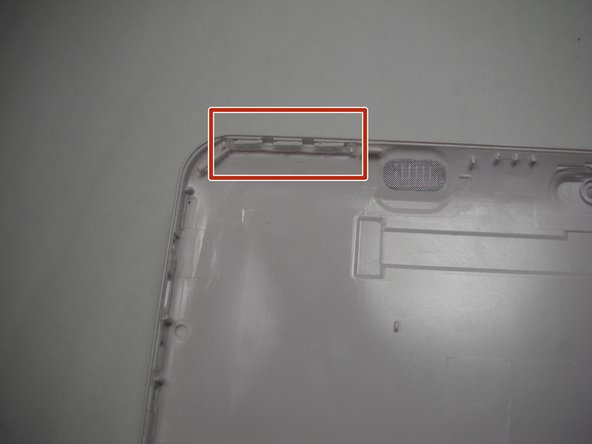
Orient the tablet's back cover so that the inside faces up and the buttons are positioned at the top left corner.
-
-
Deze stap is niet vertaald. Help het te vertalen
-
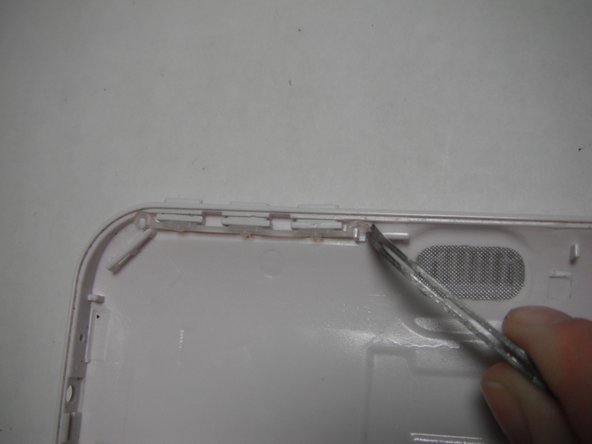
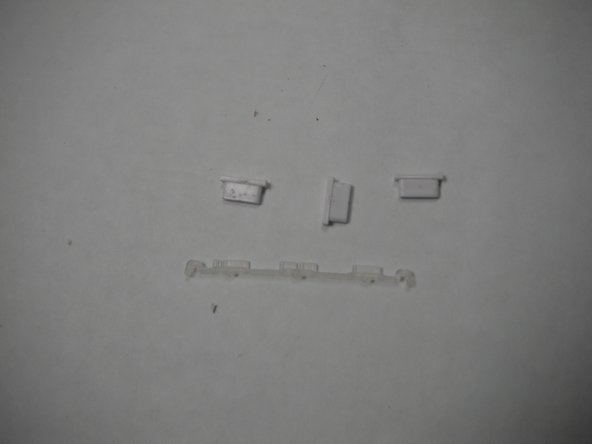
Unlatch the clear rubber holder from the posts with the tweezers.
-
-
Deze stap is niet vertaald. Help het te vertalen
-
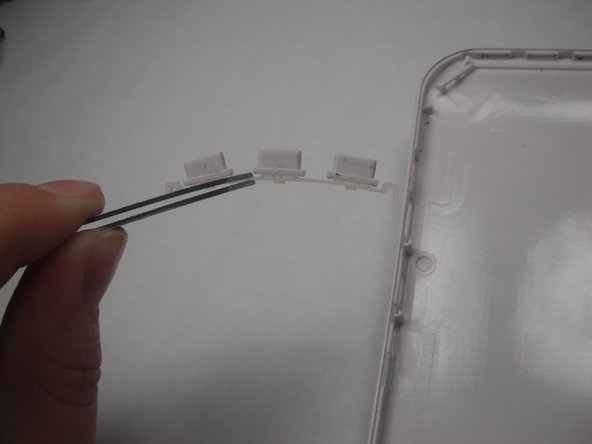
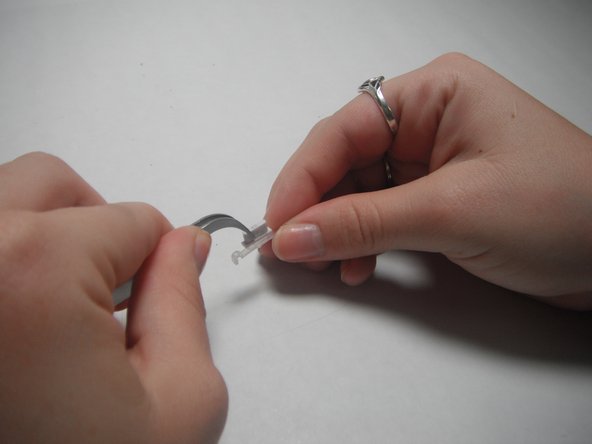
With tweezers, pull the rubber holder from the back cover completely.
-


Team

Baylor, Team 6-3, Shaver Spring 2015 Lid van Baylor, Team 6-3, Shaver Spring 2015
BU-SHAVER-S15S6G3
3 Leden
10 handleidingen geschreven