Inleiding
Replacing an LCD screen on these ASUS laptops isn't as hard as one might think. OEM replacement screens can be had at a good price from Laptopscreens.com: http://www.laptopscreen.com/English/mode...
Wat je nodig hebt
-
-
Be sure to disconnect the battery and power supply before continuing.
-
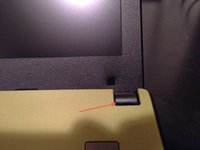
To remove the battery, two clasps must be disengaged on the underside of the laptop. One side is a standard switch, the other is spring-loaded.
-
Slide the standard switch toward the center of the laptop. Hold the spring-loaded switch in the same position (pressed towards the center of the laptop) and, while depressed, disconnect the battery.
-
-
-
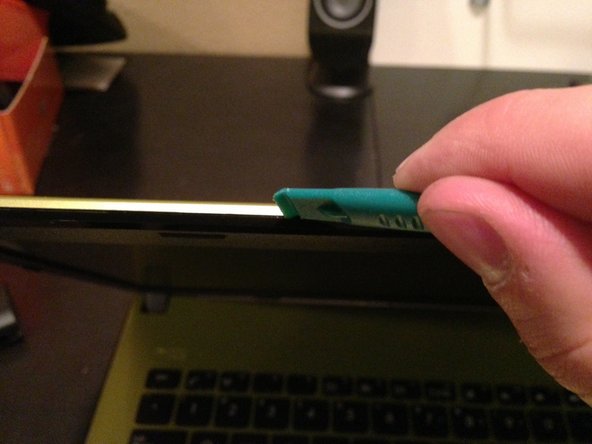
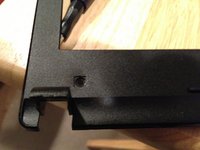
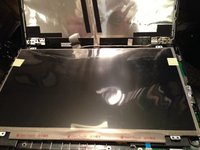
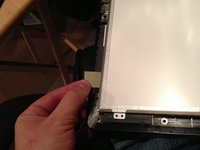
The bezel is attached with screws at two points near the hinges, covered with black plastic squares
-
Use a spudger, exacto knife, or whatever to remove the adhesive squares. Do it carefully, as they will be going back on at the end and we want them to be pretty.
-
With the squares removed, use a #0 or #00 Philips screwdriver to back the screws out
-
-
-
-
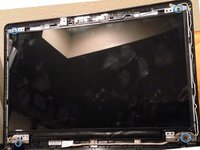
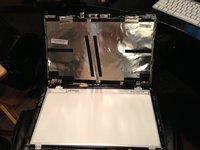
The new panel will have some protective plastic over the screen. It's a good idea to leave this on until just before the bezel goes on.
-
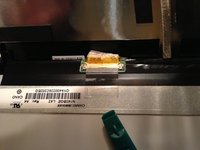
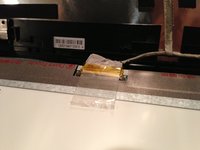
Place the new panel in the same orientation as the old panel, face-down, on the keyboard. Reconnect the plug and secure with the existing tape (if it's in good enough shape), or a new piece.
-
Before lifting up the panel and securing with screws, make sure that the tape holding the protective plastic is out of the way.
-
To reassemble, just follow the guide in reverse order. Remember to remove the protective plastic sheet from the new panel before snapping the bezel back on.
-


To reassemble your device, follow these instructions in reverse order.
To reassemble your device, follow these instructions in reverse order.
Annuleren: ik heb deze handleiding niet afgemaakt.
4 andere personen hebben deze handleiding voltooid.