Ga door naar hoofdinhoud

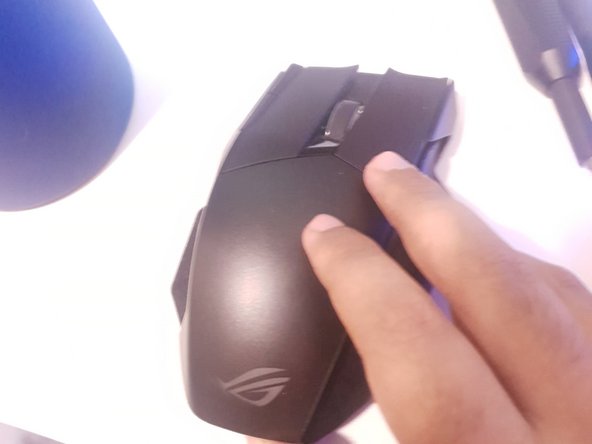
Asus ROG Spatha Switch Replacement

Wat je nodig hebt

  1. Asus ROG Spatha Switch Replacement, Switch: stap 1, afbeelding 1 van 2 Asus ROG Spatha Switch Replacement, Switch: stap 1, afbeelding 2 van 2
    • Make sure the mouse is powered off.

    • If the green is visible like in the first photo, turn the switch to fully power down the device.

  2. Asus ROG Spatha Switch Replacement: stap 2, afbeelding 1 van 2 Asus ROG Spatha Switch Replacement: stap 2, afbeelding 2 van 2
    • Remove the screw covers.

  3. Asus ROG Spatha Switch Replacement: stap 3, afbeelding 1 van 2 Asus ROG Spatha Switch Replacement: stap 3, afbeelding 2 van 2
    • Using a Torx T10 driver, remove the four screws from the device.

  4. Asus ROG Spatha Switch Replacement: stap 4, afbeelding 1 van 2 Asus ROG Spatha Switch Replacement: stap 4, afbeelding 2 van 2
    • Flip the mouse over and remove the top plastic casing.

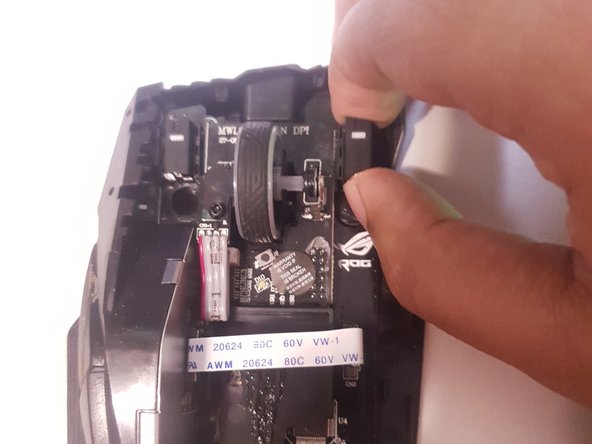
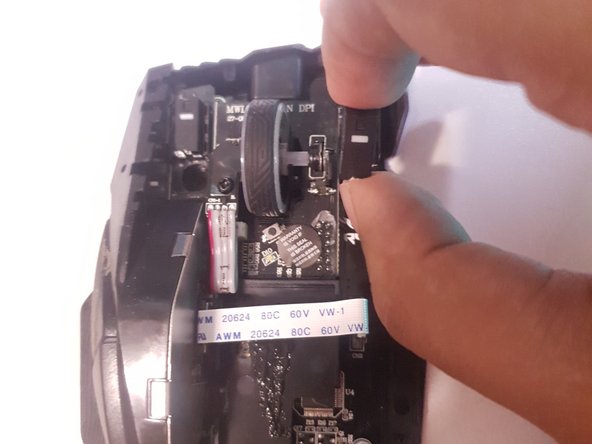
  5. Asus ROG Spatha Switch Replacement: stap 5, afbeelding 1 van 3 Asus ROG Spatha Switch Replacement: stap 5, afbeelding 2 van 3 Asus ROG Spatha Switch Replacement: stap 5, afbeelding 3 van 3
    • After locating which switch you need to replace, grab the switch by the top and the bottom and carefully pull it out of the device.

Conclusie

To reassemble your device, follow these instructions in reverse order.

Suhaib Rahman

Lid sinds: 09/19/20

446 Reputatie

2 handleidingen geschreven

Team

0 opmerkingen

Voeg opmerking toe

Weergavestatistieken:

Afgelopen 24 uren: 4

Afgelopen 7 dagen: 37

Afgelopen 30 dagen: 151

Altijd: 2,748