Inleiding
This guide will attempt to show the user how to properly remove and replace the monitor without damaging it or any intermediary components.
Wat je nodig hebt
-
-
Use an opening tool to pry up the small rubber cover on the upper right corner of the RAM access door.
-
-
-
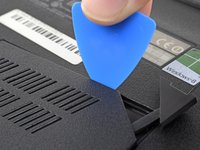
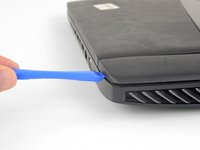
Insert the wide edge of an opening pick into a new part of the seam between the door and the computer.
-
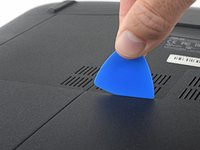
Pry the door up to release the clips closest to the pick.
-
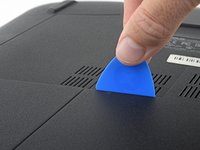
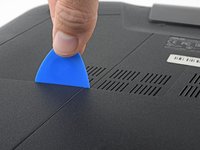
Continue to slide the pick along the seam all the way around the door, prying as you go, until all the clips holding the door down have been released.
-
-
-
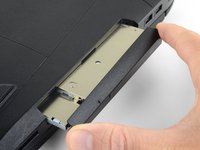
Remove the 5.2 mm Phillips #00 screw securing the optical drive.
-
-
-
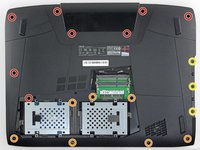
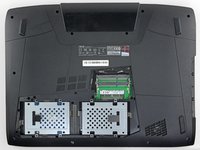
Use the point of a spudger to pry out eleven rubber plugs covering the screws on the bottom of the laptop.
-
-
-
-
Flip the laptop right-side up.
-
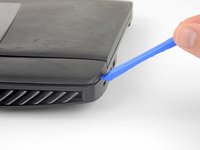
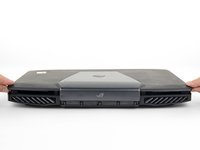
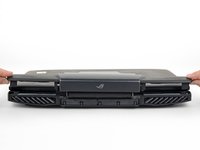
Use an opening pick to pry the left and right edges of the battery cover away from the laptop enough that you can grip the cover with your fingers.
-
-
-
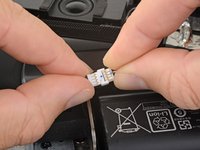
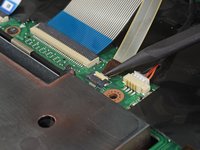
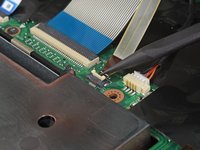
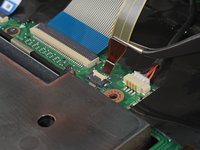
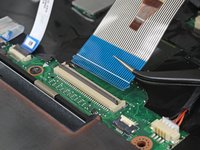
Pull the speaker connectors straight away from each other to disconnect the speaker cable.
-
-
-
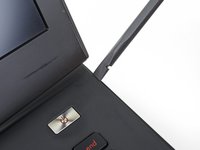
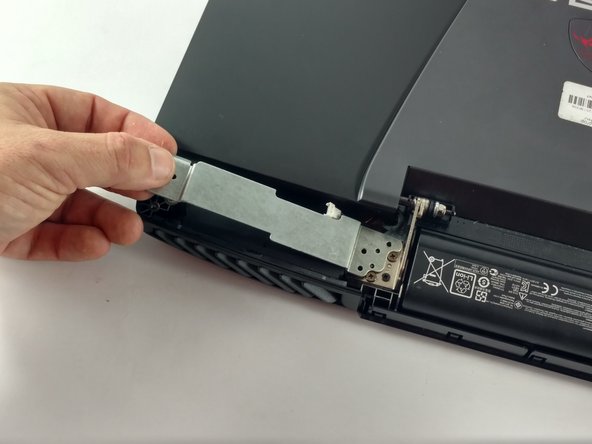
Open the laptop's display to a 90° angle.
-
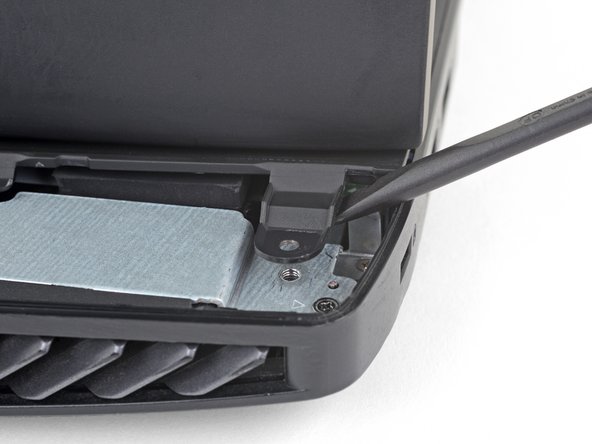
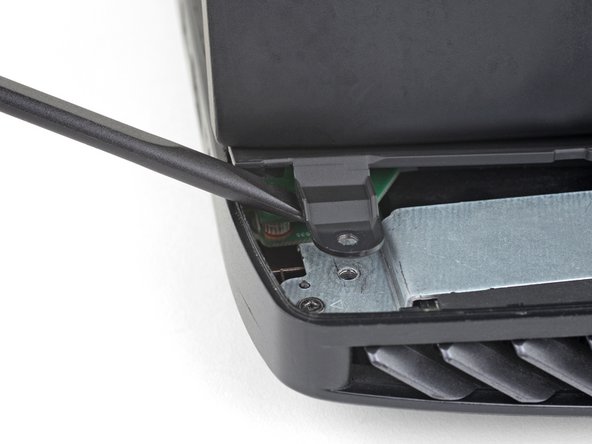
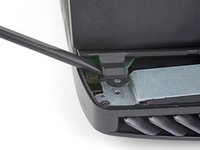
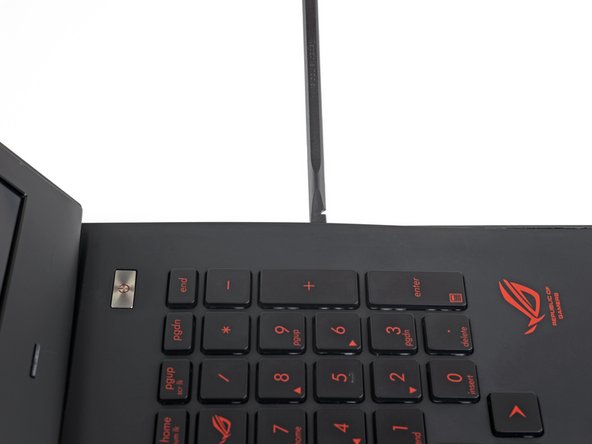
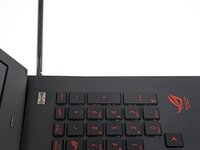
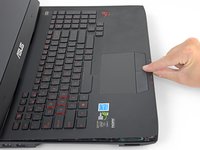
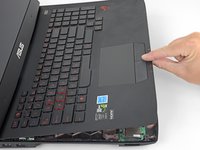
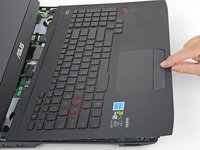
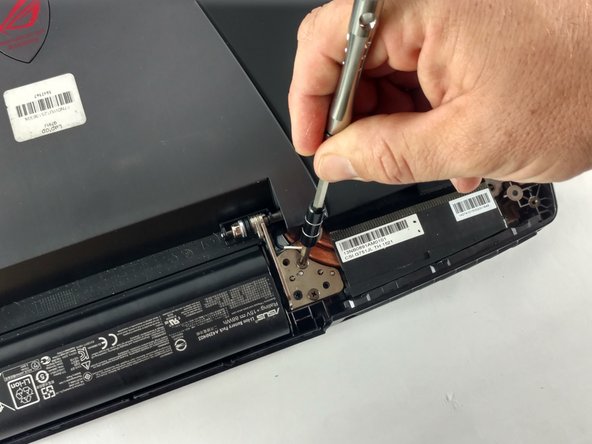
Use a spudger to pry against one of the screw tabs on the back of the upper case assembly.
-
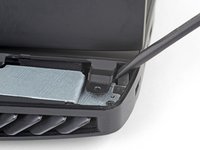
Repeat this procedure with the other tab.
-
-
-
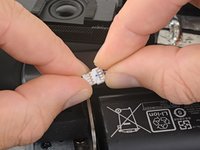
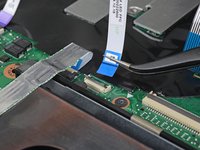
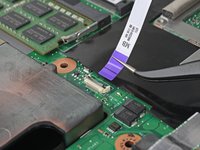
Use the tip of a spudger to flip up the small locking flap of the keyboard backlight cable ZIF connector.
-
Gently pull the cable out of its socket.
-
-
-
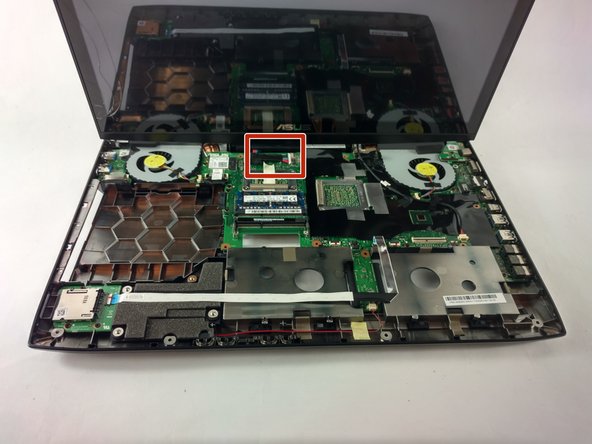
Pull the battery connector to the left, away from its socket, to disconnect it.
-


To reassemble your device, follow these instructions in reverse order.
To reassemble your device, follow these instructions in reverse order.
Team

USF Tampa, Team 2-1, Sullivan Fall 2016 Lid van USF Tampa, Team 2-1, Sullivan Fall 2016
USFT-SULLIVAN-F16S2G1
4 Leden
20 handleidingen geschreven