Deze versie kan foutieve bewerkingen bevatten. Schakel over naar de recentste gecontroleerde momentopname.
Wat je nodig hebt
-
Deze stap is niet vertaald. Help het te vertalen
-
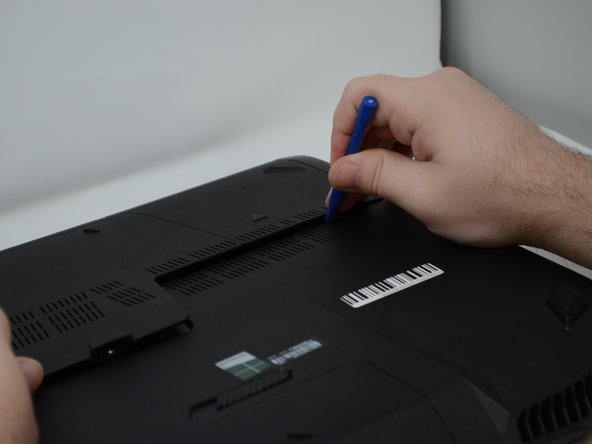
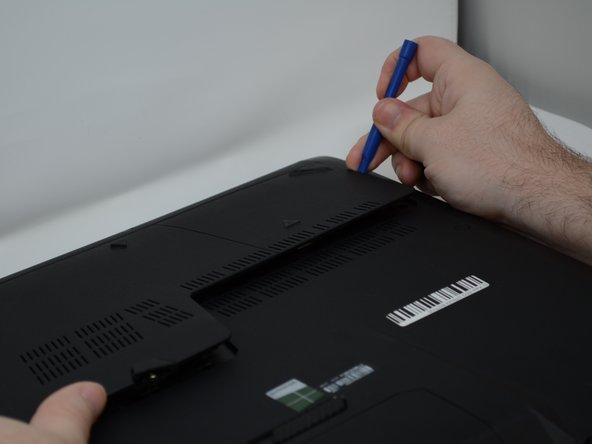
Using a plastic opening tool, remove the two rubber tabs circled in red.
-
-
Deze stap is niet vertaald. Help het te vertalen
-
Remove both of the 8mm Phillips #2 screws from these slots where the rubber caps were removed.
-
-
Deze stap is niet vertaald. Help het te vertalen
-
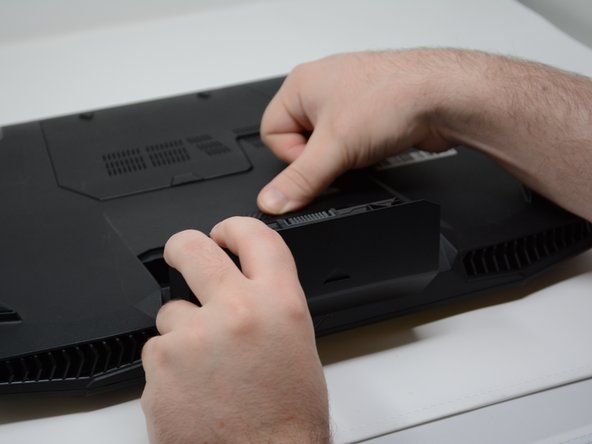
Slide the tab to pop the battery out of its holder.
-
Pull the battery out of its slot.
-
-
Deze stap is niet vertaald. Help het te vertalen
-
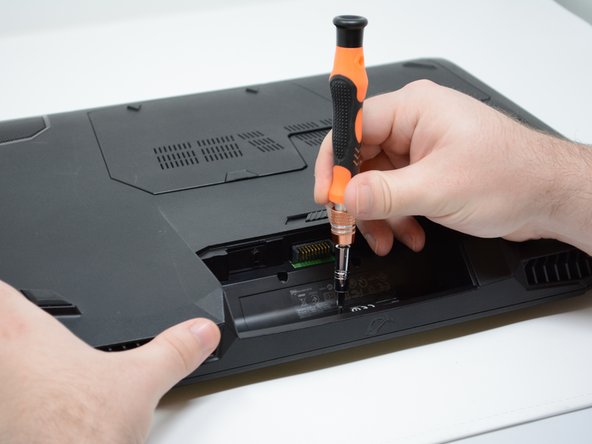
Remove the three 4mm Phillips #2 screws from the open battery slot as shown.
-
Remove the two 5mm Phillips #2 screws.
-
-
Deze stap is niet vertaald. Help het te vertalen
-
Begin prying up on the plate as shown in the pictures.
-
-
Deze stap is niet vertaald. Help het te vertalen
-
Detach the single connector using your plastic opening tool.
-
Remove the speaker bar.
-
-
Deze stap is niet vertaald. Help het te vertalen
-
With the computer upside down, lift up on the rubber cap on the back plate to access the captive Phillips #2 screw.
-
-
-
Deze stap is niet vertaald. Help het te vertalen
-
Retract the Phillips #2 screw until the cover is loose.
-
-
Deze stap is niet vertaald. Help het te vertalen
-
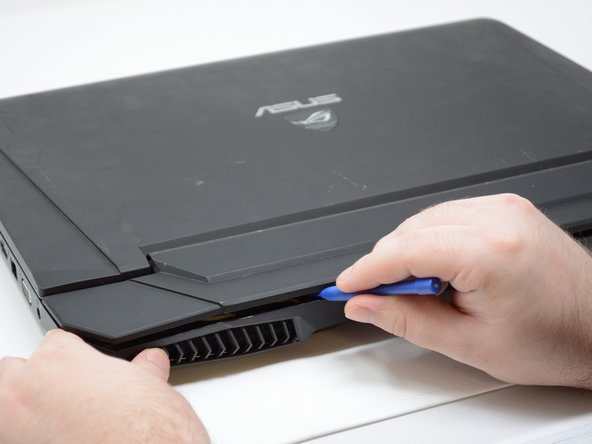
Pry around the edges of the plate using a plastic opening tool until the plate is removed.
-
-
Deze stap is niet vertaald. Help het te vertalen
-
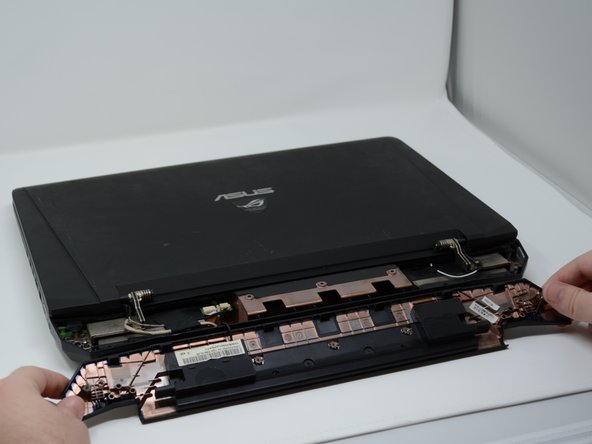
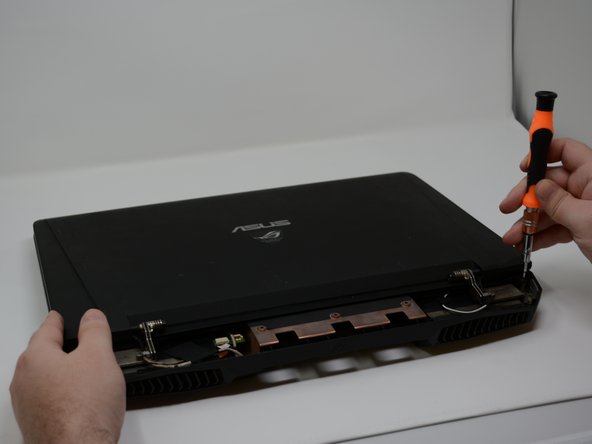
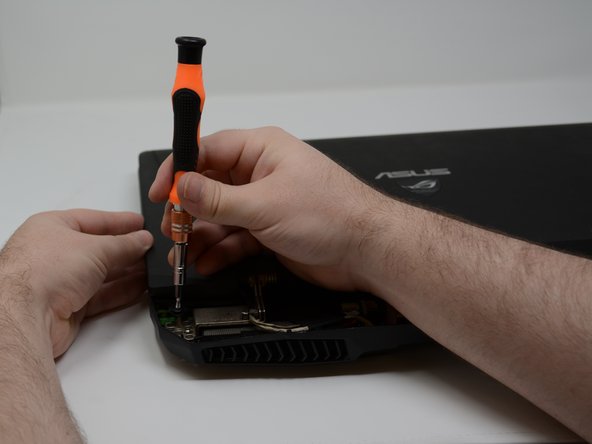
Remove the six 8mm Phillips #2 screws to remove the display.
-
Remove the two 4mm Phillips #2 screws.
-
-
Deze stap is niet vertaald. Help het te vertalen
-
Remove the four rubber tabs circled in green on the bottom of the device.
-
Remove the five 4mm #2 Phillips screws.
-
Remove the two 8mm #2 Phillips screws.
-
Remove the two 1cm #2 Phillips screws.
-
-
Deze stap is niet vertaald. Help het te vertalen
-
Pry around the keyboard on the top topside as shown to remove it from shell.
-
-
Deze stap is niet vertaald. Help het te vertalen
-
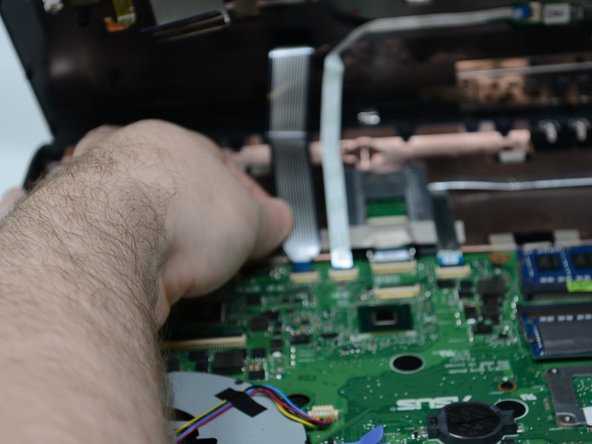
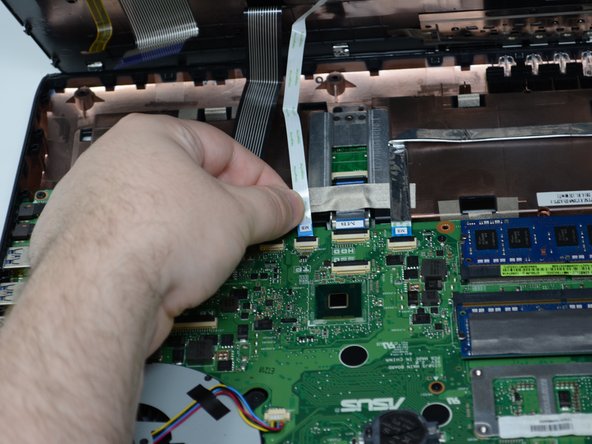
Remove the four connectors using your pry tool.
-
The keyboard will now be separated from the main computer.
-
-
Deze stap is niet vertaald. Help het te vertalen
-
First, remove the two 7mm #2 Phillips screws circled in red to fold the silver plate over.
-
Remove all the connectors shown in the orange squares. You may need to use your plastic opening tool for the smaller ones.
-
-
Deze stap is niet vertaald. Help het te vertalen
-
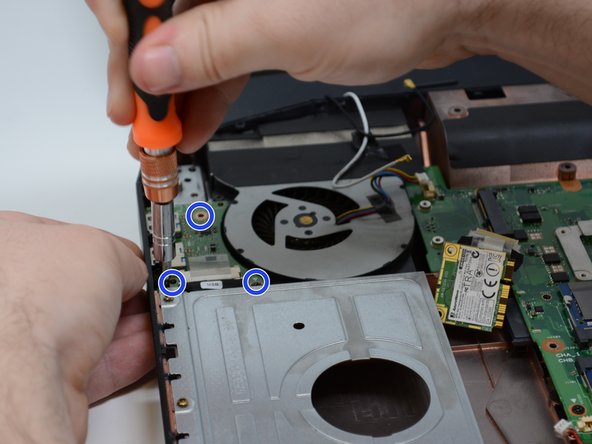
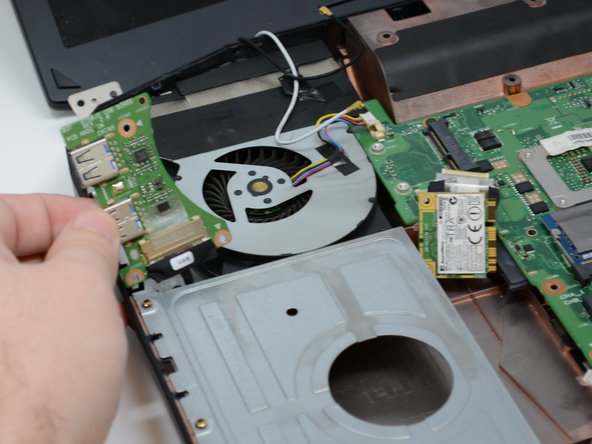
Remove the three #2 Phillips screws from the small wireless card located in the top left.
-
-
Deze stap is niet vertaald. Help het te vertalen
-
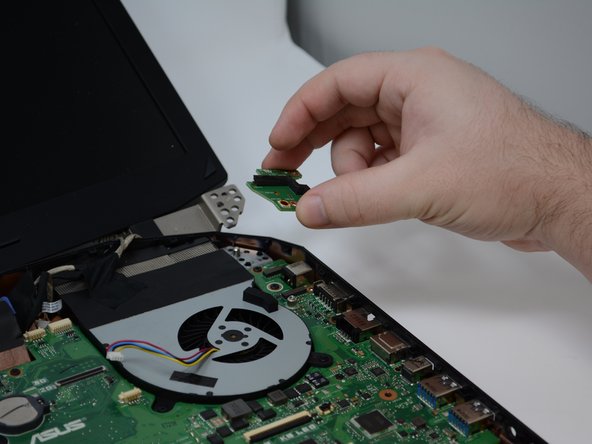
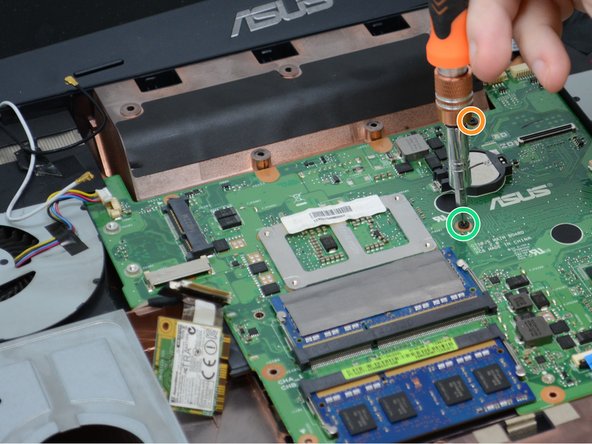
Remove the three #2 Phillips screws from the small power button card in the top right.
-
-
Deze stap is niet vertaald. Help het te vertalen
-
Remove the two #2 Phillips screws for the audio card located in the bottom right.
-
-
Deze stap is niet vertaald. Help het te vertalen
-
Remove all 8mm #2 Phillips screws .
-
Remove all 2mm #2 Phillips screws.
-
Remove all 3mm #2 Phillips screws.
-
Remove all 7mm #2 Phillips screws.
-
Remove all 4mm #2 Phillips screws.
-
-
Deze stap is niet vertaald. Help het te vertalen
-
When all the screws are removed, pry up on the edges of the circuit board. You may need your plastic opening tool to access the edges.
-


Annuleren: ik heb deze handleiding niet afgemaakt.
3 andere personen hebben deze handleiding voltooid.
Team

Central Washington University, Team S1-G6, Pengilly Fall 2018 Lid van Central Washington University, Team S1-G6, Pengilly Fall 2018
CWU-PENGILLY-F18S1G6
3 Leden
5 handleidingen geschreven