Ga door naar hoofdinhoud

Asus ROG G750JM-BSI7N23 Motherboard Replacement

Wat je nodig hebt

  1. Asus ROG G750JM-BSI7N23 Motherboard Replacement, Soundbar/speaker: stap 1, afbeelding 1 van 2 Asus ROG G750JM-BSI7N23 Motherboard Replacement, Soundbar/speaker: stap 1, afbeelding 2 van 2
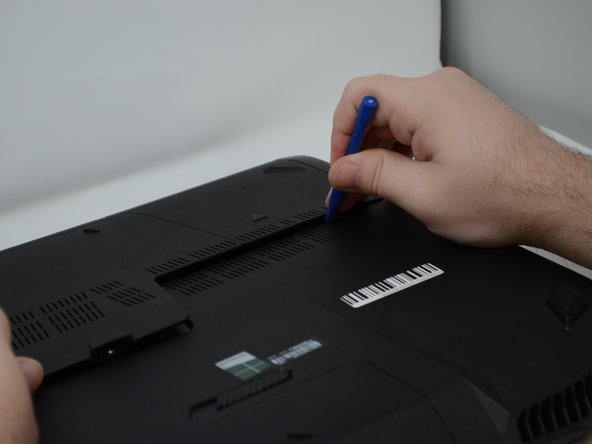
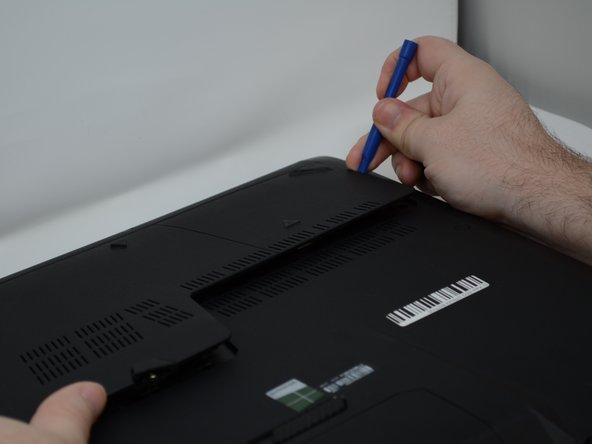
    • Using a plastic opening tool, remove the two rubber tabs circled in red.

  2. Asus ROG G750JM-BSI7N23 Motherboard Replacement: stap 2, afbeelding 1 van 2 Asus ROG G750JM-BSI7N23 Motherboard Replacement: stap 2, afbeelding 2 van 2
    • Remove both of the 8mm Phillips #2 screws from these slots where the rubber caps were removed.

  3. Asus ROG G750JM-BSI7N23 Motherboard Replacement: stap 3, afbeelding 1 van 2 Asus ROG G750JM-BSI7N23 Motherboard Replacement: stap 3, afbeelding 2 van 2
    • Slide the tab to pop the battery out of its holder.

    • Pull the battery out of its slot.

  4. Asus ROG G750JM-BSI7N23 Motherboard Replacement: stap 4, afbeelding 1 van 2 Asus ROG G750JM-BSI7N23 Motherboard Replacement: stap 4, afbeelding 2 van 2
    • Remove the three 4mm Phillips #2 screws from the open battery slot as shown.

    • Remove the two 5mm Phillips #2 screws.

  5. Asus ROG G750JM-BSI7N23 Motherboard Replacement: stap 5, afbeelding 1 van 3 Asus ROG G750JM-BSI7N23 Motherboard Replacement: stap 5, afbeelding 2 van 3 Asus ROG G750JM-BSI7N23 Motherboard Replacement: stap 5, afbeelding 3 van 3
    • Begin prying up on the plate as shown in the pictures.

  6. Asus ROG G750JM-BSI7N23 Motherboard Replacement: stap 6, afbeelding 1 van 1
    • Detach the single connector using your plastic opening tool.

    • Remove the speaker bar.

  7. Asus ROG G750JM-BSI7N23 Motherboard Replacement, Back Plate: stap 7, afbeelding 1 van 1
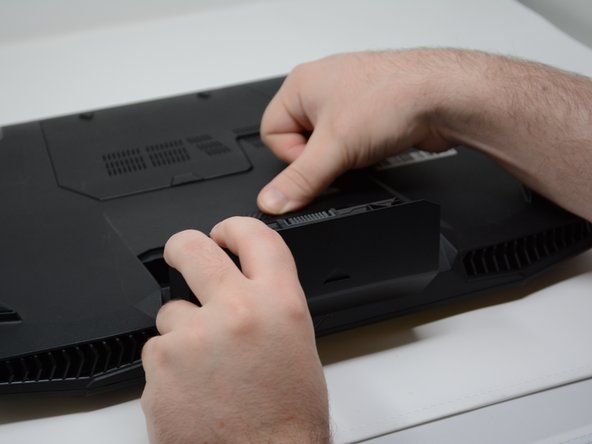
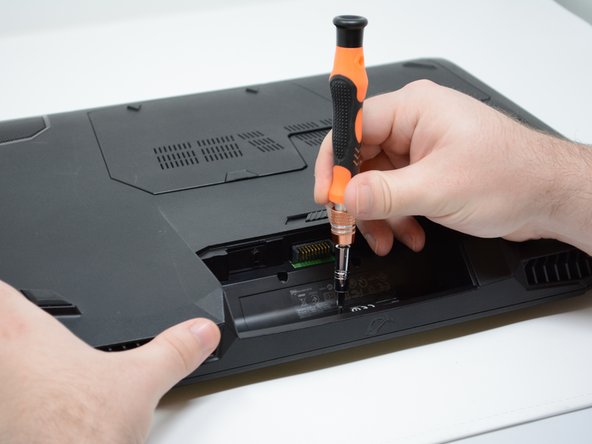
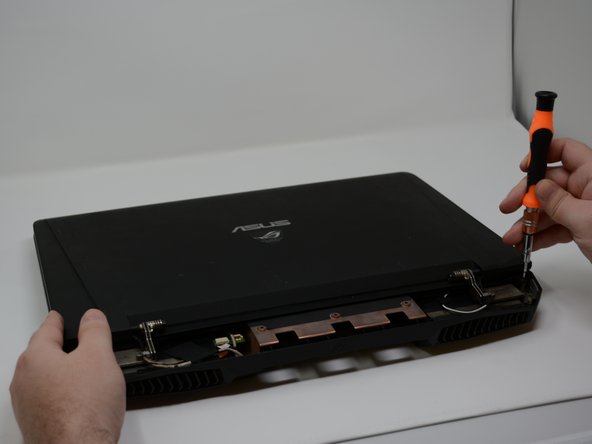
    • With the computer upside down, lift up on the rubber cap on the back plate to access the captive Phillips #2 screw.

  8. Asus ROG G750JM-BSI7N23 Motherboard Replacement: stap 8, afbeelding 1 van 1
    • Retract the Phillips #2 screw until the cover is loose.

    • The screw will not come all the way out.

  9. Asus ROG G750JM-BSI7N23 Motherboard Replacement: stap 9, afbeelding 1 van 3 Asus ROG G750JM-BSI7N23 Motherboard Replacement: stap 9, afbeelding 2 van 3 Asus ROG G750JM-BSI7N23 Motherboard Replacement: stap 9, afbeelding 3 van 3
    • Pry around the edges of the plate using a plastic opening tool until the plate is removed.

  10. Asus ROG G750JM-BSI7N23 Motherboard Replacement, Keyboard: stap 10, afbeelding 1 van 3 Asus ROG G750JM-BSI7N23 Motherboard Replacement, Keyboard: stap 10, afbeelding 2 van 3 Asus ROG G750JM-BSI7N23 Motherboard Replacement, Keyboard: stap 10, afbeelding 3 van 3
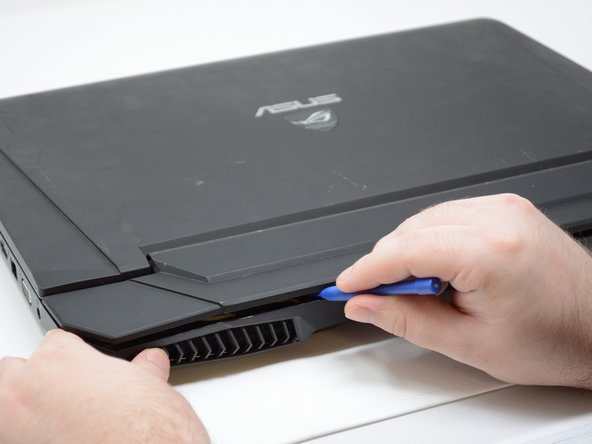
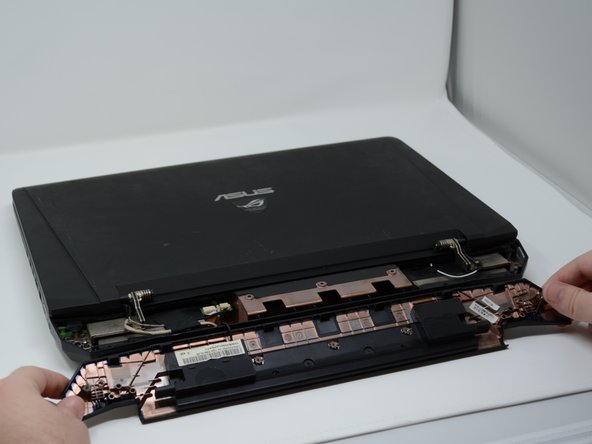
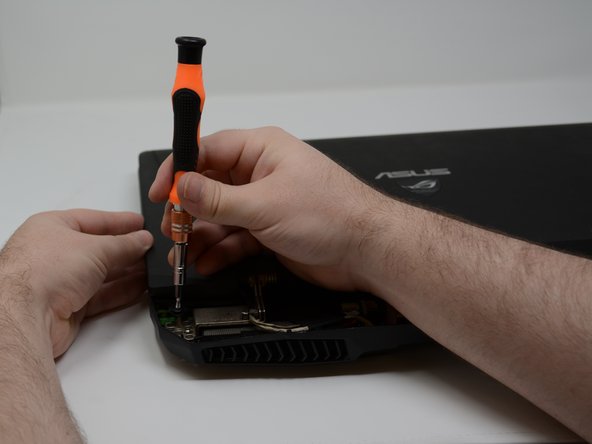
    • Remove the six 8mm Phillips #2 screws to remove the display.

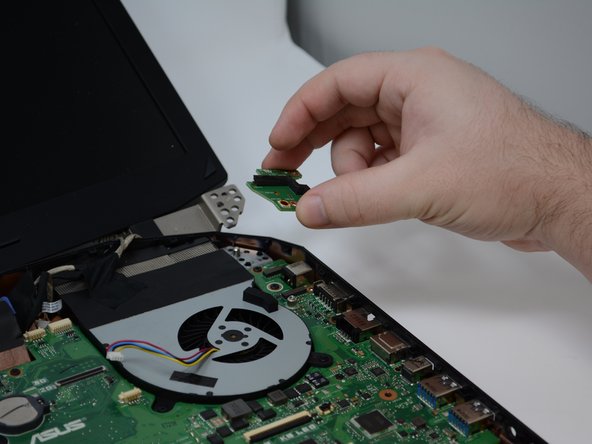
    • Remove the two 4mm Phillips #2 screws.

  11. Asus ROG G750JM-BSI7N23 Motherboard Replacement: stap 11, afbeelding 1 van 3 Asus ROG G750JM-BSI7N23 Motherboard Replacement: stap 11, afbeelding 2 van 3 Asus ROG G750JM-BSI7N23 Motherboard Replacement: stap 11, afbeelding 3 van 3
    • Remove the four rubber tabs circled in green on the bottom of the device.

    • Remove the five 4mm #2 Phillips screws.

    • Remove the two 8mm #2 Phillips screws.

    • Remove the two 1cm #2 Phillips screws.

  12. Asus ROG G750JM-BSI7N23 Motherboard Replacement: stap 12, afbeelding 1 van 3 Asus ROG G750JM-BSI7N23 Motherboard Replacement: stap 12, afbeelding 2 van 3 Asus ROG G750JM-BSI7N23 Motherboard Replacement: stap 12, afbeelding 3 van 3
    • Pry around the keyboard on the top topside as shown to remove it from shell.

  13. Asus ROG G750JM-BSI7N23 Motherboard Replacement: stap 13, afbeelding 1 van 3 Asus ROG G750JM-BSI7N23 Motherboard Replacement: stap 13, afbeelding 2 van 3 Asus ROG G750JM-BSI7N23 Motherboard Replacement: stap 13, afbeelding 3 van 3
    • Remove the four connectors using your pry tool.

    • The keyboard will now be separated from the main computer.

  14. Asus ROG G750JM-BSI7N23 Motherboard Replacement, Motherboard: stap 14, afbeelding 1 van 3 Asus ROG G750JM-BSI7N23 Motherboard Replacement, Motherboard: stap 14, afbeelding 2 van 3 Asus ROG G750JM-BSI7N23 Motherboard Replacement, Motherboard: stap 14, afbeelding 3 van 3
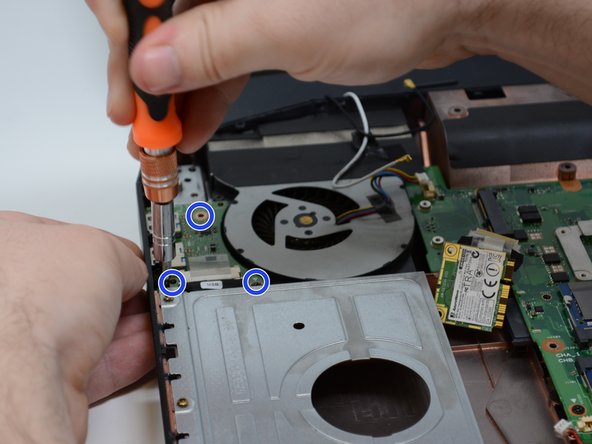
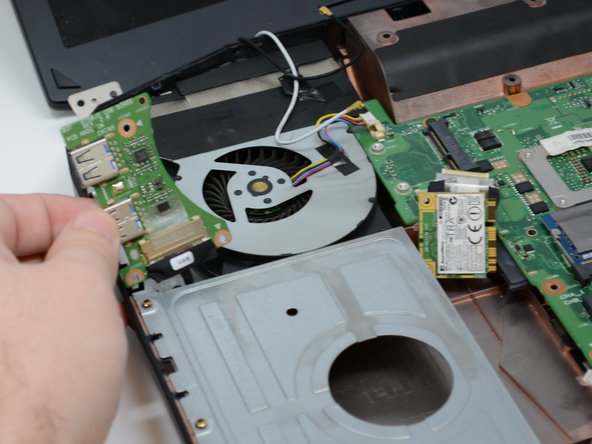
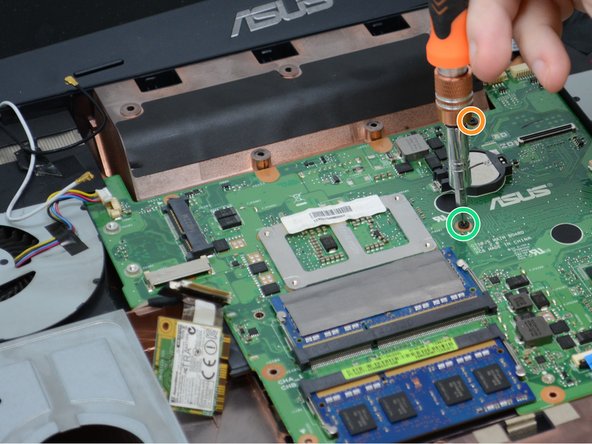
    • First, remove the two 7mm #2 Phillips screws circled in red to fold the silver plate over.

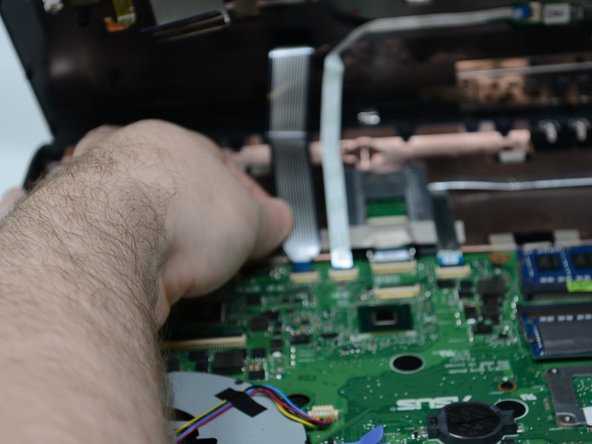
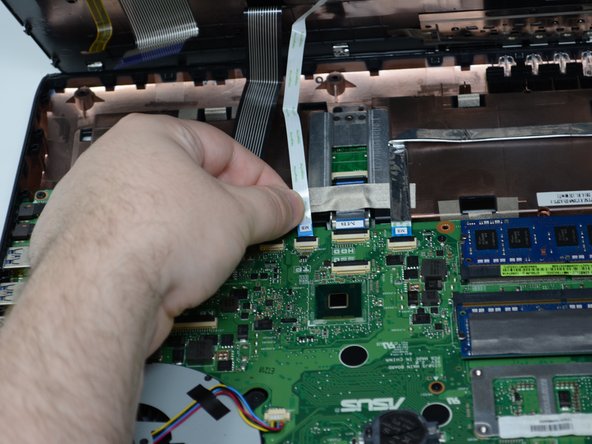
    • Remove all the connectors shown in the orange squares. You may need to use your plastic opening tool for the smaller ones.

  15. Asus ROG G750JM-BSI7N23 Motherboard Replacement: stap 15, afbeelding 1 van 3 Asus ROG G750JM-BSI7N23 Motherboard Replacement: stap 15, afbeelding 2 van 3 Asus ROG G750JM-BSI7N23 Motherboard Replacement: stap 15, afbeelding 3 van 3
    • Remove the three #2 Phillips screws from the small wireless card located in the top left.

  16. Asus ROG G750JM-BSI7N23 Motherboard Replacement: stap 16, afbeelding 1 van 2 Asus ROG G750JM-BSI7N23 Motherboard Replacement: stap 16, afbeelding 2 van 2
    • Remove the three #2 Phillips screws from the small power button card in the top right.

  17. Asus ROG G750JM-BSI7N23 Motherboard Replacement: stap 17, afbeelding 1 van 1
    • Remove the two #2 Phillips screws for the audio card located in the bottom right.

  18. Asus ROG G750JM-BSI7N23 Motherboard Replacement: stap 18, afbeelding 1 van 3 Asus ROG G750JM-BSI7N23 Motherboard Replacement: stap 18, afbeelding 2 van 3 Asus ROG G750JM-BSI7N23 Motherboard Replacement: stap 18, afbeelding 3 van 3
    • Remove all 8mm #2 Phillips screws .

    • Remove all 2mm #2 Phillips screws.

    • Remove all 3mm #2 Phillips screws.

    • Remove all 7mm #2 Phillips screws.

    • Remove all 4mm #2 Phillips screws.

  19. Asus ROG G750JM-BSI7N23 Motherboard Replacement: stap 19, afbeelding 1 van 1
    • When all the screws are removed, pry up on the edges of the circuit board. You may need your plastic opening tool to access the edges.

Conclusie

To reassemble your device, follow these instructions in reverse order.

3 andere personen hebben deze handleiding voltooid.

Tanner

Lid sinds: 09/21/18

919 Reputatie

5 handleidingen geschreven

Één opmerking

Outstanding and that's from someone who has been turning screws on computers from the 8086 chip to and IBM 4381 then wrote a few books on the subject. This is the best tutorial I've ever came across, now do the G752. It's my next project after I find a motherboard.

Bill - Antwoord

Voeg opmerking toe

Weergavestatistieken:

Afgelopen 24 uren: 0

Afgelopen 7 dagen: 0

Afgelopen 30 dagen: 9

Altijd: 1,659