Deze versie kan foutieve bewerkingen bevatten. Schakel over naar de recentste gecontroleerde momentopname.
Wat je nodig hebt
-
Deze stap is niet vertaald. Help het te vertalen
-
Using a plastic opening tool, remove the two rubber tabs circled in red.
-
-
Deze stap is niet vertaald. Help het te vertalen
-
Remove both of the 8mm Phillips #2 screws from these slots where the rubber caps were removed.
-
-
Deze stap is niet vertaald. Help het te vertalen
-
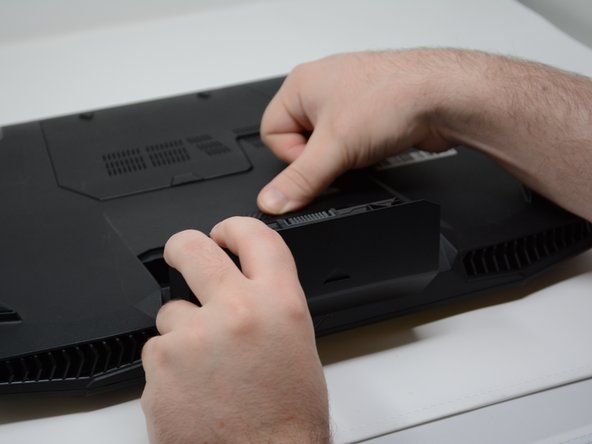
Slide the tab to pop the battery out of its holder.
-
Pull the battery out of its slot.
-
-
Deze stap is niet vertaald. Help het te vertalen
-
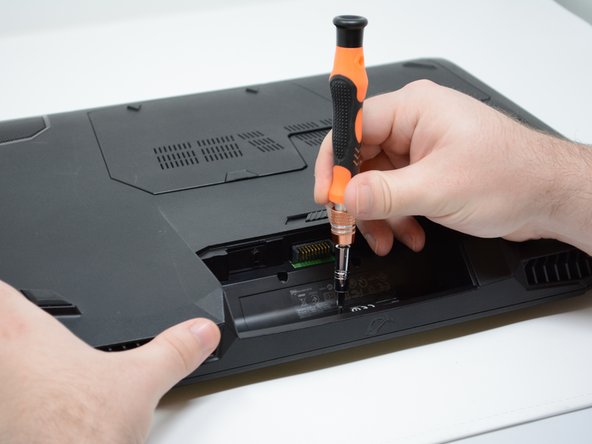
Remove the three 4mm Phillips #2 screws from the open battery slot as shown.
-
Remove the two 5mm Phillips #2 screws.
-
-
-
Deze stap is niet vertaald. Help het te vertalen
-
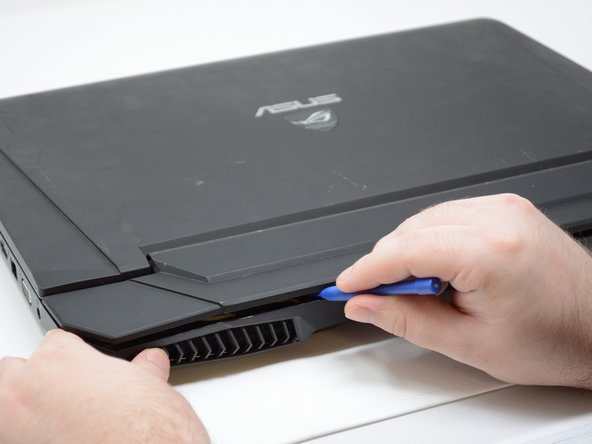
Begin prying up on the plate as shown in the pictures.
-
-
Deze stap is niet vertaald. Help het te vertalen
-
Detach the single connector using your plastic opening tool.
-
Remove the speaker bar.
-
-
Deze stap is niet vertaald. Help het te vertalen
-
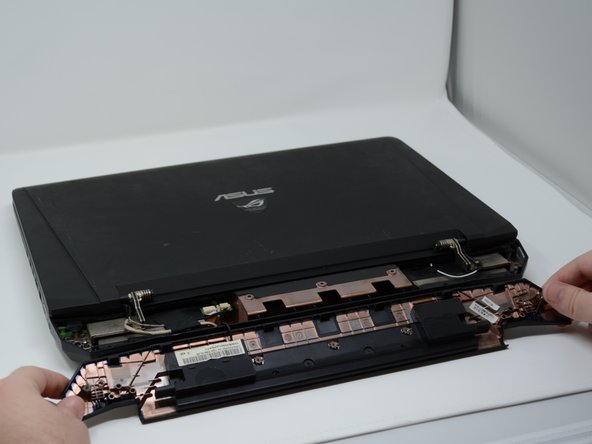
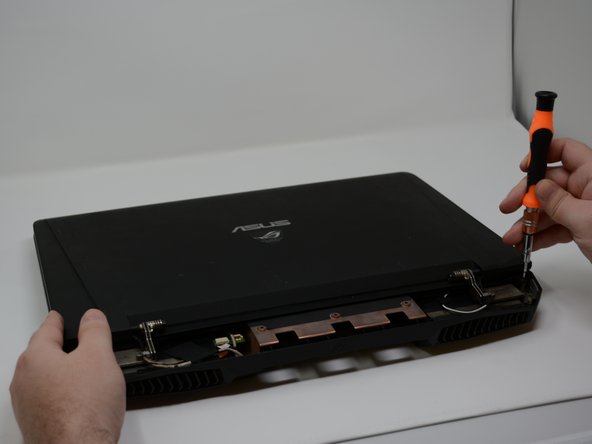
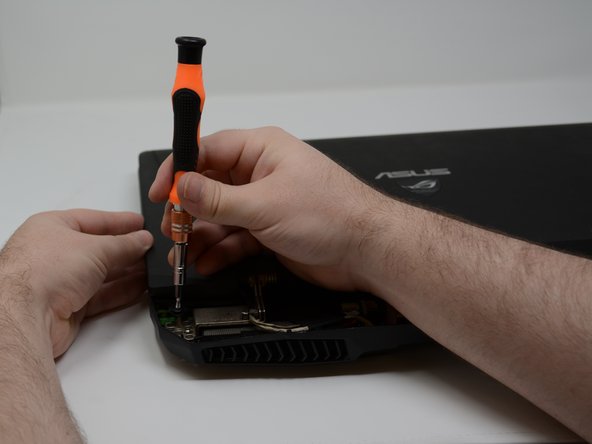
Remove the six 8mm Phillips #2 screws to remove the display.
-
Remove the two 4mm Phillips #2 screws.
-
-
Deze stap is niet vertaald. Help het te vertalen
-
Remove the four rubber tabs circled in green on the bottom of the device.
-
Remove the five 4mm #2 Phillips screws.
-
Remove the two 8mm #2 Phillips screws.
-
Remove the two 1cm #2 Phillips screws.
-
-
Deze stap is niet vertaald. Help het te vertalen
-
Pry around the keyboard on the top topside as shown to remove it from shell.
-
-
Deze stap is niet vertaald. Help het te vertalen
-
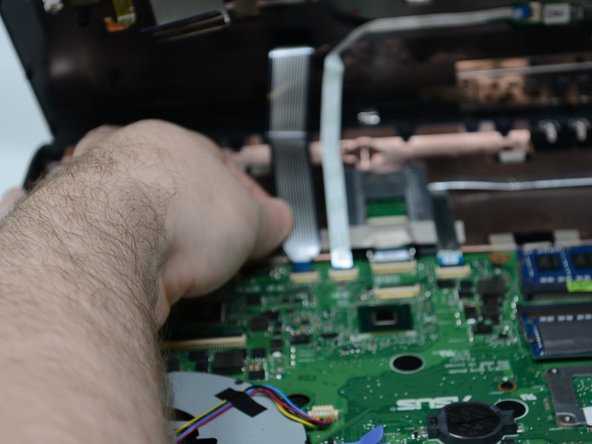
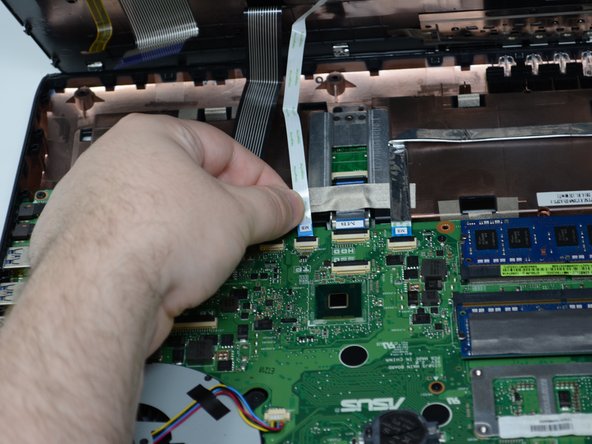
Remove the four connectors using your pry tool.
-
The keyboard will now be separated from the main computer.
-


Annuleren: ik heb deze handleiding niet afgemaakt.
2 andere personen hebben deze handleiding voltooid.
Team

Central Washington University, Team S1-G6, Pengilly Fall 2018 Lid van Central Washington University, Team S1-G6, Pengilly Fall 2018
CWU-PENGILLY-F18S1G6
3 Leden
5 handleidingen geschreven
2 opmerkingen
Thanks for the guide!
Thanks for your efforts. It could be improved upon, some steps I could figure out, but they are a bit more difficult for other people perhaps, but if you have never done this before, it’s great that this shows you where and how to start. Missing in my opinion is what to do with the display after you have removed the screws. That is not so self evident in my opinion. Also perhaps some warnings about turning the computer upside down after all those screws have been taken out. You have to be careful of that and if people have not taken the display off first…. Finally, to all who read this: create plastgic bags or paper bags (anything) to keep the different sizes of screws clearly separated and indicate how many mm they are and where they came from. It’s easy to mix everything up and then when you have to assemble it back together it’s nasty when you can’t find the proper screwsize anymore. Finally, I started reading this because I needed to replace the keyboard itself without the top and without the backlight.