Inleiding
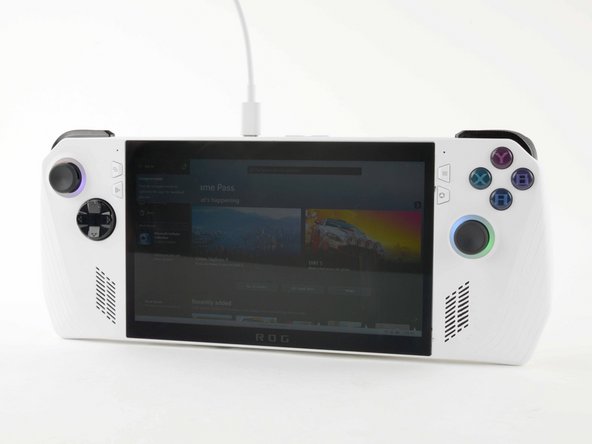
The ASUS ROG Ally was one of 2023's hottest devices but on the go gamers have had one minor complaint: its 2 hour battery life.
A few of us here at iFixit decided to do something about that in this after work hours project.
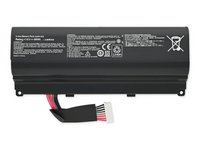
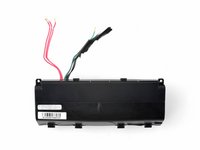
To complete this project, you'll need access to a 3D printer, some tools, and an Asus A42N1403 Laptop Battery.
Head here to pick up a remix of DarkK3y's excellent 3D scan of the Ally's original back cover. You'll be ready to start this mod once you have your new backplate printed!
Wat je nodig hebt
-
-
Completely power off your device and unplug all cables.
-
-
Gereedschap gebruikt in deze stap:FixMat$36.95
-
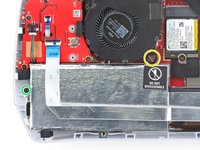
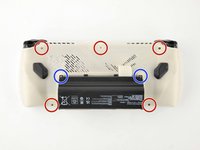
Use a Phillips #0 screwdriver to remove the five 17.2 mm‑long screws securing the top edge and bottom corners of the back cover.
-
Use a Phillips #0 screwdriver to fully loosen the remaining captive screw at the center of the bottom edge. This should create a small gap between the back cover and chassis.
-
-
-
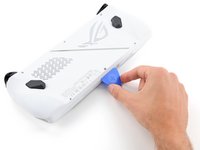
Insert the flat edge of an opening pick between the bottom edge of the back cover and chassis, near the captive screw.
-
Angle the pick upward and push it under the back cover.
-
-
-
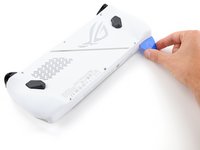
Slide the opening pick along the bottom edge and around the corners of the back cover to release the clips securing it.
-
-
-
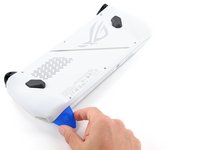
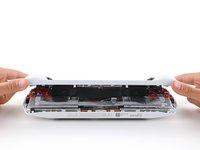
Lift the bottom edge of the back cover off the chassis to release the remaining clips.
-
Remove the back cover.
-
-
-
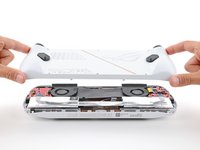
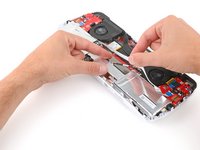
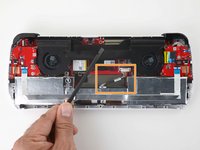
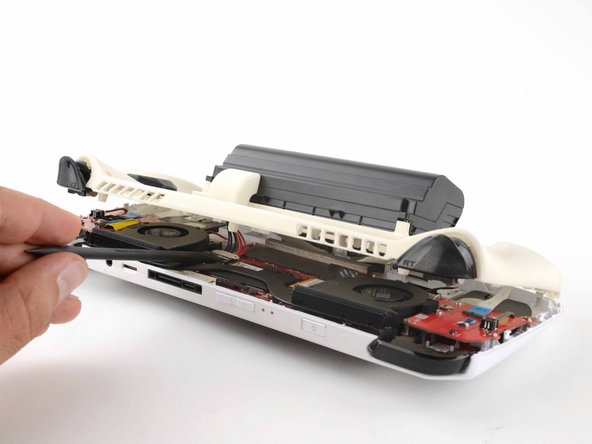
Use your fingers to peel up and remove the black plastic cover between the fans.
-
-
-
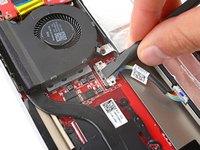
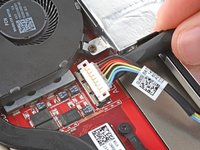
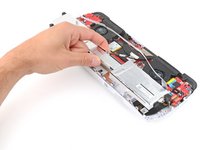
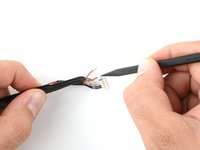
Use the flat end of a spudger to gently push the locking bar away from the connector to unlatch it.
-
-
-
-
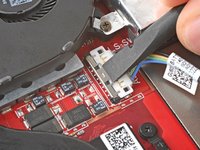
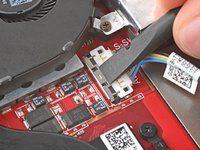
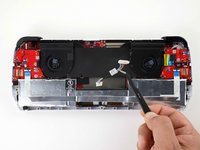
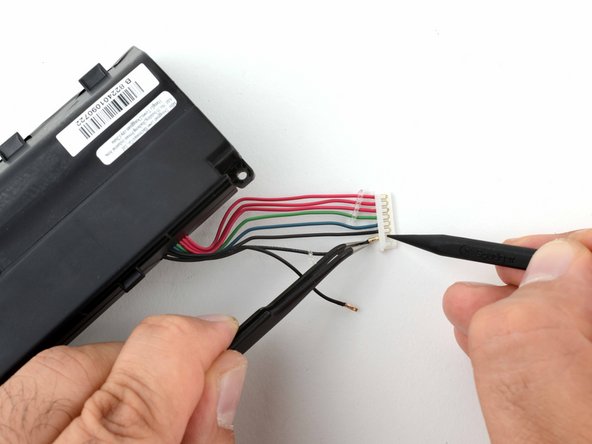
Insert the flat end of a spudger under the center of the battery connector.
-
Lift the connector straight up and out of its socket to disconnect the battery.
-
-
Gereedschap gebruikt in deze stap:Tweezers$4.99
-
Use a Phillips #00 screwdriver to remove the four screws securing the battery:
-
Two 9.6 mm‑long screws near the center of the top edge
-
Two 3.4 mm‑long screws at the left and right edges
-
-
-
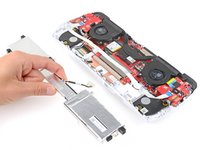
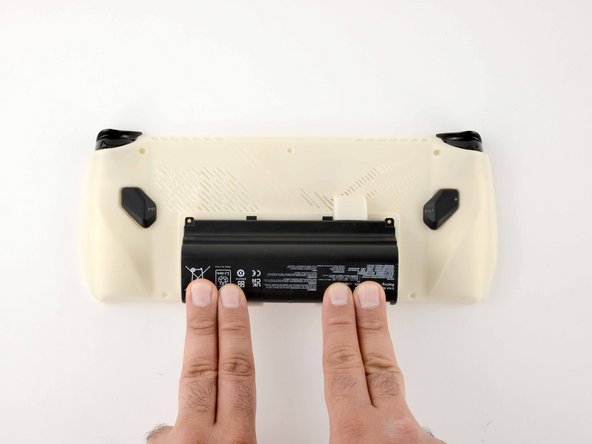
With one hand, hold the ribbon cable that runs along the top of the battery out of the way.
-
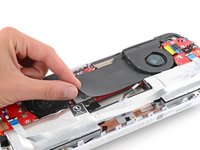
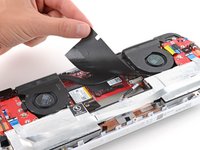
With your free hand, lift the battery straight up and remove it.
-
-
-
With one hand, firmly secure the outer battery cells.
-
With your free hand, use the point of a spudger to push on alternating sides of the battery connector to walk it out of its socket.
-
Gently push the connector partially into its socket.
-
Use a spudger to push in the outer edges of the connector until it slides fully into its socket.
-
-
-
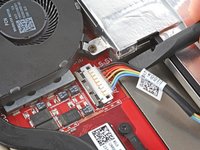
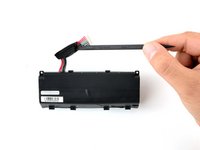
We need the cable connecting the battery pouch to the mainboard.
-
-
-
Use a bit of heat to loosen the glue around the base of the connector that connects to the mainboard.
-
Once the glue around the base is soft, pry the glue away.
-
Gently lift the small white tabs holding each wire in place and remove the wires one by one.
-
Save the connector head for step 16.
-
-
-
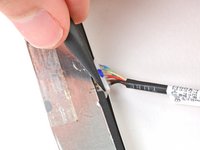
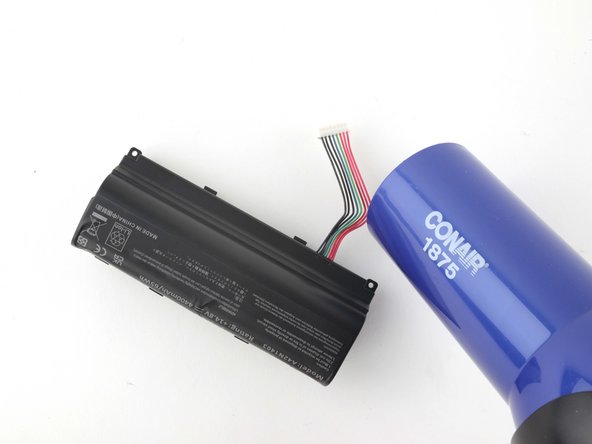
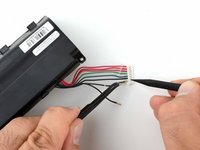
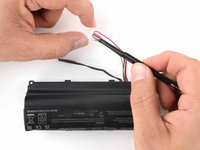
Remove the black tape around the wires on the A42N1403 battery.
-
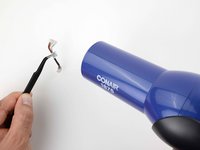
Position your hair dryer in a way that directs heat towards the connector but away from the battery.
-
-
-
Pry away the glue at the base of the connector.
-
Use a spudger to lift the plastic tabs on the connector and remove the black wires.
-
Tape the three black wires together.
-
-
Gereedschap gebruikt in deze stap:E6000 Adhesive Glue$2.99
-
Remove the remaining wires and discard the connector.
-
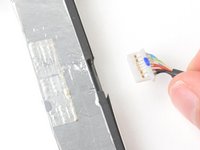
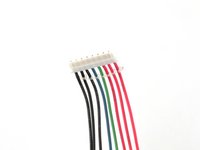
Retrieve the connector head you salvaged from the ROG Ally and place it with the row of small white tabs facing up.
-
Attach the red wires first and glue them in place with an adhesive of your choice (I used this).
-
Attach the orange/green and blue wires, followed by the three black wires as shown in the picture. Glue them all in place.
-
-
-
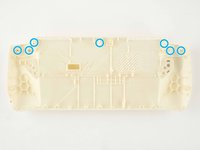
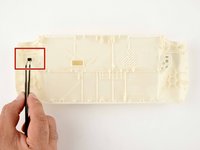
It's a good idea to run pilot holes through any screw pillars before proceeding further.
-
Make sure to grab the light blocker from the original back cover and place it in the new shell.
-
Transfer the paddles and triggers from the original cover over to the newly printed back plate.
-
-
-
Pass the battery cable through the opening in the new back plate.
-
Turn the connector head 180 degrees so the small white tabs are facing towards the mainboard.
-
Ensure the battery is correctly positioned and firmly press down on the base of the battery pack until you hear a click.
-
With the back plate loose, you need to carefully connect the battery connector and slide the metal bracket into its locked position.
-
-
-
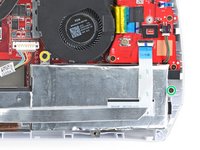
You can replace five of the original six screws used to secure the backplate.
-
Use two of the screws from the original battery pack to further secure the new battery.
-
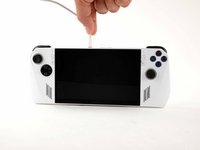
Plug in your ROG Ally to its power supply.
-
Your ROG Ally should now be able to run off the new battery pack.
-
-
-
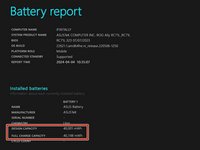
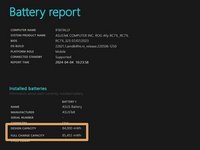
OEM battery pack capacity.
-
Upgraded battery pack capacity.
-
Game on.
-
-
-
For the terminally curious, this is a shot of the BMS board.
-
Did you install the light blocker on your new back cover? Did you try taping the light sensor over with black tape?
-
Did you plug your Ally into mains using the original charging brick?
-
Double check to ensure your cable is properly seated on the mainboard. The margins are tight and it can pop out easily.
-
Double check that the pins on the connector head are inserted fully. You should be able to see the copper tabs through the white plastic.
-
Check your wiring. With the connector heads little white tabs facing up, you should have 3 red wires on the right and 3 black wires on the left. When connected to the mainboard, you should have 3 red wires on the left and 3 black wires on the right.
-


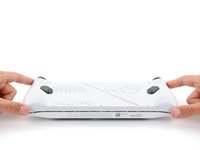


To reassemble your device, follow these instructions in reverse order.
To reassemble your device, follow these instructions in reverse order.
Annuleren: ik heb deze handleiding niet afgemaakt.
5 andere personen hebben deze handleiding voltooid.


17 opmerkingen
Ich würde gerne diese Mod machen, aber ich kann die Batterie nicht nach Deutschland bestellen. Gibt es da eine Möglichkeit?
The batteries should be available from third party sellers on other platforms. Our EU store doesn't currently stock this battery.
I'm the creator of the original battery mod. It's so cool to see ifitit do their own spin off!
I'll need to add this to allymods.com
Glad you liked it! Feel free to refine it further, there's always room for improvement :)
And how much battery time did you actually won with this mod?