Ga door naar hoofdinhoud

Asus MeMO Pad HD 8 ME180A Camera Replacement

Wat je nodig hebt

  1. Asus MeMO Pad HD 8 ME180A Camera Replacement, Battery: stap 1, afbeelding 1 van 2 Asus MeMO Pad HD 8 ME180A Camera Replacement, Battery: stap 1, afbeelding 2 van 2
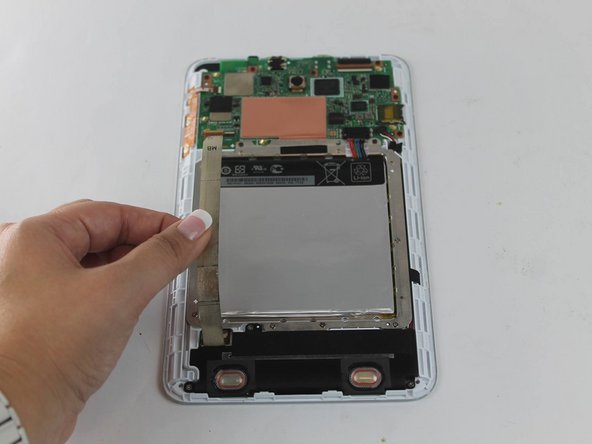
    • Use a plastic opening tool to separate the back half from the front half.

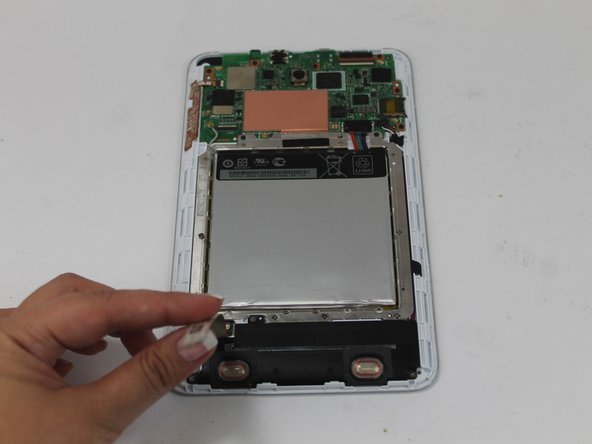
    • Pull the back panel away from the device.

    • The volume buttons can fall out of the case. Be careful not to lose them.

  2. Asus MeMO Pad HD 8 ME180A Camera Replacement: stap 2, afbeelding 1 van 1
    Gereedschap gebruikt in deze stap:
    Anti-Static Wrist Strap
    $7.95
    Koop
  3. Asus MeMO Pad HD 8 ME180A Camera Replacement: stap 3, afbeelding 1 van 3 Asus MeMO Pad HD 8 ME180A Camera Replacement: stap 3, afbeelding 2 van 3 Asus MeMO Pad HD 8 ME180A Camera Replacement: stap 3, afbeelding 3 van 3
    • Lift the white bar on the ZIF connector and pull the metal connector out.

  4. Asus MeMO Pad HD 8 ME180A Camera Replacement: stap 4, afbeelding 1 van 2 Asus MeMO Pad HD 8 ME180A Camera Replacement: stap 4, afbeelding 2 van 2
    • Using your spudger, press down on the two spots shown in order to release the cables.

    • Ensure that the touchscreen cables are fully disconnected.

  5. Asus MeMO Pad HD 8 ME180A Camera Replacement: stap 5, afbeelding 1 van 2 Asus MeMO Pad HD 8 ME180A Camera Replacement: stap 5, afbeelding 2 van 2
    • Using a PH#0 screwdriver, remove the twelve silver 3.2 mm screws.

    • Pull the battery out.

  6. Asus MeMO Pad HD 8 ME180A Camera Replacement, Motherboard: stap 6, afbeelding 1 van 1
    • Disconnect GPS Antenna cable.

  7. Asus MeMO Pad HD 8 ME180A Camera Replacement: stap 7, afbeelding 1 van 1
    • Flip the latch and pull the ribbon cable to disconnect the ZIF connector.

  8. Asus MeMO Pad HD 8 ME180A Camera Replacement: stap 8, afbeelding 1 van 1
    • Flip the latch and pull the ribbon cable to disconnect the ZIF connector.

  9. Asus MeMO Pad HD 8 ME180A Camera Replacement: stap 9, afbeelding 1 van 2 Asus MeMO Pad HD 8 ME180A Camera Replacement: stap 9, afbeelding 2 van 2
    • Use a PH#0 screwdriver to unscrew the six 3.0 mm black screws.

    • Lift the motherboard straight up to remove.

  10. Asus MeMO Pad HD 8 ME180A Camera Replacement, Camera: stap 10, afbeelding 1 van 1
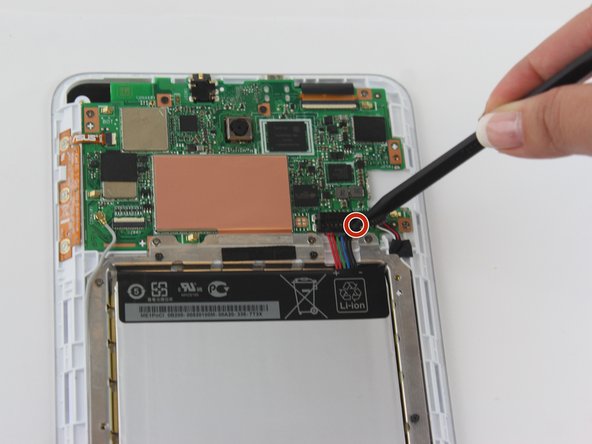
    • Upon removal of the motherboard, flip the motherboard to the side so the front-face camera faces you.

    • Remove the front facing camera.

  11. Asus MeMO Pad HD 8 ME180A Camera Replacement: stap 11, afbeelding 1 van 1
    Gereedschap gebruikt in deze stap:
    Tweezers
    $4.99
    Koop
    • Upon removal of the front-face camera, flip your device to the side so the back-face camera faces you.

    • Using a pair of tweezers, grab the back-face camera and pull it straight out.

Conclusie

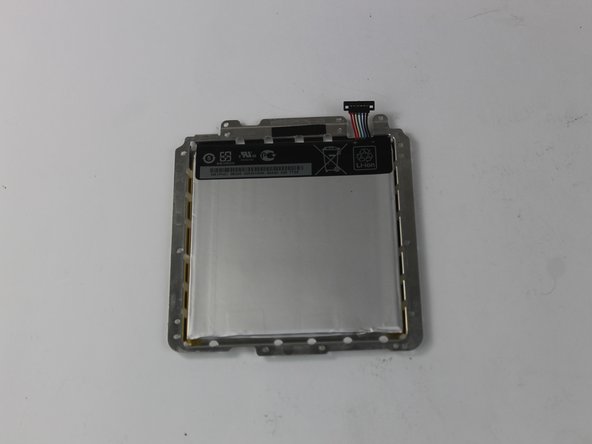
To reassemble your device, follow these instructions in reverse order.

Rebecca Ellerhorst

Lid sinds: 10/04/16

561 Reputatie

5 handleidingen geschreven

Team

USF Tampa, Team 2-5, Nance Fall 2016 Lid van USF Tampa, Team 2-5, Nance Fall 2016

USFT-NANCE-F16S2G5

3 Leden

10 handleidingen geschreven

0 opmerkingen

Voeg opmerking toe

Weergavestatistieken:

Afgelopen 24 uren: 0

Afgelopen 7 dagen: 0

Afgelopen 30 dagen: 6

Altijd: 239