Ga door naar hoofdinhoud

Asus Chromebook C523N Motherboard Replacement

Wat je nodig hebt

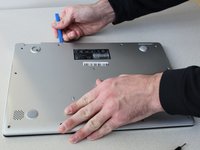
  1. Asus Chromebook C523N Motherboard Replacement, Back Cover: stap 1, afbeelding 1 van 2 Asus Chromebook C523N Motherboard Replacement, Back Cover: stap 1, afbeelding 2 van 2
    • Remove the four 0.5mm JIS #00 screws from the bottom edge of the Chromebook and one in the center.

    • Remove the six 1.7mm JIS #00 screws from the sides and top edge of the Chromebook.

  2. Asus Chromebook C523N Motherboard Replacement: stap 2, afbeelding 1 van 2 Asus Chromebook C523N Motherboard Replacement: stap 2, afbeelding 2 van 2
    • Using a spudger, lift the top left base pad and remove it to reveal a final screw underneath.

    • Remove the one 0.5mm JIS #00 screw underneath the base pad.

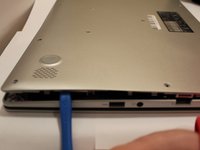
  3. Asus Chromebook C523N Motherboard Replacement: stap 3, afbeelding 1 van 2 Asus Chromebook C523N Motherboard Replacement: stap 3, afbeelding 2 van 2
    • Use an opening tool to gently pry the base enclosure up and remove from the laptop.

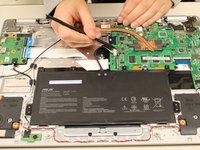
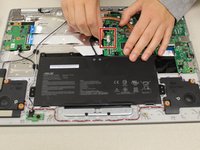
  4. Asus Chromebook C523N Motherboard Replacement, Battery: stap 4, afbeelding 1 van 3 Asus Chromebook C523N Motherboard Replacement, Battery: stap 4, afbeelding 2 van 3 Asus Chromebook C523N Motherboard Replacement, Battery: stap 4, afbeelding 3 van 3
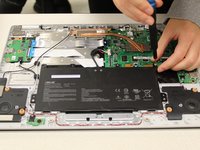
    • To disconnect the cable, use the tip of a spudger or your fingernail to flip up the small locking flap.

    • Gently disconnect the battery cable from the motherboard.

  5. Asus Chromebook C523N Motherboard Replacement: stap 5, afbeelding 1 van 2 Asus Chromebook C523N Motherboard Replacement: stap 5, afbeelding 2 van 2
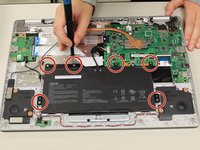
    • Remove six 1.4 mm JIS #00 screws from the battery.

  6. Asus Chromebook C523N Motherboard Replacement: stap 6, afbeelding 1 van 1
    • Remove the battery from the laptop.

  7. Asus Chromebook C523N Motherboard Replacement, Motherboard: stap 7, afbeelding 1 van 3 Asus Chromebook C523N Motherboard Replacement, Motherboard: stap 7, afbeelding 2 van 3 Asus Chromebook C523N Motherboard Replacement, Motherboard: stap 7, afbeelding 3 van 3
    Gereedschap gebruikt in deze stap:
    Tweezers
    $4.99
    Koop
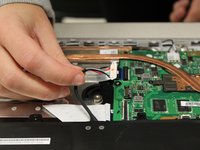
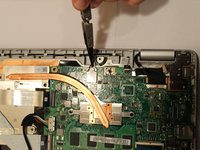
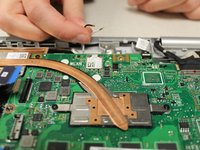
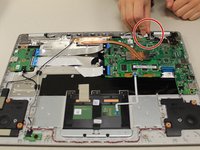
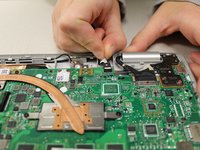
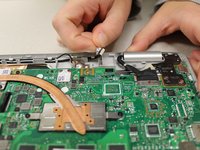
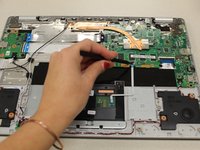
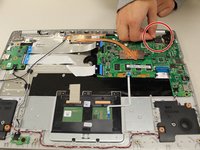
    • Using tweezers, gently pry the black and white wires from the wireless card and lift.

  8. Asus Chromebook C523N Motherboard Replacement: stap 8, afbeelding 1 van 3 Asus Chromebook C523N Motherboard Replacement: stap 8, afbeelding 2 van 3 Asus Chromebook C523N Motherboard Replacement: stap 8, afbeelding 3 van 3
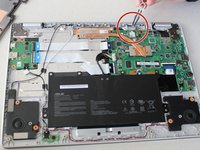
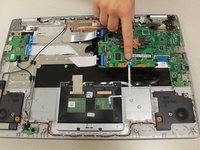
    • Gently pull the trackpad cable from the connector, located next to the wireless card.

  9. Asus Chromebook C523N Motherboard Replacement: stap 9, afbeelding 1 van 3 Asus Chromebook C523N Motherboard Replacement: stap 9, afbeelding 2 van 3 Asus Chromebook C523N Motherboard Replacement: stap 9, afbeelding 3 van 3
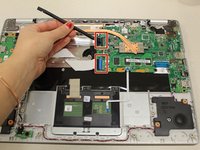
    • Using a spudger, disconnect the two side-by-side ribbon cables from their connectors, pushing in the direction of the ribbons (toward the left side of the Chromebook).

  10. Asus Chromebook C523N Motherboard Replacement: stap 10, afbeelding 1 van 2 Asus Chromebook C523N Motherboard Replacement: stap 10, afbeelding 2 van 2
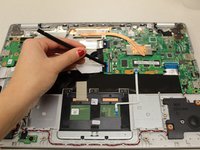
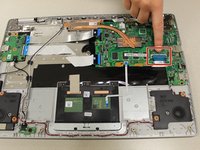
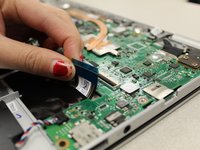
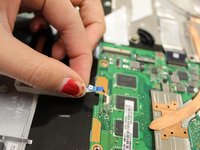
    • Disconnect the thick blue ribbon cable from the connector by pulling it away from the motherboard.

  11. Asus Chromebook C523N Motherboard Replacement: stap 11, afbeelding 1 van 3 Asus Chromebook C523N Motherboard Replacement: stap 11, afbeelding 2 van 3 Asus Chromebook C523N Motherboard Replacement: stap 11, afbeelding 3 van 3
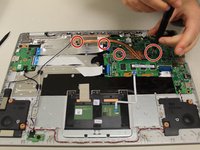
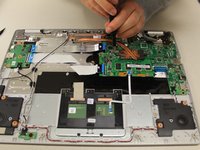
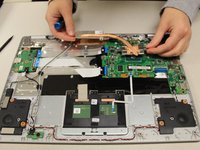
    • Remove the 0.4mm JIS #0 screws from the heat sink in the center of the motherboard.

    • Lift and remove the heat sink.

  12. Asus Chromebook C523N Motherboard Replacement: stap 12, afbeelding 1 van 3 Asus Chromebook C523N Motherboard Replacement: stap 12, afbeelding 2 van 3 Asus Chromebook C523N Motherboard Replacement: stap 12, afbeelding 3 van 3
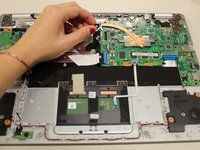
    • Gripping the thin white ribbon cable, gently pull it away from the motherboard to disconnect.

  13. Asus Chromebook C523N Motherboard Replacement: stap 13, afbeelding 1 van 2 Asus Chromebook C523N Motherboard Replacement: stap 13, afbeelding 2 van 2
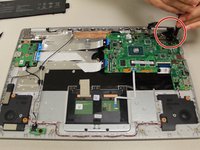
    • Disconnect the thick black connector by gently pulling it up, away from the motherboard.

  14. Asus Chromebook C523N Motherboard Replacement: stap 14, afbeelding 1 van 2 Asus Chromebook C523N Motherboard Replacement: stap 14, afbeelding 2 van 2
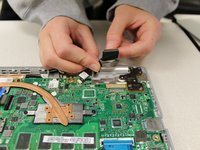
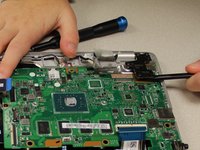
    • Remove the two 0.4mm JIS #00 screws at the bottom of the hinge (closest to the motherboard).

    • Using an opening tool, pry the hinge upward.

  15. Asus Chromebook C523N Motherboard Replacement: stap 15, afbeelding 1 van 2 Asus Chromebook C523N Motherboard Replacement: stap 15, afbeelding 2 van 2
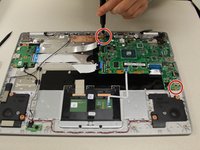
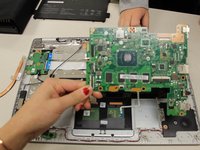
    • Remove the two 0.4 mm JIS #00 screws from the motherboard.

    • Gently lift and remove the motherboard.

Conclusie

To reassemble your device, follow these instructions in reverse order.

4 andere personen hebben deze handleiding voltooid.

2 opmerkingen

Hi!

I assembled the motherboard but it isn't working. There is no power light. How to validate that the motherboard is functioning?

If I just connect power stream to its USBC power port the LED should be lighting?

mmm - Antwoord

I was following this guide and I found there were actually four screws holding the MB down. The red/blue/white/black speaker cable must also be disconnected to get the board out entirely.

Jaret Meier - Antwoord

Voeg opmerking toe

Weergavestatistieken:

Afgelopen 24 uren: 3

Afgelopen 7 dagen: 11

Afgelopen 30 dagen: 38

Altijd: 3,499