Deze handleiding heeft recentere wijzigingen. Schakel over naar de nieuwste niet-geverifieerde versie.
Inleiding
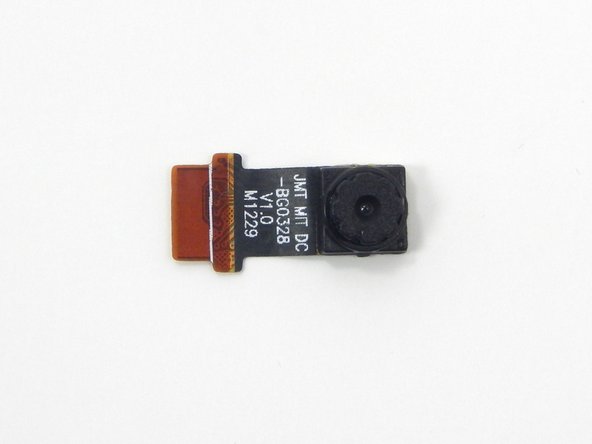
This guide, along with the prerequisite guides, will demonstrate how to remove and replace the camera in your Arnova 7K G3 tablet.
Wat je nodig hebt
-
-
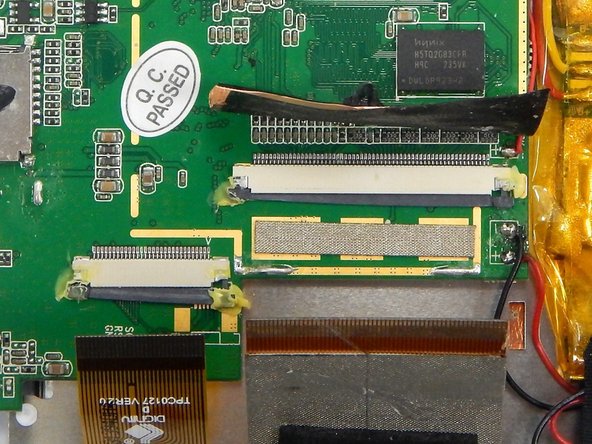
Peel the copper tape covering the ribbon connector with a set of tweezers.
-
-
-
-
Remove the two Phillips #00 screws from the motherboard.
-
-
-
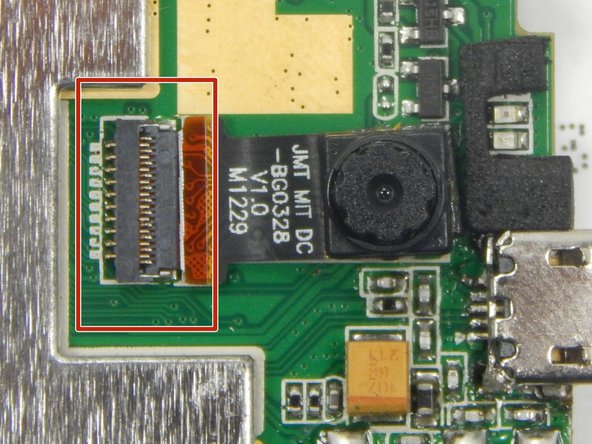
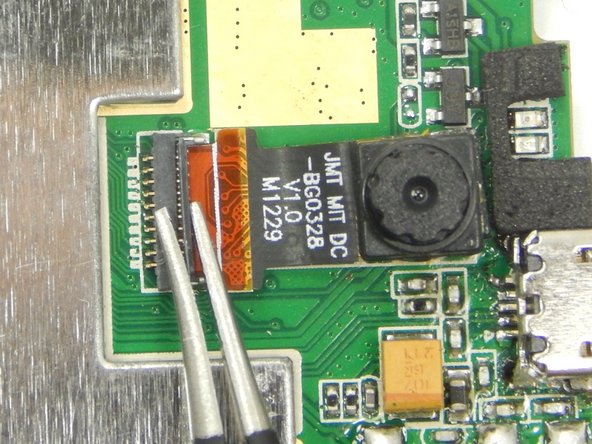
Locate the camera and camera ribbon connection on the backside of the motherboard.
-


To reassemble your device, follow these instructions in reverse order.
To reassemble your device, follow these instructions in reverse order.
Team

Michigan Tech, Team 1-2, Lauer Spring 2015 Lid van Michigan Tech, Team 1-2, Lauer Spring 2015
MTU-LAUER-S15S1G2
2 Leden
10 handleidingen geschreven