Wat je nodig hebt
-
Deze stap is niet vertaald. Help het te vertalen
-
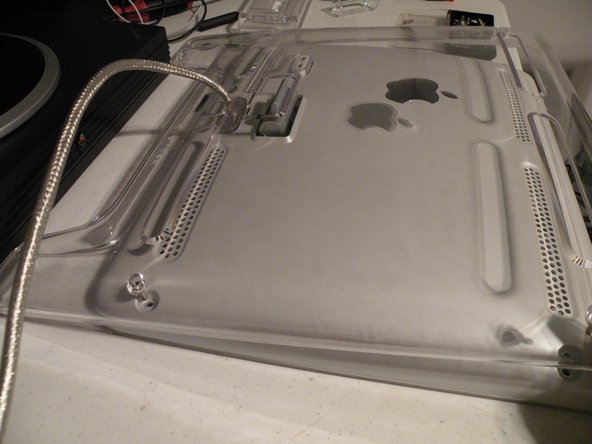
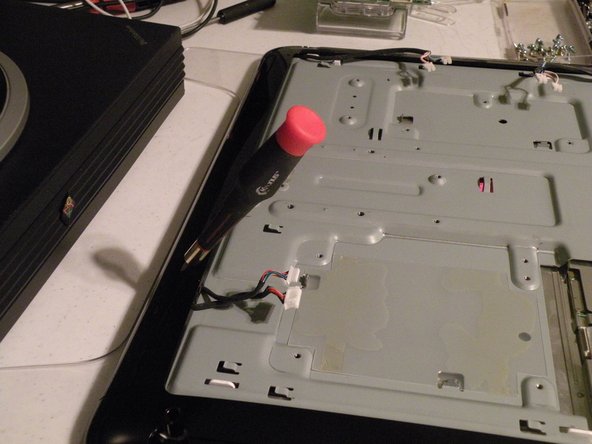
Start by fliping the display so it is face down.
-
Remove these 3 hex screws on the swing arm of the display.
-
Then remove the swing arm, and the piece of plastic underneath it.
-
-
Deze stap is niet vertaald. Help het te vertalen
-
The Swing Arm:
-
The Piece of plastic under the swing arm, you need to remove this(2nd Photo).
-
-
Deze stap is niet vertaald. Help het te vertalen
-
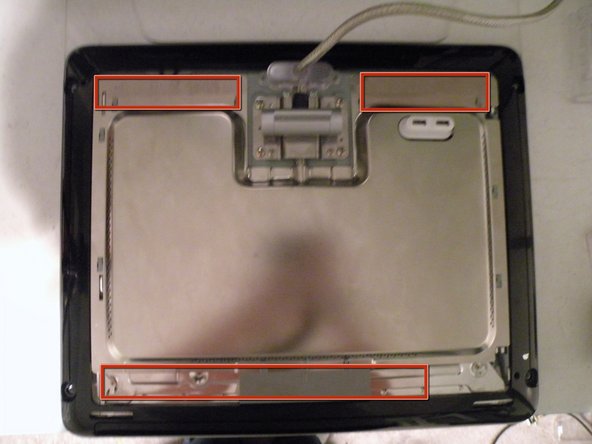
To remove the back panel, remove these hex screws.
-
Then lift the panel from the top of the display.
-
-
Deze stap is niet vertaald. Help het te vertalen
-
Removing the 2nd panel:
-
Grasp the bottom of the 2nd panel and lift it up, route the ADB cable through the hole.
-
This will reveal a shiney metal panel.
-
There may be tape here, remove it.
-
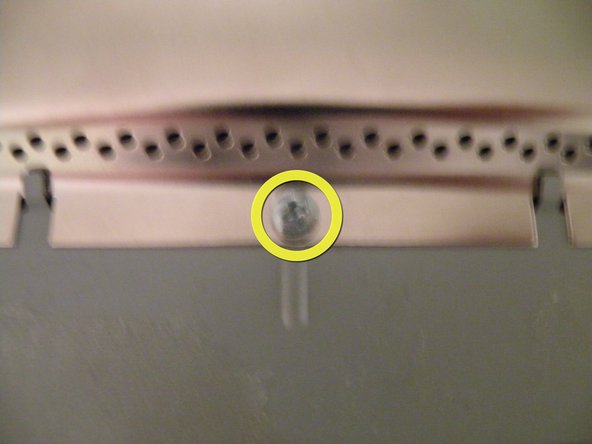
Remove this screw.
-
-
Deze stap is niet vertaald. Help het te vertalen
-
Removing the metal shield:
-
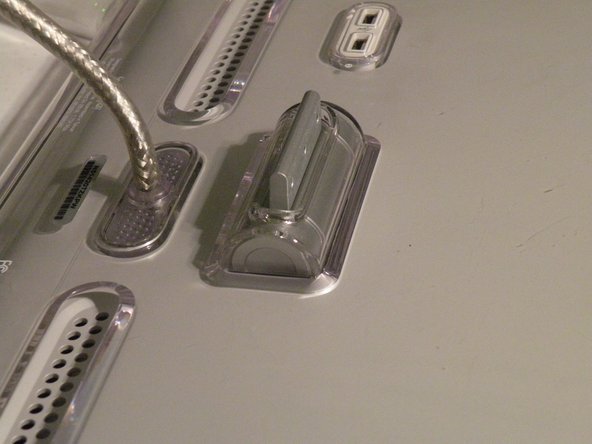
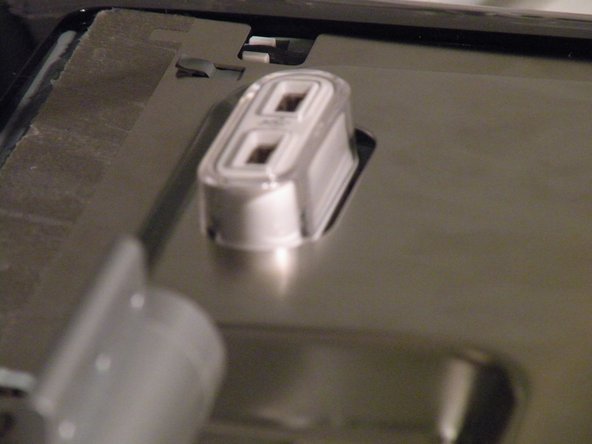
After the tape and screw is removed, slide the panel towards you and lift it out.
-
Also, remove the clear USB port cover.
-
We now have full access to the electronics.
-
-
-
Deze stap is niet vertaald. Help het te vertalen
-
To partially free the ADC cable, remove these 6 phillips screws, than remove the metal hinge and the cable elbow.
-
-
Deze stap is niet vertaald. Help het te vertalen
-
Removing the USB Port Assembly:
-
Remove these 4 phillips screws, and this connector to free the port assembly.
-
-
Deze stap is niet vertaald. Help het te vertalen
-
Removing the ADC Cable:
-
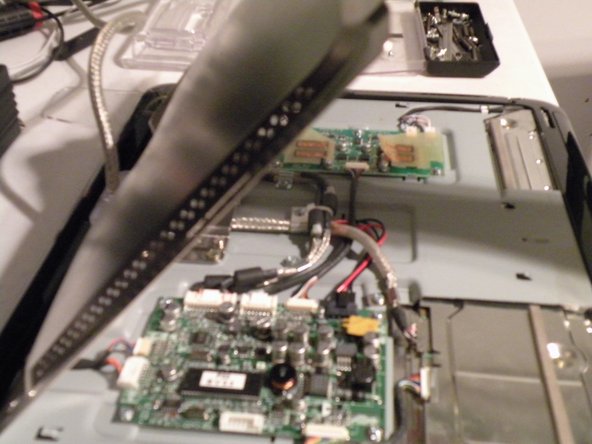
Remove these phillips screws.
-
Remove these 3 connectors CareFully!
-
The ADC cable should now be free from the rest of the monitor.
-
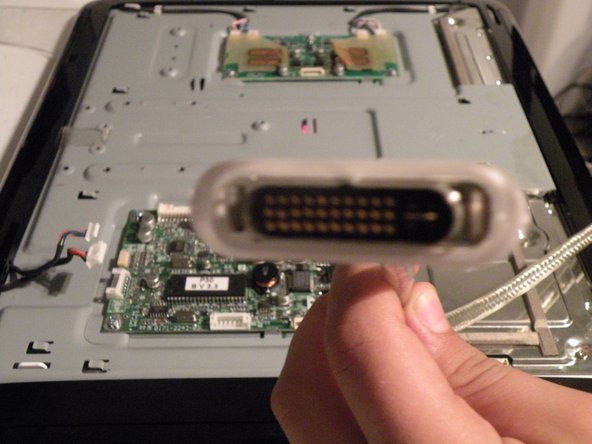
Remove this cable as well.
-
The ADC Cable, similar to DVI, provides power, signal, and USB to the display (2nd Photo).
-
-
Deze stap is niet vertaald. Help het te vertalen
-
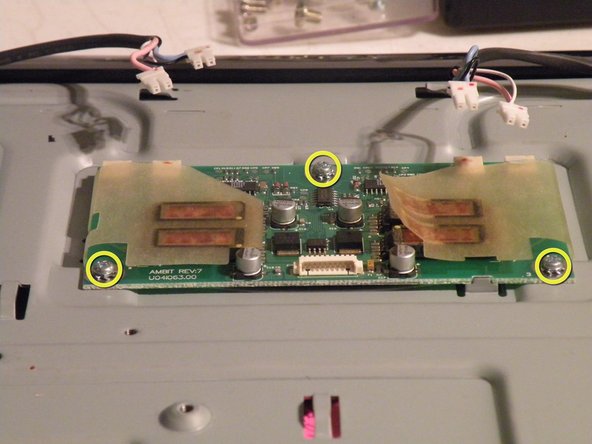
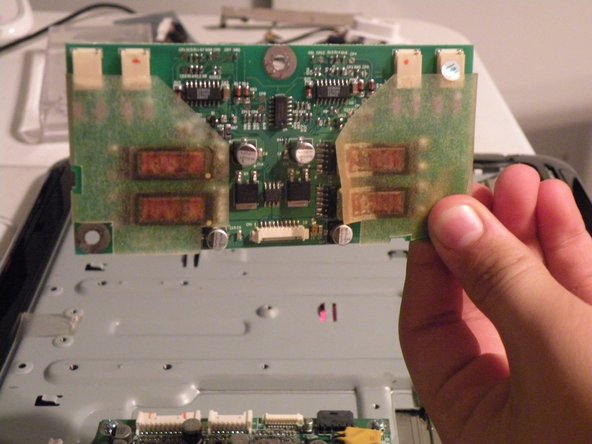
Removing the backlight inverter:
-
Remove these 4 connectors, it is important to remember their order!
-
Remove these 3 phillips screws.
-
-
Deze stap is niet vertaald. Help het te vertalen
-
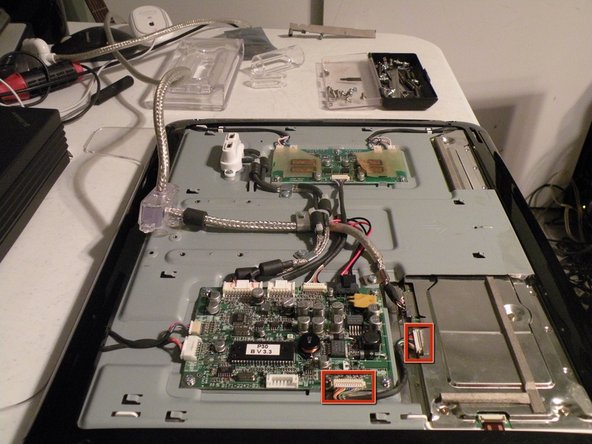
Removing the logic board:
-
Remove these two connectors.
-
This one too!
-
-
Deze stap is niet vertaald. Help het te vertalen
-
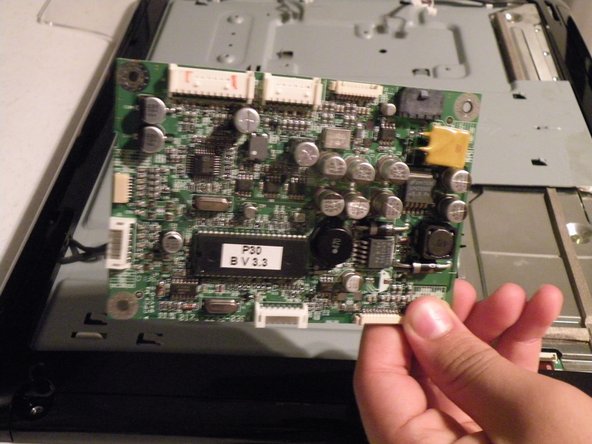
Removing the logic board:
-
Remove these 4 phillips screws.
-
This connector isn't used, it is left disconnected, I am assuming that it is to test the display for Apple.
-
Lift the logic board out if the case and set it aside.
-
-
Deze stap is niet vertaald. Help het te vertalen
-
Removing the inner rim and button assembly:
-
Using a flathead screwdriver, or spudger, remove the 4 pieces of plastic around the black frame.
-
This will reveal numerous phillips screws.
-
Remove them all.
-
-
Deze stap is niet vertaald. Help het te vertalen
-
Once all of the screws are removed, lift the rim out.
-
-
Deze stap is niet vertaald. Help het te vertalen
-
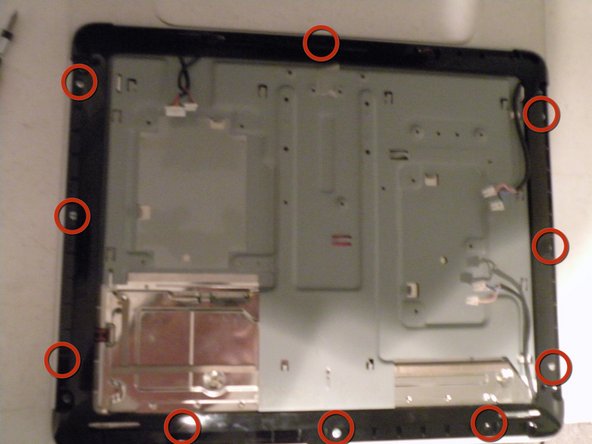
Removing the LCD Panel
-
Remove all of these screws from the metal frame.
-
-
Deze stap is niet vertaald. Help het te vertalen
-
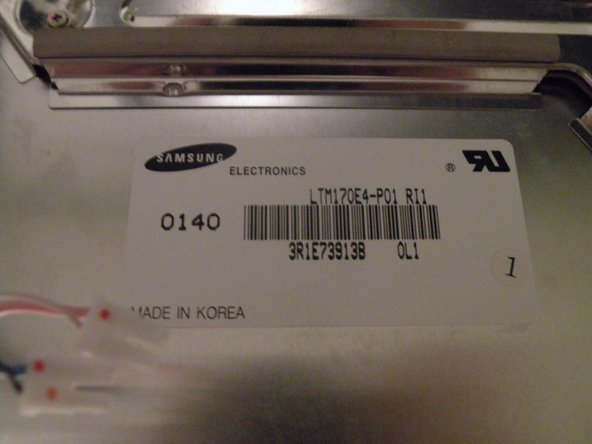
Once you have removed all of the screws, remove the rear metal panel, watching the inverter cables of course!, this will provide acess to the LCD Panel
-
The Panel is manufactured by Samsung, and aparerntly, aren't easy to find, I Googled the model # and found 2 results.
-
Well, that's it for this teardown, good luck!
-
-
Deze stap is niet vertaald. Help het te vertalen
-
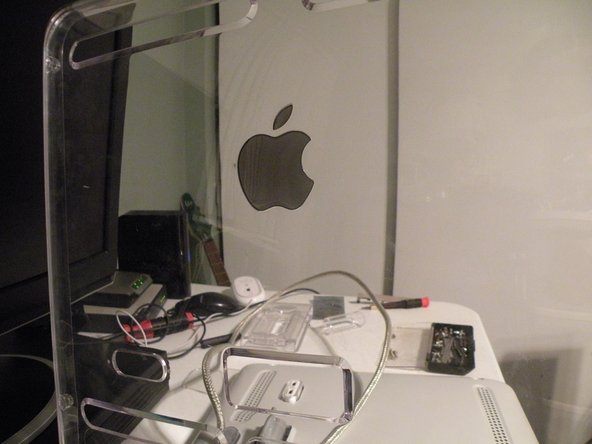
My Window-Modded Studio Display
-
This is a neat thing to do to your display if you get bored, it doesn't affect function, but looks really cool!
-


Team

2 opmerkingen
I've got to ask. Are my eyes deceiving me, or is there a NEXT cube in the background?
No that,s a nextstation
Luke -