Ga door naar hoofdinhoud

Amazon Luna Controller Shell Replacement

Wat je nodig hebt

  1. Amazon Luna Controller Shell Replacement, Battery: stap 1, afbeelding 1 van 1
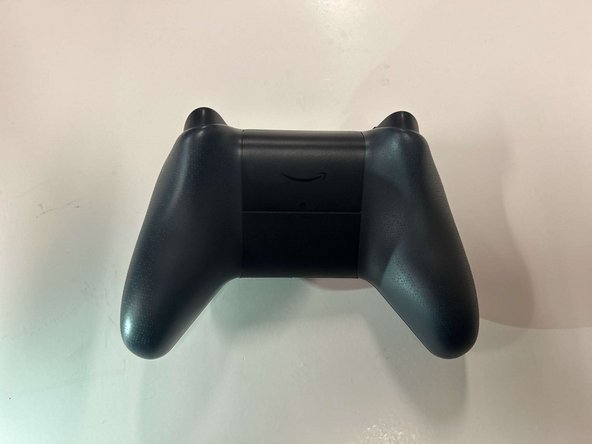
    • Flip the controller over so that the back panel is facing up.

  2. Amazon Luna Controller Shell Replacement: stap 2, afbeelding 1 van 3 Amazon Luna Controller Shell Replacement: stap 2, afbeelding 2 van 3 Amazon Luna Controller Shell Replacement: stap 2, afbeelding 3 van 3
    • Locate the latch on the back panel.

    • Pull down gently to open the compartment and expose the battery slots.

    • Remove batteries.

  3. Amazon Luna Controller Shell Replacement, Faceplate: stap 3, afbeelding 1 van 1
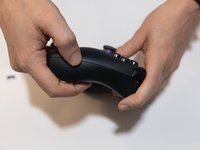
    • Flip the controller over to its front and locate the seam where the front plate connects to the rest of the body.

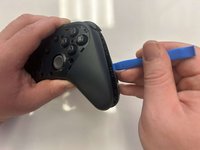
  4. Amazon Luna Controller Shell Replacement: stap 4, afbeelding 1 van 1
    • Hold the controller firmly.

    • Insert the thin edge of an iFixit opening tool into the seam at the edge of the front plate close to the A button.

    • Work slowly and carefully around all sides to avoid snapping the clips.

  5. Amazon Luna Controller Shell Replacement: stap 5, afbeelding 1 van 2 Amazon Luna Controller Shell Replacement: stap 5, afbeelding 2 van 2
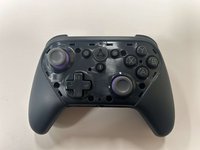
    • Once all clips are released, lift the front plate away from the controller.

  6. Amazon Luna Controller Shell Replacement, Buttons: stap 6, afbeelding 1 van 2 Amazon Luna Controller Shell Replacement, Buttons: stap 6, afbeelding 2 van 2
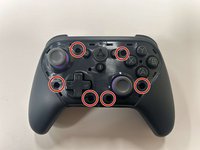
    • Remove the six 8 mm screws securing the controller's body using a TR9 Torx screwdriver.

  7. Amazon Luna Controller Shell Replacement: stap 7, afbeelding 1 van 2 Amazon Luna Controller Shell Replacement: stap 7, afbeelding 2 van 2
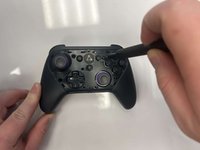
    • Gently pry along the seam that separates the two halves of the controller using an opening tool.

    • Work your way around the perimeter to carefully release the clips securing the two halves.

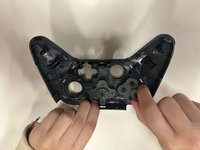
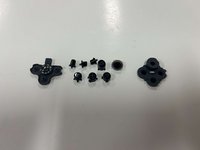
  8. Amazon Luna Controller Shell Replacement: stap 8, afbeelding 1 van 3 Amazon Luna Controller Shell Replacement: stap 8, afbeelding 2 van 3 Amazon Luna Controller Shell Replacement: stap 8, afbeelding 3 van 3
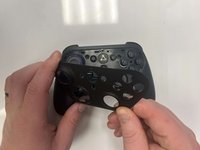
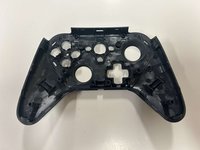
    • Lay the front of the controller shell downward.

    • Remove the rubber padding that keeps the buttons in place.

    • Remove the buttons from the shell housing.

  9. Amazon Luna Controller Shell Replacement, Joystick Cover: stap 9, afbeelding 1 van 2 Amazon Luna Controller Shell Replacement, Joystick Cover: stap 9, afbeelding 2 van 2
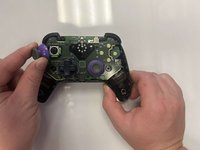
    • Gently pull the joystick thumbstick straight up to remove it from the controller.

  10. Amazon Luna Controller Shell Replacement, Shell: stap 10, afbeelding 1 van 2 Amazon Luna Controller Shell Replacement, Shell: stap 10, afbeelding 2 van 2
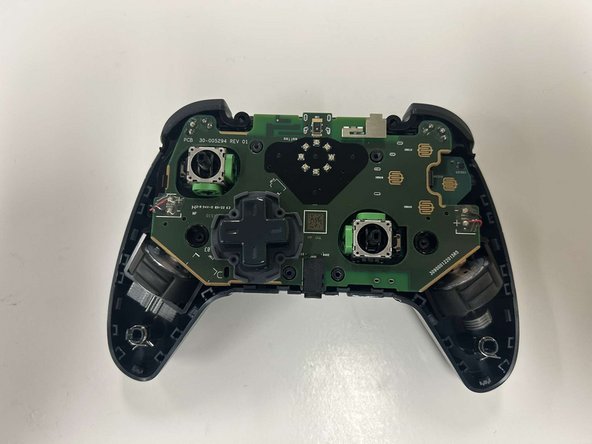
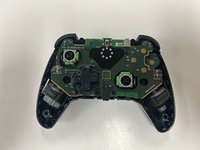
    • Gently grab the controller's circuitry and hold the bottom shell.

    • Pull the circuitry gently out from the shell.

Conclusie

To reassemble your device, follow these instructions in reverse order.

Één andere persoon heeft deze handleiding voltooid.

Cade Queen

Lid sinds: 09/04/24

537 Reputatie

5 handleidingen geschreven

2 opmerkingen

After putting it together, did your B button work again? I can't get mines to function anymore. The joysticks are also moving around a lot on their on.

SophisticatedCheese - Antwoord

I would check your reassembly and make sure none of the pads are damaged under the buttons
Ethan Phillips - Antwoord

Voeg opmerking toe

Weergavestatistieken:

Afgelopen 24 uren: 8

Afgelopen 7 dagen: 16

Afgelopen 30 dagen: 33

Altijd: 70