Ga door naar hoofdinhoud

Alienware Aurora M9700 RAM Replacement

Wat je nodig hebt

  1. Alienware Aurora M9700 RAM Replacement, RAM: stap 1, afbeelding 1 van 1
    • Turn the laptop over so the bottom of the device is facing upward.

  2. Alienware Aurora M9700 RAM Replacement: stap 2, afbeelding 1 van 3 Alienware Aurora M9700 RAM Replacement: stap 2, afbeelding 2 van 3 Alienware Aurora M9700 RAM Replacement: stap 2, afbeelding 3 van 3
    • Remove the battery by unlocking the lock.

  3. Alienware Aurora M9700 RAM Replacement: stap 3, afbeelding 1 van 3 Alienware Aurora M9700 RAM Replacement: stap 3, afbeelding 2 van 3 Alienware Aurora M9700 RAM Replacement: stap 3, afbeelding 3 van 3
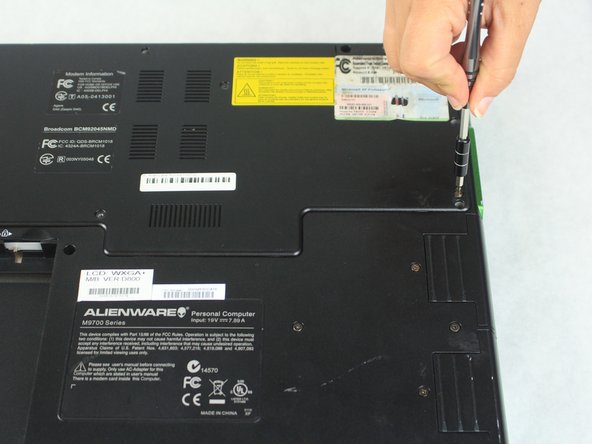
    • Located on the top right corner, find the 4 screws that are holding the back plate to the laptop.

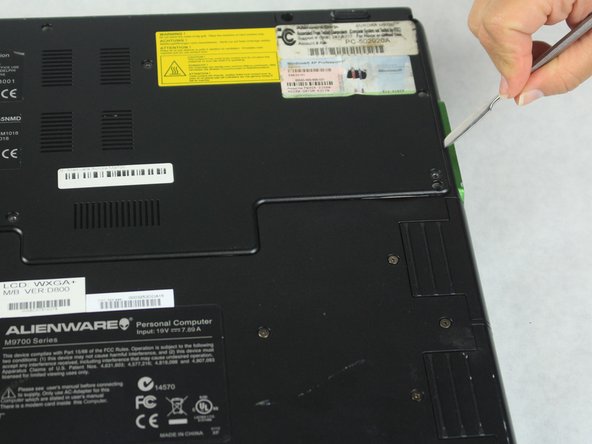
    • Once the screws are removed insert the spudger on the right side and pry upwards to lift the plate to remove the plate.

  4. Alienware Aurora M9700 RAM Replacement: stap 4, afbeelding 1 van 3 Alienware Aurora M9700 RAM Replacement: stap 4, afbeelding 2 van 3 Alienware Aurora M9700 RAM Replacement: stap 4, afbeelding 3 van 3
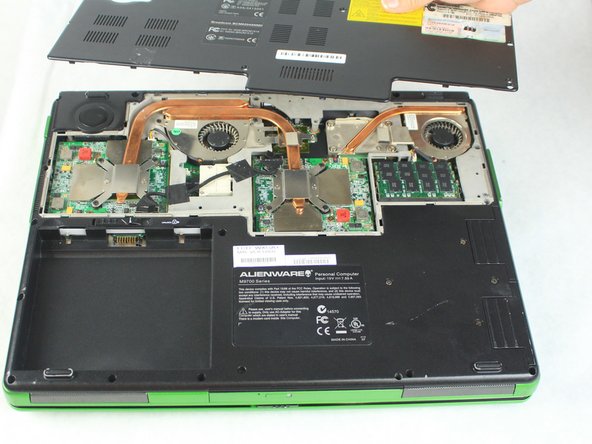
    • Lift the back plate of the laptop to expose the RAM.

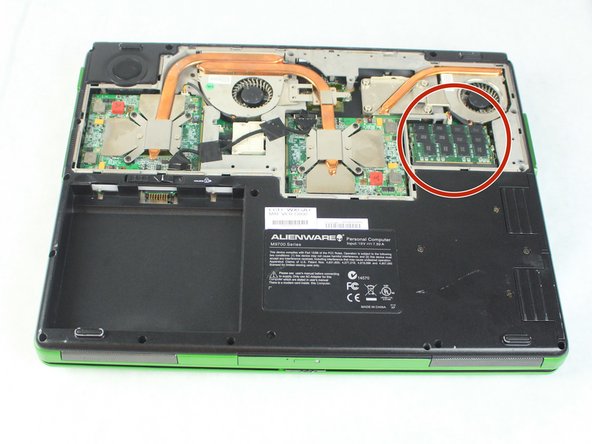
    • Locate the RAM near the bottom edge of the top portion.

  5. Alienware Aurora M9700 RAM Replacement: stap 5, afbeelding 1 van 3 Alienware Aurora M9700 RAM Replacement: stap 5, afbeelding 2 van 3 Alienware Aurora M9700 RAM Replacement: stap 5, afbeelding 3 van 3
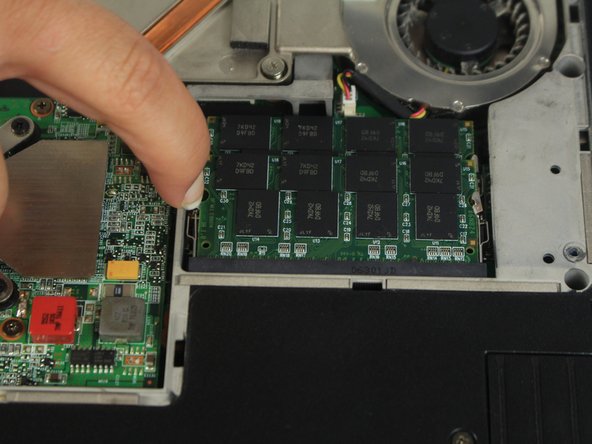
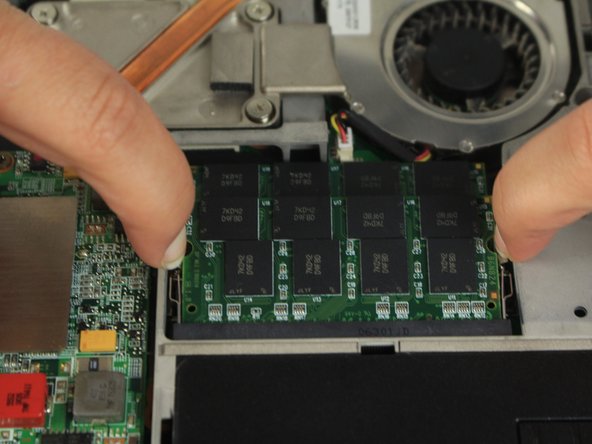
    • The RAM is secured by two aluminum locks on each side.

    • Pull the left-lock to the left to release the RAM.

    • While still holding the left hinge, pull the right-lock to the right and the RAM will be released.

  6. Alienware Aurora M9700 RAM Replacement: stap 6, afbeelding 1 van 3 Alienware Aurora M9700 RAM Replacement: stap 6, afbeelding 2 van 3 Alienware Aurora M9700 RAM Replacement: stap 6, afbeelding 3 van 3
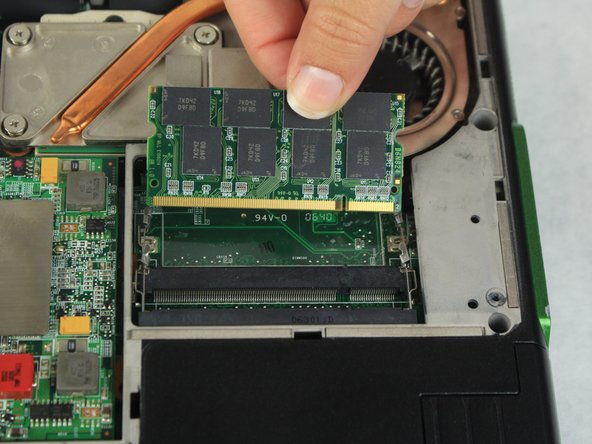
    • Once the RAM is released, pull the RAM out.

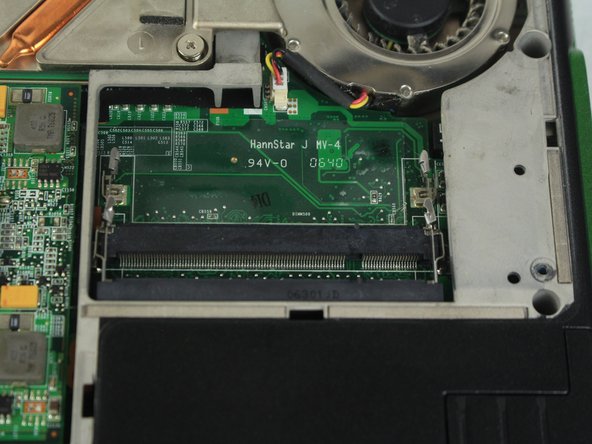
    • There may be a second RAM located below the first one, if so repeat step 5.

    • After both RAMS are removed you can now replace or upgrade the RAM.

Conclusie

To reassemble your device, follow these instructions in reverse order.

Jasmine Anchondo

Lid sinds: 10/09/18

679 Reputatie

5 handleidingen geschreven

Team

0 opmerkingen

Voeg opmerking toe

Weergavestatistieken:

Afgelopen 24 uren: 0

Afgelopen 7 dagen: 3

Afgelopen 30 dagen: 15

Altijd: 310