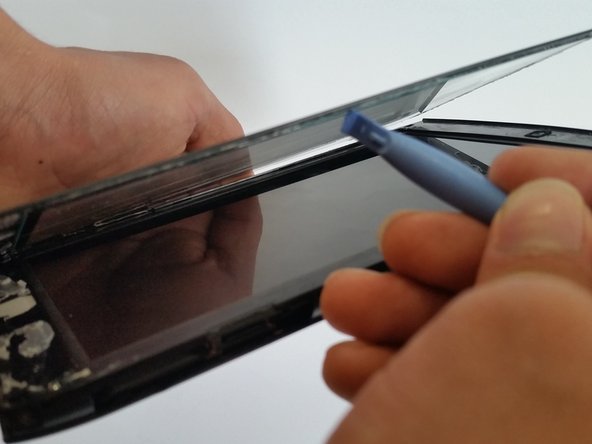
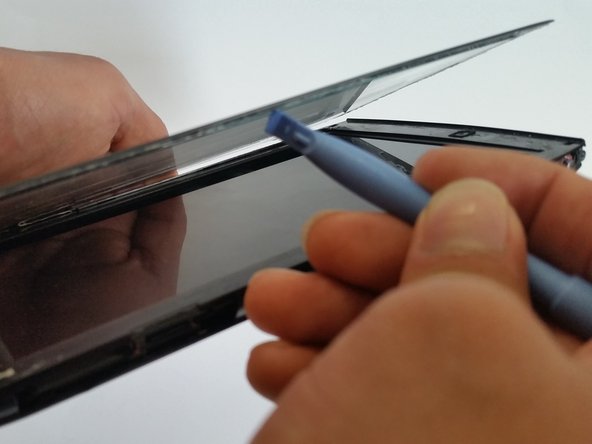
Ga door naar hoofdinhoud

Acer Iconia Tablet A100 Screen Cover Glass Replacement

Wat je nodig hebt

  1. Acer Iconia Tablet A100 Screen Cover Glass Replacement, Screen Cover Glass: stap 1, afbeelding 1 van 1
    • Begin with the screen facing in the upward position.

  2. Acer Iconia Tablet A100 Screen Cover Glass Replacement: stap 2, afbeelding 1 van 1
    • Remove the four side pieces of the tablet.

    • Start with either side and work your way around the tablet.

  3. Acer Iconia Tablet A100 Screen Cover Glass Replacement: stap 3, afbeelding 1 van 3 Acer Iconia Tablet A100 Screen Cover Glass Replacement: stap 3, afbeelding 2 van 3 Acer Iconia Tablet A100 Screen Cover Glass Replacement: stap 3, afbeelding 3 van 3
    • Separate the screen from the device with a plastic opening tool (four sides in total).

    • Start with a plastic opening tool along the top perimeter of the tablet, the thin line, and remove the screen.

  4. Acer Iconia Tablet A100 Screen Cover Glass Replacement: stap 4, afbeelding 1 van 1
    • Grab the new screen, and place on top of the tablet.

    • Position it to where everything is aligned correctly.

  5. Acer Iconia Tablet A100 Screen Cover Glass Replacement: stap 5, afbeelding 1 van 1
    • Put the four side pieces back in its original place.

Conclusie

To reassemble your device, follow these instructions in reverse order.

2 andere personen hebben deze handleiding voltooid.

Omar Acosta

Lid sinds: 03/03/15

526 Reputatie

3 handleidingen geschreven

0 opmerkingen

Voeg opmerking toe

Weergavestatistieken:

Afgelopen 24 uren: 0

Afgelopen 7 dagen: 2

Afgelopen 30 dagen: 5

Altijd: 1,173