Ga door naar hoofdinhoud

Acer Chromebook C710-2856 Motherboard Replacement

Wat je nodig hebt

  1. Acer Chromebook C710-2856 Motherboard Replacement, RAM: stap 1, afbeelding 1 van 2 Acer Chromebook C710-2856 Motherboard Replacement, RAM: stap 1, afbeelding 2 van 2
    • Remove the one 4.3mm Phillips #1 screw holding the back cover on.

  2. Acer Chromebook C710-2856 Motherboard Replacement: stap 2, afbeelding 1 van 1
    • Locate the RAM and the metal clips holding the RAM in place.

  3. Acer Chromebook C710-2856 Motherboard Replacement: stap 3, afbeelding 1 van 2 Acer Chromebook C710-2856 Motherboard Replacement: stap 3, afbeelding 2 van 2
    • Push the two clips outwards at the same time with your fingers. The RAM will gently pop upwards.

  4. Acer Chromebook C710-2856 Motherboard Replacement: stap 4, afbeelding 1 van 1
    • Pull the RAM out of the slot.

  5. Acer Chromebook C710-2856 Motherboard Replacement, Wi-Fi Card: stap 5, afbeelding 1 van 3 Acer Chromebook C710-2856 Motherboard Replacement, Wi-Fi Card: stap 5, afbeelding 2 van 3 Acer Chromebook C710-2856 Motherboard Replacement, Wi-Fi Card: stap 5, afbeelding 3 van 3
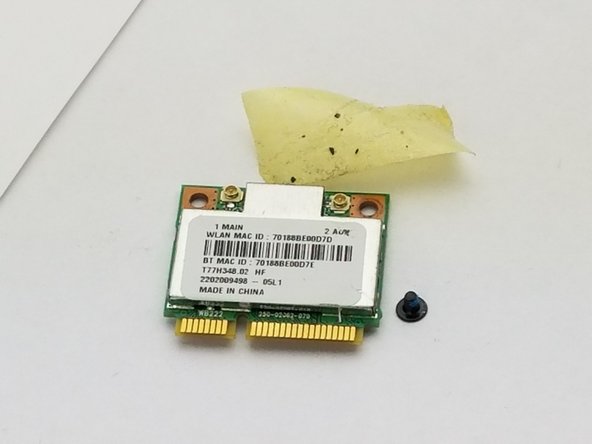
    • Using the Phillips #1 screwdriver, remove the screw from the Wi-Fi card.

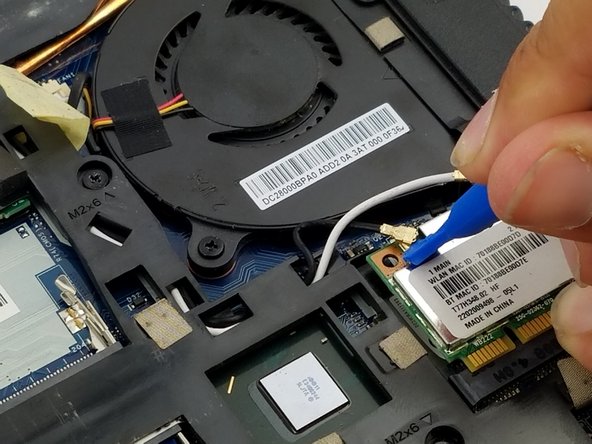
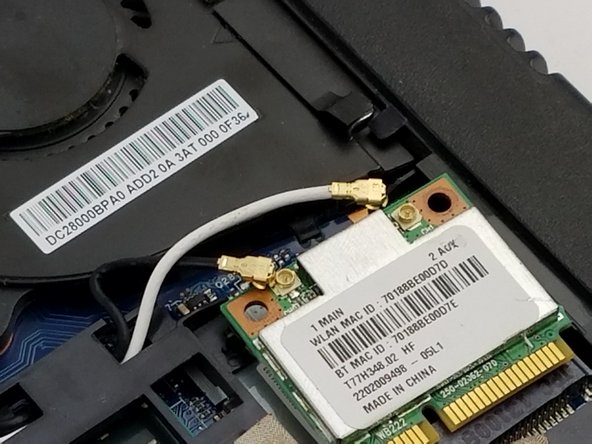
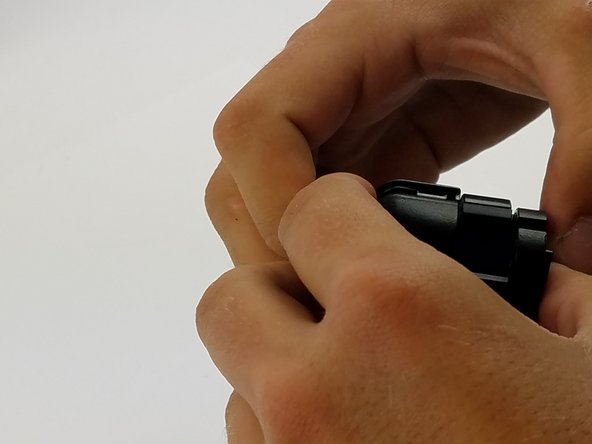
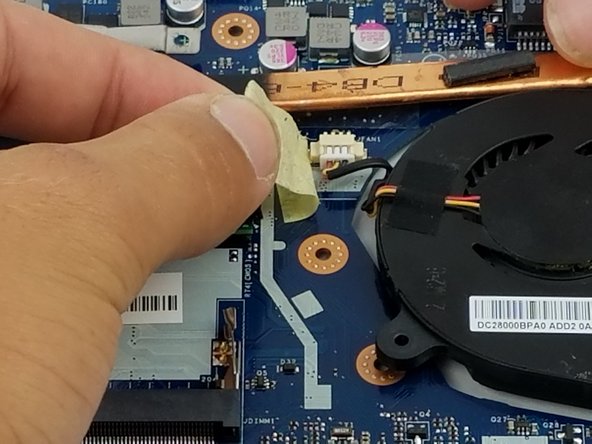
    • Carefully remove the piece of tape to allow for more room to remove the Wi-Fi card.

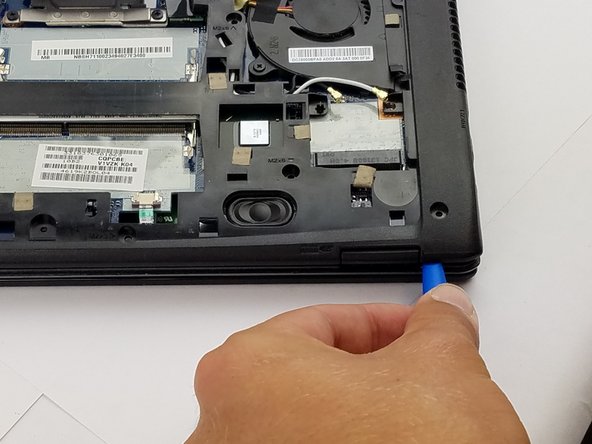
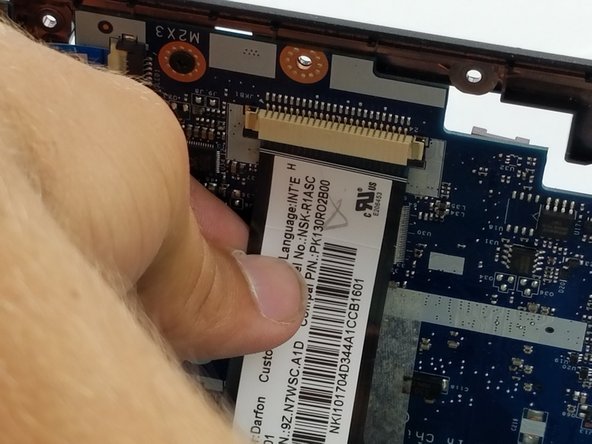
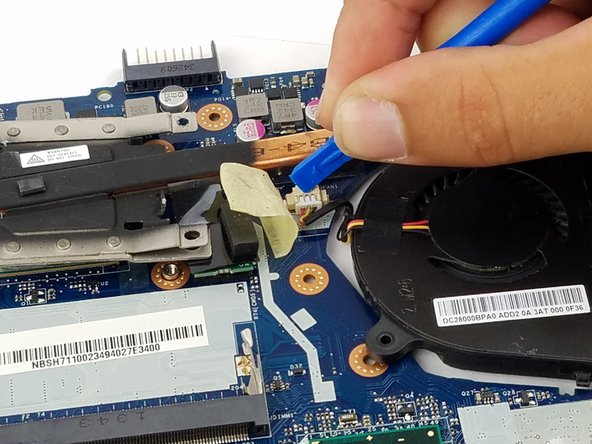
    • Use the blue plastic opening tool to lift and remove the Wi-Fi card from its socket.

  6. Acer Chromebook C710-2856 Motherboard Replacement: stap 6, afbeelding 1 van 3 Acer Chromebook C710-2856 Motherboard Replacement: stap 6, afbeelding 2 van 3 Acer Chromebook C710-2856 Motherboard Replacement: stap 6, afbeelding 3 van 3
    • Use the blue plastic opening tool and carefully remove the connectors from the Wi-Fi card.

  7. Acer Chromebook C710-2856 Motherboard Replacement: stap 7, afbeelding 1 van 2 Acer Chromebook C710-2856 Motherboard Replacement: stap 7, afbeelding 2 van 2
    • Remove the Wi-Fi card.

  8. Acer Chromebook C710-2856 Motherboard Replacement, Motherboard: stap 8, afbeelding 1 van 1
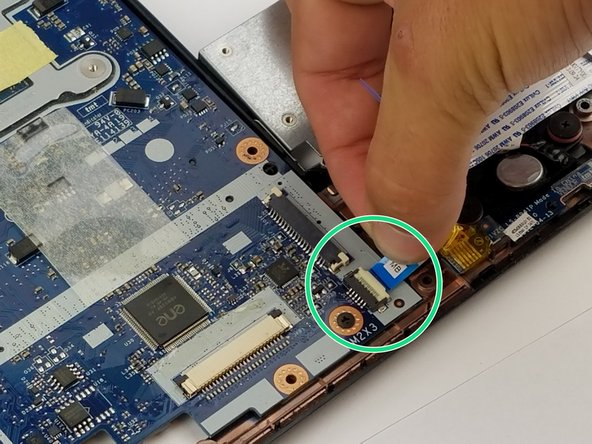
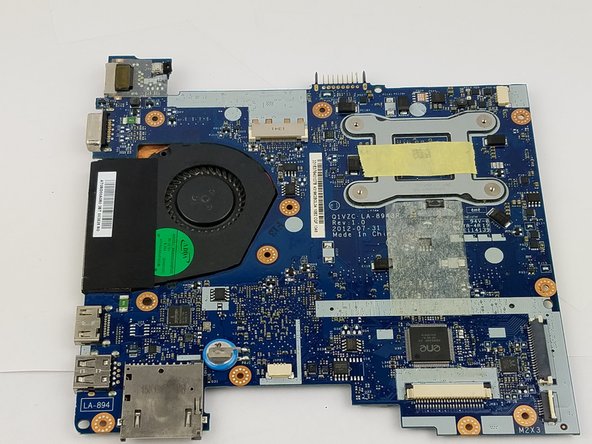
    • Unscrew the circled screws, a total of 17 (15 M 2x6 and 2 M 2x3), with a cross-head screwdriver.

  9. Acer Chromebook C710-2856 Motherboard Replacement: stap 9, afbeelding 1 van 3 Acer Chromebook C710-2856 Motherboard Replacement: stap 9, afbeelding 2 van 3 Acer Chromebook C710-2856 Motherboard Replacement: stap 9, afbeelding 3 van 3
    • Using the blue plastic opening tool, work your way around the perimeter of the laptop and remove the bottom frame.

    • Be careful though, because we will not be pulling it completely apart since we will need to disconnect 2 ribbon cables first (shown in next step).

  10. Acer Chromebook C710-2856 Motherboard Replacement: stap 10, afbeelding 1 van 2 Acer Chromebook C710-2856 Motherboard Replacement: stap 10, afbeelding 2 van 2
    • Remove the green ribbon on the backside of the laptop by pulling on it lightly as shown.

    • Gently remove the back ribbon that is holding the two parts of the laptop together (found between the two parts that are being pulling apart).

  11. Acer Chromebook C710-2856 Motherboard Replacement: stap 11, afbeelding 1 van 1
    • Now completely pull apart the motherboard from the underside of the laptop by pulling on the location of the arrows.

  12. Acer Chromebook C710-2856 Motherboard Replacement: stap 12, afbeelding 1 van 3 Acer Chromebook C710-2856 Motherboard Replacement: stap 12, afbeelding 2 van 3 Acer Chromebook C710-2856 Motherboard Replacement: stap 12, afbeelding 3 van 3
    • Disconnect the five ribbons by pulling gently on the ribbon.

    • Unscrew the M2x3 screw.

    • Disconnect the blue connector from the motherboard.

    • Disconnect the wider white connector from the motherboard.

  13. Acer Chromebook C710-2856 Motherboard Replacement: stap 13, afbeelding 1 van 2 Acer Chromebook C710-2856 Motherboard Replacement: stap 13, afbeelding 2 van 2
    • Remove the motherboard from the frame.

  14. Acer Chromebook C710-2856 Motherboard Replacement: stap 14, afbeelding 1 van 3 Acer Chromebook C710-2856 Motherboard Replacement: stap 14, afbeelding 2 van 3 Acer Chromebook C710-2856 Motherboard Replacement: stap 14, afbeelding 3 van 3
    • Remove the fan by unscrewing two M2x3 screws.

    • Peel the tape off the ribbon connection for easy access.

    • Use the plastic opening tool to disconnect the connector.

  15. Acer Chromebook C710-2856 Motherboard Replacement: stap 15, afbeelding 1 van 2 Acer Chromebook C710-2856 Motherboard Replacement: stap 15, afbeelding 2 van 2
    • Remove the fan.

  16. Acer Chromebook C710-2856 Motherboard Replacement: stap 16, afbeelding 1 van 1
    • The motherboard is now bare of any extras and is ready to be replaced.

Conclusie

To reassemble your device, follow these instructions in reverse order.

Vladimir

Lid sinds: 09/27/17

101 Reputatie

1 Handleiding geschreven

Team

USF Tampa, Team S6-G5, Remmell Fall 2017 Lid van USF Tampa, Team S6-G5, Remmell Fall 2017

USFT-REMMELL-F17S6G5

7 Leden

8 handleidingen geschreven

0 opmerkingen

Voeg opmerking toe

Weergavestatistieken:

Afgelopen 24 uren: 0

Afgelopen 7 dagen: 2

Afgelopen 30 dagen: 7

Altijd: 693