Inleiding
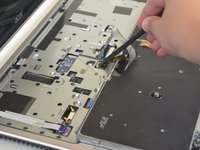
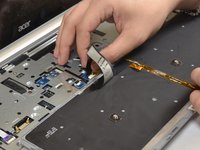
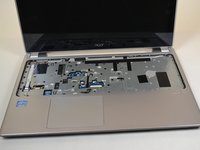
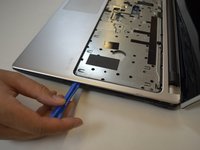
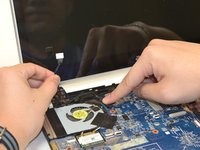
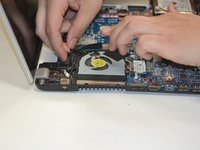
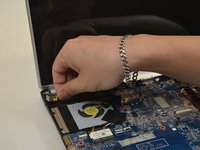
Follow this guide to replace the charging port on a Acer Aspire V5-571P-6815 laptop.
Wat je nodig hebt


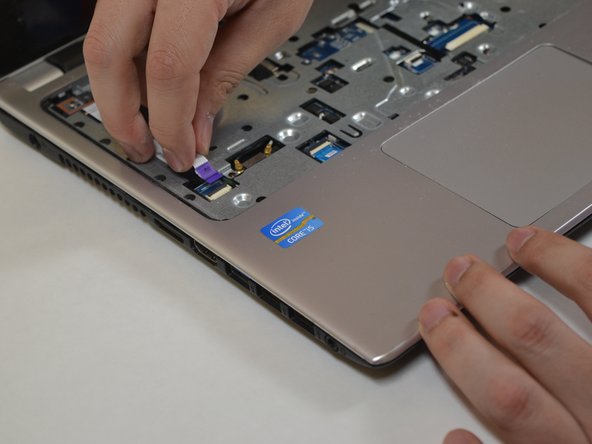


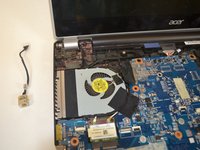
Bijna klaar!
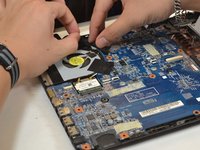
Follow the steps in reverse with a new cable.
Conclusie
Follow the steps in reverse with a new cable.
Annuleren: ik heb deze handleiding niet afgemaakt.
Één andere persoon heeft deze handleiding voltooid.
Team

UW Tacoma, Team S1-G4, Liner Spring 2018 Lid van UW Tacoma, Team S1-G4, Liner Spring 2018
UWT-LINER-S18S1G4
5 Leden
8 handleidingen geschreven