Ga door naar hoofdinhoud

Acer Aspire 5740-5780 RAM Replacement

Wat je nodig hebt

  1. Voorzichtig: stappen 1-4 komen van een handleiding die in bewerking is.

    Acer Aspire 5740-5780 RAM Replacement, Prepare Acer Aspire 5740-5780 for Disassembly: stap 1, afbeelding 1 van 2 Acer Aspire 5740-5780 RAM Replacement, Prepare Acer Aspire 5740-5780 for Disassembly: stap 1, afbeelding 2 van 2
    • Turn the laptop off and remove the power cord.

  2. Acer Aspire 5740-5780 RAM Replacement: stap 2, afbeelding 1 van 2 Acer Aspire 5740-5780 RAM Replacement: stap 2, afbeelding 2 van 2
    • Press in the SD Card or the SD Card Dummy if no SD Card is there. Remove card when it pops out.

  3. Acer Aspire 5740-5780 RAM Replacement: stap 3, afbeelding 1 van 1
    • Flip the laptop over on its face, so that the back is showing.

  4. Acer Aspire 5740-5780 RAM Replacement: stap 4, afbeelding 1 van 1
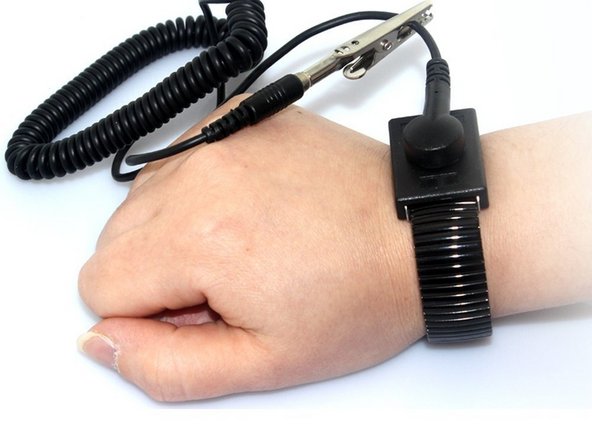
    • Put grounding strap on one of your wrists and attach the other end to a large metal object (recommended method).

    • If you don't have a grounding strap an alternative approach is to touch a metal object that is either large or connected to the earth. Then avoid doing things that would accumulate static electricity on your body.

    • Touching the internals of your device while you aren't grounded could destroy your laptop.

  5. Acer Aspire 5740-5780 RAM Replacement, Battery: stap 5, afbeelding 1 van 2 Acer Aspire 5740-5780 RAM Replacement, Battery: stap 5, afbeelding 2 van 2
    • Unlock the battery by flipping a switch near the release latch.

  6. Acer Aspire 5740-5780 RAM Replacement: stap 6, afbeelding 1 van 1
    • Slide the release latch to the left to release the battery from the PC.

  7. Acer Aspire 5740-5780 RAM Replacement: stap 7, afbeelding 1 van 2 Acer Aspire 5740-5780 RAM Replacement: stap 7, afbeelding 2 van 2
    • Use your hands to pry the battery free of the computer.

  8. Acer Aspire 5740-5780 RAM Replacement, RAM: stap 8, afbeelding 1 van 1
    • Loosen the captive screw and remove the single M2.5 x L8 screw from the back panel using a Phillips #0 screwdriver.

  9. Acer Aspire 5740-5780 RAM Replacement: stap 9, afbeelding 1 van 1
    • Gently pry off the panel with an opening tool. This will reveal the RAM.

  10. Acer Aspire 5740-5780 RAM Replacement: stap 10, afbeelding 1 van 2 Acer Aspire 5740-5780 RAM Replacement: stap 10, afbeelding 2 van 2
    • Use the opening tool to assist in carefully removing the RAM from the PC. Next lift the RAM up slowly and pull it out with your fingers.

Conclusie

To reassemble your device, follow these instructions in reverse order.

Één andere persoon heeft deze handleiding voltooid.

Gian Farrell

Lid sinds: 03/20/18

639 Reputatie

6 handleidingen geschreven

Team

UMass Dartmouth, Team S3-G6, Peak Spring 2018 Lid van UMass Dartmouth, Team S3-G6, Peak Spring 2018

UMASSD-PEAK-S18S3G6

3 Leden

9 handleidingen geschreven

0 opmerkingen

Voeg opmerking toe

Weergavestatistieken:

Afgelopen 24 uren: 0

Afgelopen 7 dagen: 3

Afgelopen 30 dagen: 13

Altijd: 679