Ga door naar hoofdinhoud

ASUS ZenWatch Motherboard Replacement

Wat je nodig hebt

  1. ASUS ZenWatch Motherboard Replacement, Watch Strap Removal: stap 1, afbeelding 1 van 2 ASUS ZenWatch Motherboard Replacement, Watch Strap Removal: stap 1, afbeelding 2 van 2
    • On the strap there is a knob. Sliding this knob towards the opposite side of the strap releases the tension on the spring bar, allowing you to pull the strap out..

  2. ASUS ZenWatch Motherboard Replacement, Battery: stap 2, afbeelding 1 van 3 ASUS ZenWatch Motherboard Replacement, Battery: stap 2, afbeelding 2 van 3 ASUS ZenWatch Motherboard Replacement, Battery: stap 2, afbeelding 3 van 3
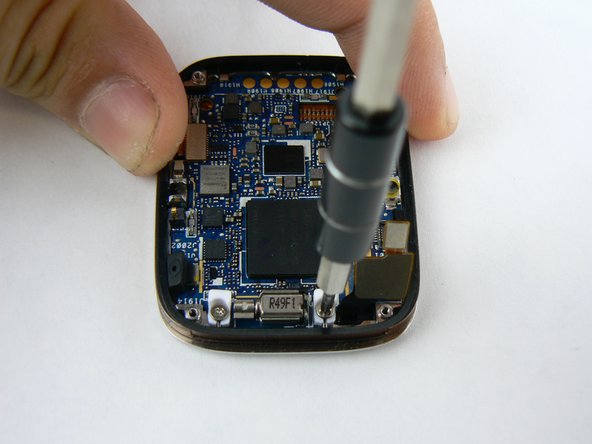
    • Use the T5 Torx driver to remove the four screws on the case.

    • Use the magnetic pad to keep all your parts easily contained!

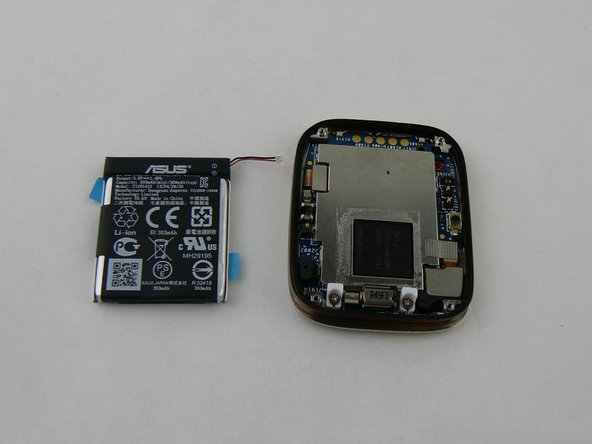
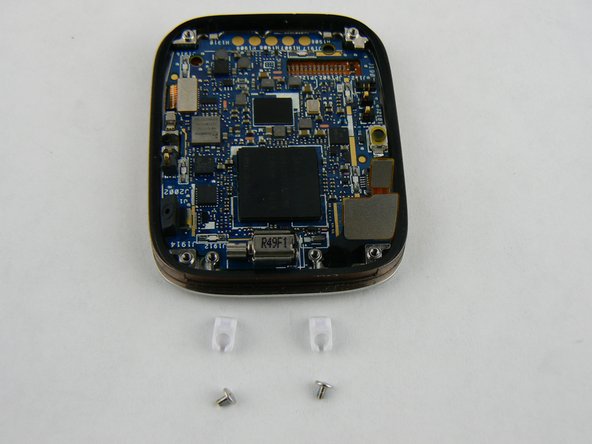
    • The case will pry easily off with just gentle hand pressure

  3. ASUS ZenWatch Motherboard Replacement: stap 3, afbeelding 1 van 2 ASUS ZenWatch Motherboard Replacement: stap 3, afbeelding 2 van 2
    • Using the tweezers, gently remove the fabric protecting the battery connection.

    • Take care when removing the fabric. Too much force may damage the contact with the metal tweezers.

    • Use the heavy duty spudger to gently push the contact towards the top of the case.

  4. ASUS ZenWatch Motherboard Replacement: stap 4, afbeelding 1 van 3 ASUS ZenWatch Motherboard Replacement: stap 4, afbeelding 2 van 3 ASUS ZenWatch Motherboard Replacement: stap 4, afbeelding 3 van 3
    • Gently pry the battery up with the plastic pry tools

  5. ASUS ZenWatch Motherboard Replacement, Motherboard: stap 5, afbeelding 1 van 3 ASUS ZenWatch Motherboard Replacement, Motherboard: stap 5, afbeelding 2 van 3 ASUS ZenWatch Motherboard Replacement, Motherboard: stap 5, afbeelding 3 van 3
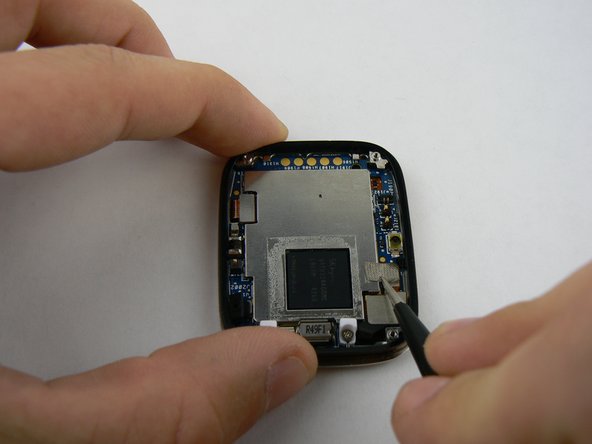
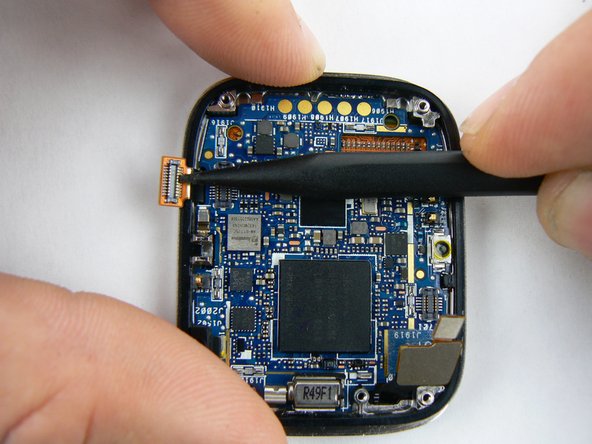
    • With the metal tweezers gently remove the fabric covering the connection on bottom right

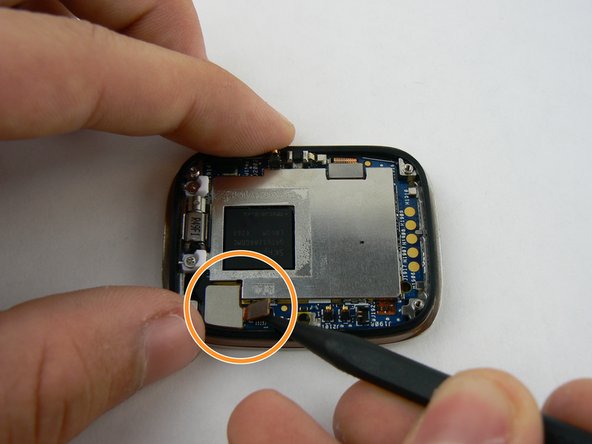
    • Using the heavy duty plastic spudger pry up on the connection ribbon.

    • There are two connection ports on the single ribbon. Do not use too much force as you may tear ribbon!

  6. ASUS ZenWatch Motherboard Replacement: stap 6, afbeelding 1 van 3 ASUS ZenWatch Motherboard Replacement: stap 6, afbeelding 2 van 3 ASUS ZenWatch Motherboard Replacement: stap 6, afbeelding 3 van 3
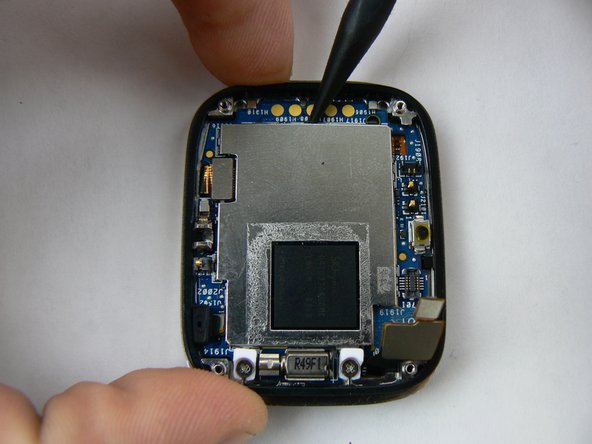
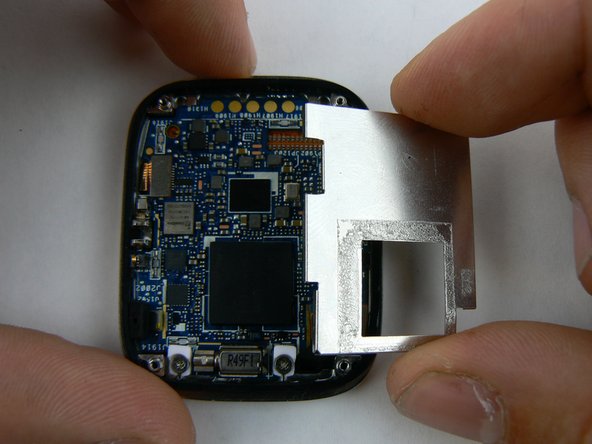
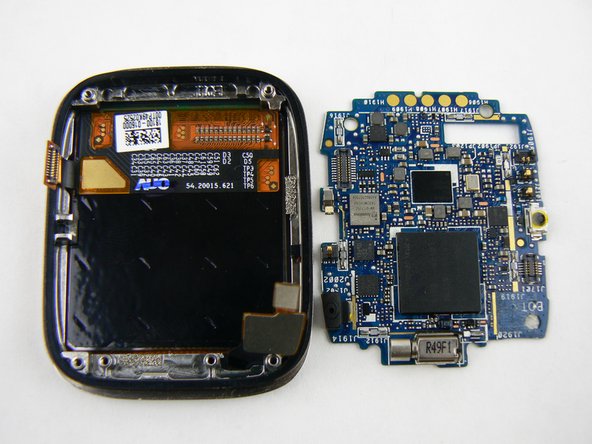
    • The protective plate is now ready to be safely removed.

    • With the heavy duty spudger pry up on the metal plate, in a counter-clockwise pattern

    • There are tiny notches on plate making it simple to pull up on each side.

    • A small strip of adhesive is on back of plate as well.

    • Remove loosened plate and set aside.

  7. ASUS ZenWatch Motherboard Replacement: stap 7, afbeelding 1 van 3 ASUS ZenWatch Motherboard Replacement: stap 7, afbeelding 2 van 3 ASUS ZenWatch Motherboard Replacement: stap 7, afbeelding 3 van 3
    • With the 000 Philips screwdriver remove the screw and plastic retainer clips

  8. ASUS ZenWatch Motherboard Replacement: stap 8, afbeelding 1 van 2 ASUS ZenWatch Motherboard Replacement: stap 8, afbeelding 2 van 2
    • With heavy duty spudger lift up on final connection ribbon located on left corner.

  9. ASUS ZenWatch Motherboard Replacement: stap 9, afbeelding 1 van 2 ASUS ZenWatch Motherboard Replacement: stap 9, afbeelding 2 van 2
    • With all the connections disconnected the motherboard can be gently pried up and out of the watch case.

Conclusie

To reassemble your device, follow these instructions in reverse order.

3 andere personen hebben deze handleiding voltooid.

Wayne McClure

Lid sinds: 02/10/16

961 Reputatie

5 handleidingen geschreven

Team

USF Tampa, Team 1-3, Sullivan Spring 2016 Lid van USF Tampa, Team 1-3, Sullivan Spring 2016

USFT-SULLIVAN-S16S1G3

4 Leden

7 handleidingen geschreven

Één opmerking

Where could i get the new replacement motherboard for that? Please inform.. thanks :)

Davy Jones - Antwoord

Voeg opmerking toe

Weergavestatistieken:

Afgelopen 24 uren: 0

Afgelopen 7 dagen: 4

Afgelopen 30 dagen: 5

Altijd: 1,594