Inleiding
This guide is for replacing the battery of the ASUS TUF Gaming FX505DY, a 3 cell 48 Watt-hour lithium-ion internal battery.
Despite the device's MIL-STD-810G rating, sudden impacts or a puncture can damage or destroy the battery. Batteries can also fail to excessive heat or after a long service life inhibits charging. A faulty battery will result in a short or nonexistent battery life, an inability to charge, or damage to the device. Check the troubleshooting page first to make sure it is not a different issue.
Watch out for indications of damage, including swelling, cracking, leaking, or burns. If damage is present or suspected, perform this repair wearing fire-resistant or natural-fiber clothes. Keep your work area clear of flammable materials and have a working Class B fire extinguisher or other suitable agent on hand. Do not use water to extinguish a lithium-ion battery fire.
Make sure to fully shut down the device and unplug any chargers and peripherals before beginning.
Wat je nodig hebt
-
-
Turn off the laptop.
-
Disconnect the charging cable.
-
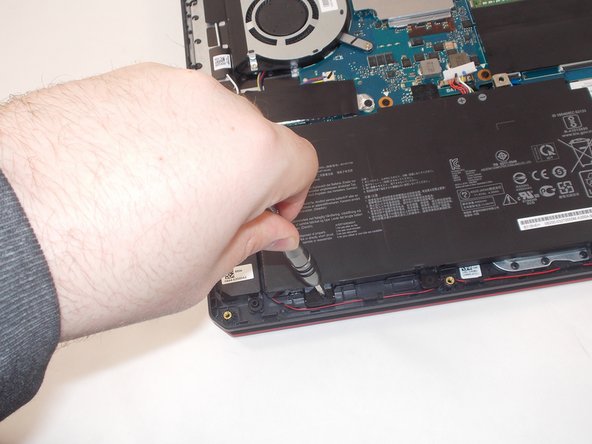
Flip the laptop so the back is facing up.
-
-
-
-
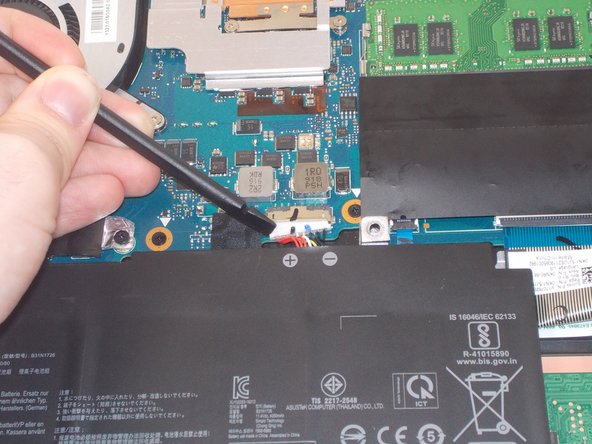
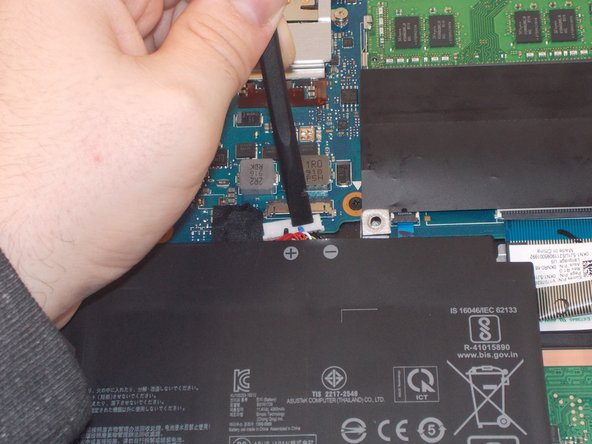
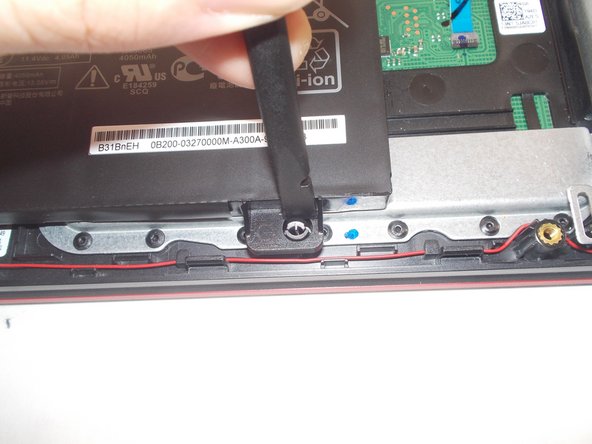
Using an ESD-safe spudger, disconnect the battery connector by pulling the plug away from its port.
-


To reassemble your device, follow these instructions in reverse order.
To reassemble your device, follow these instructions in reverse order.
Annuleren: ik heb deze handleiding niet afgemaakt.
Één andere persoon heeft deze handleiding voltooid.

Team

UMass Dartmouth, Team 2-4, Mellen Spring 2022 Lid van UMass Dartmouth, Team 2-4, Mellen Spring 2022
UMASSD-MELLEN-S22S2G4
4 Leden
8 handleidingen geschreven