Inleiding
The wifi card is what lets you connect to the world wide web, and there are plenty of people who would find a computer without one to be absolutely useless. That’s why if there is ever a problem with it, it’s important to get it fixed, wifi troubles tend to be very annoying for most users such as when the computer’s connection is slow, or it can’t even recognize nearby networks. This guide will take you step by step on how to replace the Wifi Card of your ASUS Q405U
Wat je nodig hebt
-
-
Using the Phillips #1 screwdriver, remove eleven (11) 1.5 mm screws from the back cover.
-
-
-
-
OPTIONAL: Additional pictures to demonstrate moving keyboard out of the way without detaching connections.
-
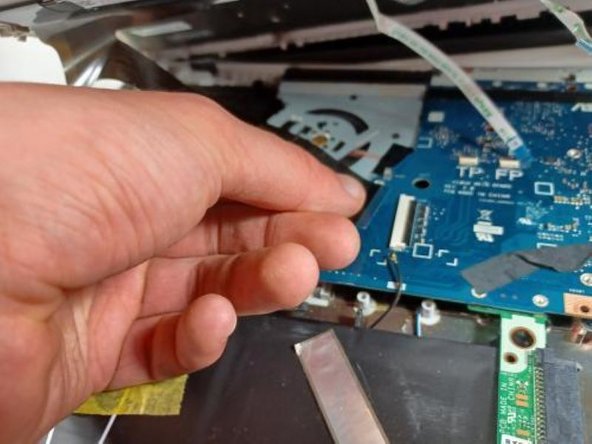
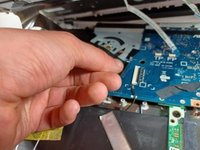
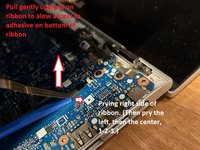
Lift the ribbon cable with gentle pressure, pry the ribbon away from the motherboard on the right side, then the left, then the center, prying away only a little triangle of tape at a time, applying gentle upward pressure to the tape while you loosen and pry.
-
Once you have enough slack in the three ribbons that hold the keyboard down too tightly, lift the front of the keyboard and twist counterclockwise to produce enough room to reach the screws securing the hard drive with your screwdriver.
-
-
-
Using the Phillips #1 screwdriver, remove the four 1.5 mm screws securing the battery to the device.
-
-
-
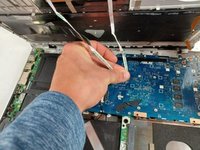
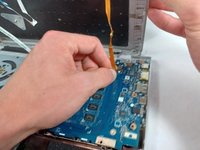
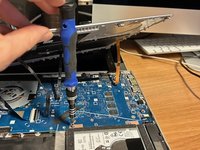
Using the Phillips #1 screwdriver, remove the 0.8 mm screw securing the Wi-Fi card to the device.
-


To reassemble your device, follow these instructions in reverse order.
Team

UMass Dartmouth, Team 2-8, Sinclaire Fall 2021 Lid van UMass Dartmouth, Team 2-8, Sinclaire Fall 2021
UMASSD-SINCLAIRE-F21S2G8
4 Leden
5 handleidingen geschreven