Inleiding
Need a good selfie? This guide will lead you through replacing your front camera.
Wat je nodig hebt
-
-
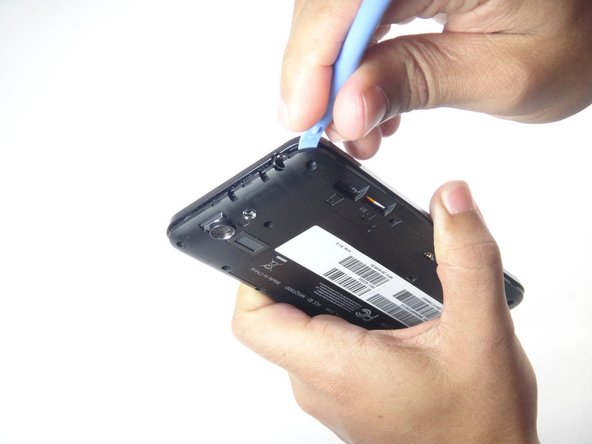
Using the blue plastic opening tool, insert the tip into the crease between the back cover and the phone and pry it upwards.
-
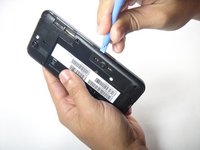
Work your way around the phone until the entire back cover is loose.
 Vraag FixBot
-
-
-
Remove the thirteen 3.6 mm screws using the Torx T5 bit in the screwdriver.
-
-
-
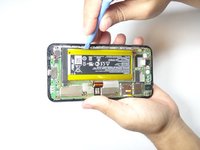
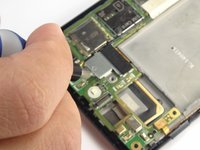
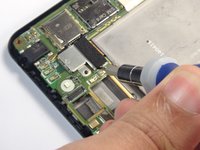
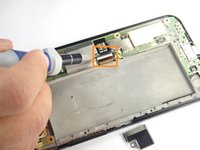
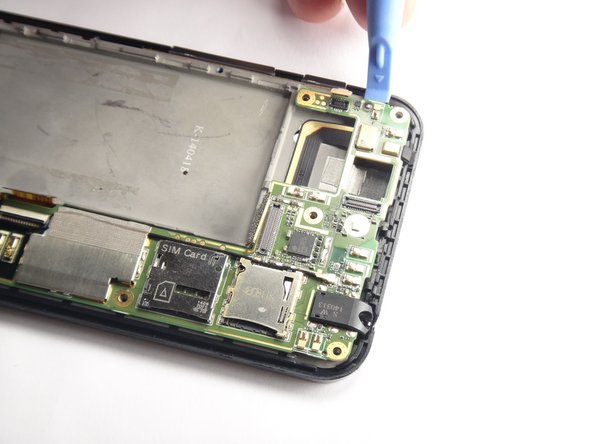
Using the blue plastic opening tool, insert the tip into the crease between the mid-frame and the phone and pry it upwards.
-
Work your way around the phone until the entire back cover is loose and remove the mid-frame.
-
-
-
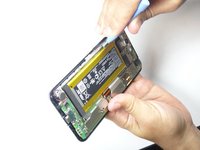
Using the plastic blue plastic opening tool, gently disconnect the battery cable from the motherboard.
-
-
-
Use the blue plastic opening tool to pry the battery pack from the phone. Pry along edge away from the motherboard as this might damage the motherboard.
-
-
-
-
Using a spudger, pry the vibration motor connector from the motherboard.
-
-
-
Use the blue plastic opening tool to gently pry the camera connector up from its socket on the motherboard.
-
-
Gereedschap gebruikt in deze stap:Tweezers$4.99
-
Using the tweezers, remove the rear camera from the Padfone X.
-
-
-
Insert the tip of the flat head screwdriver between the panel and the metal clip then gently push down until the clip is slightly bent away from the panel.
-
Do this for all the clips holding the panel down.
-
After all clips are bent away, remove the panel.
-
-
-
Disconnect the first connector by prying it upward using the blue plastic opening tool.
-
Disconnect the second connector by first lifting the lock then pulling the connector outward.
-
-
-
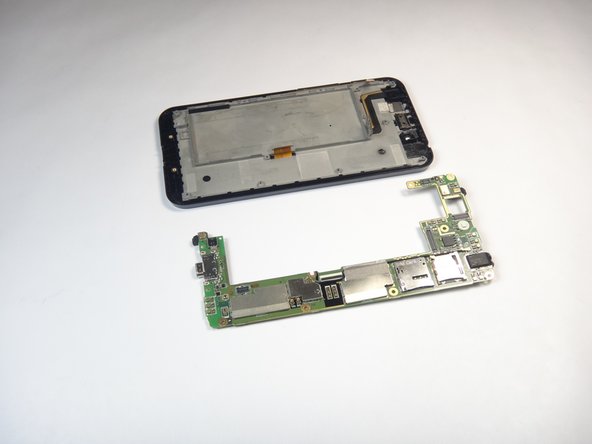
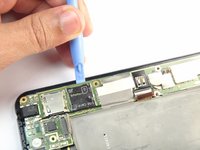
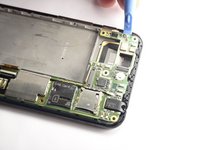
Insert the tip of the blue plastic opening tool under the motherboard and gently pry upward.
-
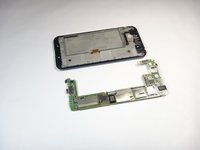
Work your way around until the motherboard is free.
-
-
-
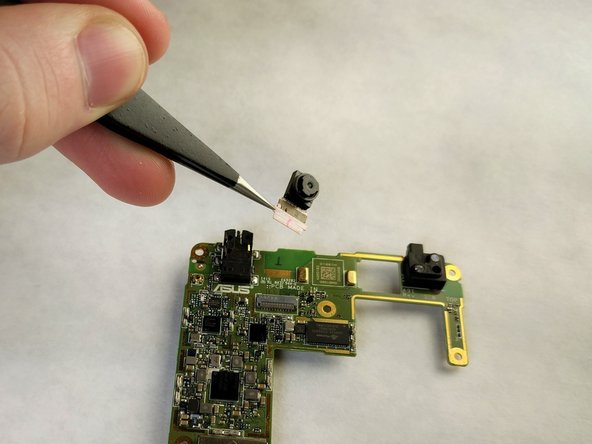
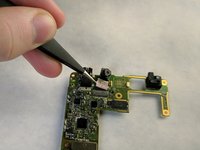
Flip the motherboard over and locate the front facing camera.
-
Using the tweezers gently remove the black locking mechanism.
-
-
-
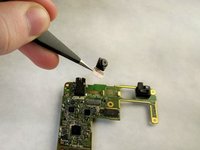
Use the tweezers to gently pull on the connector to remove the camera.
-


To reassemble your device, follow these instructions in reverse order.
Annuleren: ik heb deze handleiding niet afgemaakt.
Één andere persoon heeft deze handleiding voltooid.
Team

IUPUI, Team 2-1, Baechle Spring 2017 Lid van IUPUI, Team 2-1, Baechle Spring 2017
IUPUI-BAECHLE-S17S2G1
4 Leden
4 handleidingen geschreven