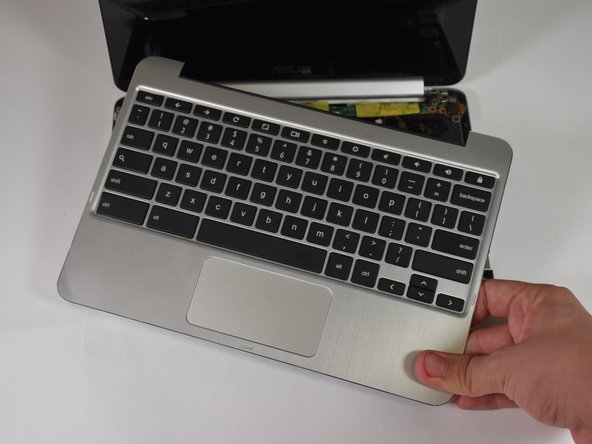
Ga door naar hoofdinhoud

ASUS Chromebook C100PA-RBRKT07 Trackpad Replacement

Wat je nodig hebt

  1. ASUS Chromebook C100PA-RBRKT07 Trackpad Replacement, Lower Case: stap 1, afbeelding 1 van 1
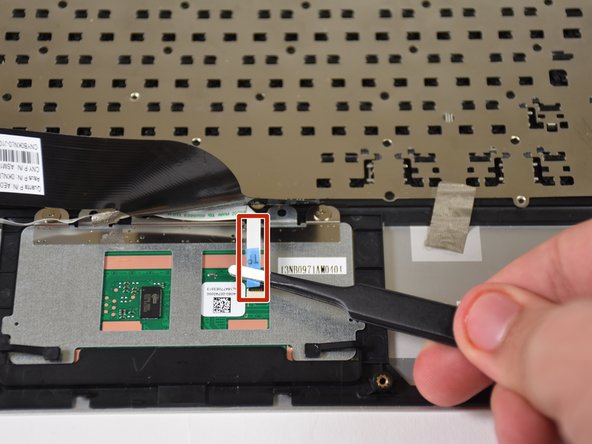
    • Use the T5 screwdriver to remove the nine 2.1 mm screws from the bottom of the device.

  2. ASUS Chromebook C100PA-RBRKT07 Trackpad Replacement: stap 2, afbeelding 1 van 1
    • Use the iFixit opening tool to remove the 4 pads to reveal six 3.1 mm screws underneath.

  3. ASUS Chromebook C100PA-RBRKT07 Trackpad Replacement: stap 3, afbeelding 1 van 1
    Gereedschap gebruikt in deze stap:
    Tweezers
    $4.99
    Koop
    • Use the T5 screwdriver to remove the six 3.1 mm screws under the pads.

    • There might be a layer of tape that covers the screws. Remove the tape first with a pair of tweezers.

  4. ASUS Chromebook C100PA-RBRKT07 Trackpad Replacement: stap 4, afbeelding 1 van 1
    • Use the iFixit opening tool to remove the back of the laptop.

  5. ASUS Chromebook C100PA-RBRKT07 Trackpad Replacement: stap 5, afbeelding 1 van 1
    • Use the blunt nose tweezers to separate the keyboard from the internal components.

  6. ASUS Chromebook C100PA-RBRKT07 Trackpad Replacement, Trackpad: stap 6, afbeelding 1 van 2 ASUS Chromebook C100PA-RBRKT07 Trackpad Replacement, Trackpad: stap 6, afbeelding 2 van 2
    • Grip the keyboard and carefully pull it off the device.

  7. ASUS Chromebook C100PA-RBRKT07 Trackpad Replacement: stap 7, afbeelding 1 van 2 ASUS Chromebook C100PA-RBRKT07 Trackpad Replacement: stap 7, afbeelding 2 van 2
    Gereedschap gebruikt in deze stap:
    Tweezers
    $4.99
    Koop
    • On the back of the keyboard assembly, use the tweezers to pull the white cable from the track pad.

  8. ASUS Chromebook C100PA-RBRKT07 Trackpad Replacement: stap 8, afbeelding 1 van 1
    • Remove the three 1 mm screws from the track pad using the JIS 00 screwdriver.

  9. ASUS Chromebook C100PA-RBRKT07 Trackpad Replacement: stap 9, afbeelding 1 van 2 ASUS Chromebook C100PA-RBRKT07 Trackpad Replacement: stap 9, afbeelding 2 van 2
    • Grip the track pad with the tweezers and slide it up and out of the keyboard assembly.

Conclusie

To reassemble your device, follow these instructions in reverse order.

Lauren Schirle

Lid sinds: 01/24/19

205 Reputatie

2 handleidingen geschreven

Team

Cal Poly, Team S19-G4, White Winter 2019 Lid van Cal Poly, Team S19-G4, White Winter 2019

CPSU-WHITE-W19S19G4

4 Leden

12 handleidingen geschreven

0 opmerkingen

Voeg opmerking toe

Weergavestatistieken:

Afgelopen 24 uren: 0

Afgelopen 7 dagen: 4

Afgelopen 30 dagen: 8

Altijd: 346