Deze versie kan foutieve bewerkingen bevatten. Schakel over naar de recentste gecontroleerde momentopname.
Wat je nodig hebt
-
Deze stap is niet vertaald. Help het te vertalen
-
Remove screws.
-
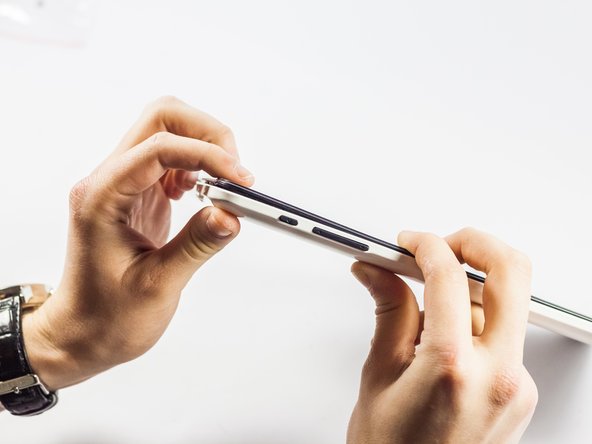
Insert spudger tool on the middle of the left side, between the white and black plastic.
-
Slide in a plastic opening tool and use it to further pull the back off.
-
Work your way around the edge of the tablet with the plastic opening tool and insert more as needed.
-
Pull off the back cover.
-
-
Deze stap is niet vertaald. Help het te vertalen
-
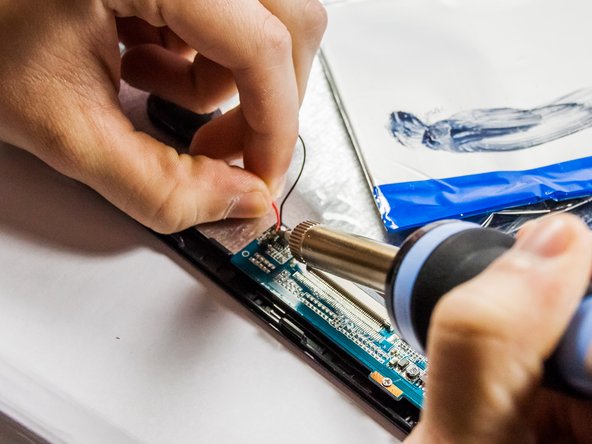
Locate the speaker solder points and note where it is attached to the motherboard.
-
Solder the old speaker out of its mark. (Touch the tip of the solder iron to the soldering point).
-
-
-
Deze stap is niet vertaald. Help het te vertalen
-
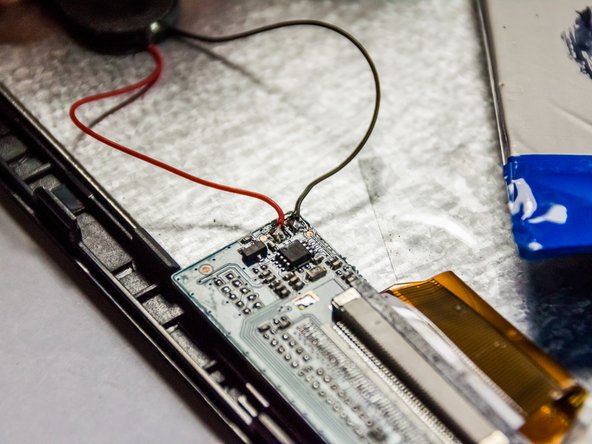
Solder the new speaker onto the points where the old speaker was.
-
-
Deze stap is niet vertaald. Help het te vertalen
-
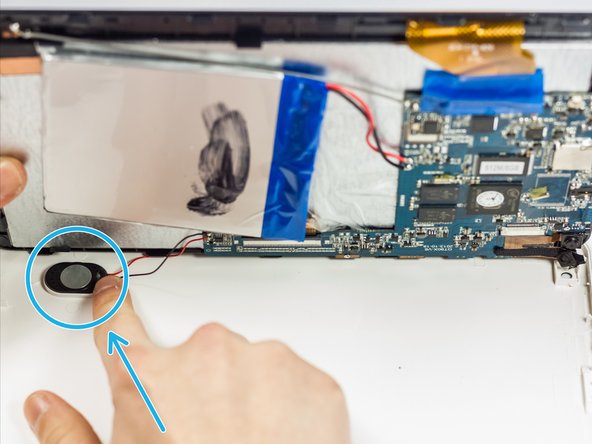
Replace the back cover with the new rear speaker unit in place.
-
Gently press the speaker into place.
-
Replace the screws.
-


Team

UMass Dartmouth, Team 4-6, Vijaybhaskar Spring 2015 Lid van UMass Dartmouth, Team 4-6, Vijaybhaskar Spring 2015
UMASSD-VIJAYBHASKAR-S15S4G6
3 Leden
6 handleidingen geschreven